Why You Should Wet Your Paintbrushes Before Painting Your Walls
Starting a DIY painting project at home can give any room a fresh look. It can be a lot of fun to pick your favorite color and decide just how you will design the room. When it comes time to begin the work, you may become a little uncertain about how to proceed, especially if this is your first attempt at a job like this. Among some of the best DIY paint hacks worth trying is wetting your brush before you start. Using a dampened brush enhances and smooths the transfer of paint onto the wall, making it easier to get started.
Dampened bristles aren't quite as stiff, which reduces the chance of splatters as you begin working and which can reduce the effects of bristle marks. It also makes cleanup easier later, as the water prevents the paint from going too deeply into the brush.
It's important to note that dampening the bristles before starting the job is not appropriate in every situation. Some brushes specifically work better when dry. Deciding whether to wet the brush before you begin may also depend on the paint you are using. Of course, you also have the option of just painting the walls using the best roller for your project, which is a fast and efficient way to cover a large space smoothly without having to worry about making bristle marks.
How to dampen your brush before starting to paint
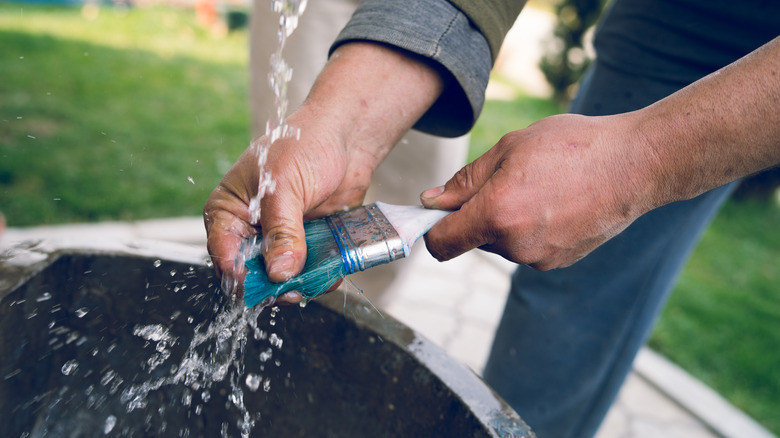
To wet your paintbrush before starting the job, you can dunk the brush in a bucket of clean water several times or leave it under a running water faucet for a few seconds. You simply want to make sure that all the bristles become wet. Next, try to remove as much excess water as possible. You can tap the brush against the side of a sink to remove some water. If you're working outdoors, shake it vigorously to cause some water to fly away. Finally, always squeeze the bristles hard to force out any remaining extra water.
Ultimately, you want to end up with bristles that are damp but not soaking wet. Make sure they are damp all the way to where they fit into the handle. Don't only dampen the tip of the bristles, or you won't receive the full effect.
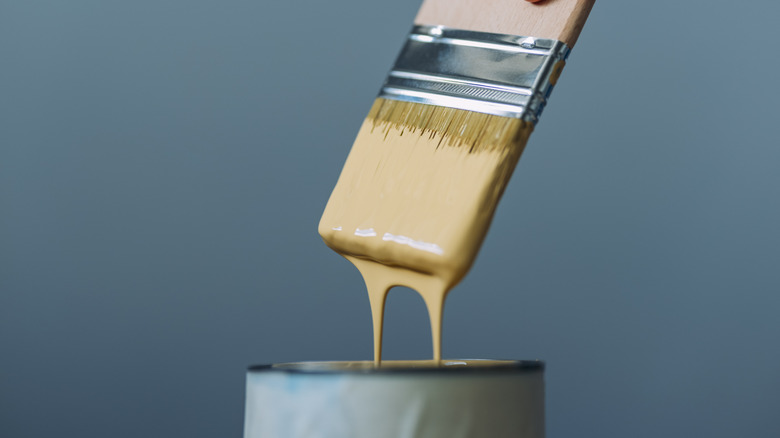
You're now ready to begin painting. Dip the brush into the paint as you normally would. The wet bristles should be more flexible, making it easier to soak up and scrape off excess paint against the side of the can. Move the brush across the wall, and the paint should glide onto the wall with no bristle strokes visible. You also may notice that you can cover a larger space on the wall before you need to get more paint after wetting the brush.
Mistakes to avoid when wetting your paintbrush

Although dampening your brush's bristles seems easy enough, there are a few potential mistakes you'll want to avoid. Importantly, you will not want to use this technique with water when you are using certain types of paints. If you are using an oil-based paint, for example, you should use mineral turpentine to moisten the bristles. After soaking the bristles with turpentine, ensure you thoroughly remove excess liquid. If you do not remove enough of the liquid, the turpentine may thin out the oil-based paint, leaving you with an unsatisfactory coating on the wall. Once you finish, you could also use the turpentine to clean up the brushes. If you are using water-based paint, though, you can use tap water to dampen the bristles, as we described earlier.
Additionally, read the instructions included with the brush before choosing whether to dampen it. Some manufacturers will specifically tell you not to dampen the bristles ahead of time.
One final situation where you do not want to dampen the brush before starting the job occurs when you want to use the dry brush technique. If you are adding effects to your wall as part of the painting job, the dry technique makes it easier to create textured elements. This is a rare situation where you want to see the brush strokes in the final result, which dampening the bristles ahead of time prevents.