Here's How To Install An Outdoor Ceiling Fan To Have Breezy Summer Nights
As the summer heat intensifies, finding ways to stay cool and comfortable outdoors becomes a top priority. Adding a ceiling fan to your outdoor living space can provide the perfect solution, creating a refreshing breeze on even the hottest summer nights. Not only does it offer relief from the sweltering temperatures, but it also adds a touch of elegance and functionality to your outdoor environment. The benefits of outdoor fans are numerous. For instance, they come in a variety of styles and finishes to complement any outdoor aesthetic, from modern to traditional. Additionally, many outdoor ceiling fans are equipped with built-in lights, allowing you to extend your outdoor enjoyment well into the evening.
Installing an outdoor ceiling fan may seem complicated, but with proper knowledge and the right tools, it can be a manageable DIY project. The installation process typically involves some basic mounting and wiring. By assessing your outdoor space, preparing the necessary tools and equipment, and following a step-by-step guide to ensure proper installation and functionality, you can confidently embark on this project and turn your porch or patio into a breezy summer oasis.
Choosing the right fan
Choosing the right outdoor ceiling fan involves considering several factors to ensure optimal performance and durability. For instance, you can determine the appropriate size for your outdoor space by measuring it and selecting a fan with a suitable blade span. A larger area may require multiple fans or one with a higher airflow capacity.
It's also essential to prioritize weather resistance and durability. Look for fans with a UL Wet or Damp rating, indicating their ability to withstand moisture and humidity. Opt for materials like stainless steel or ABS plastic that are corrosion-resistant. Efficiency is another important consideration, so choose an outdoor ceiling fan with an Energy Star rating to save on energy consumption. Look for features like variable speed settings and energy-efficient motors. Finally, consider the style and aesthetics of the fan and select a design that complements the overall look of your outdoor area, whether you prefer a sleek modern style or a rustic tropical vibe.
Installing an outdoor ceiling fan
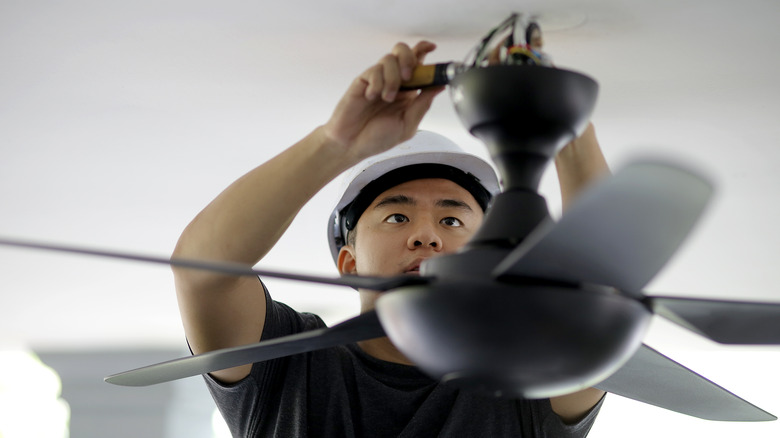
The installation process begins by assessing the outdoor space where the fan will be installed. Consider the mounting location, ensuring there is enough clearance and support for the fan. Prepare the necessary tools and equipment, such as a ladder, screwdriver, wire stripper, and electrical tape. Before starting the installation, always turn off the power supply to the area where the fan will be installed to prevent accidents.
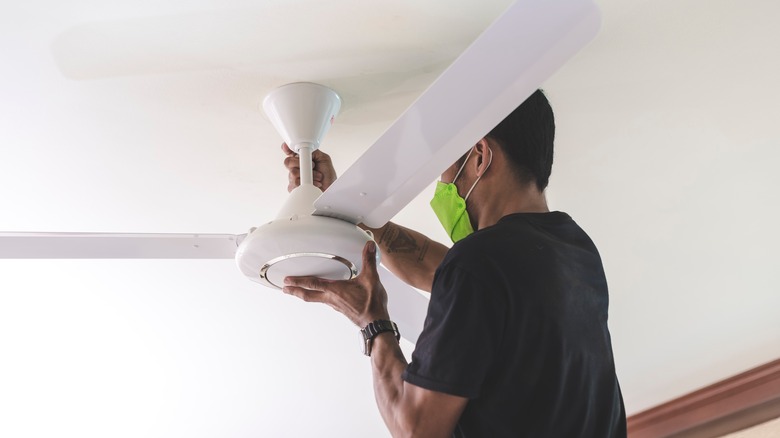
The installation process typically involves several key steps. Start by mounting the fan bracket securely to the ceiling or supporting structure. Ensure that the bracket is level and securely anchored to provide a stable base for the fan. Next, carefully wire and connect the fan, following the manufacturer's instructions and local electrical codes. It may be necessary to call an electrician for this, as it's essential to ensure that the wiring connections are safe and adequately insulated to prevent electrical hazards. After the wiring is complete, attach the fan blades according to the manufacturer's instructions, making sure they are balanced and properly aligned. Finally, test the fan's operation and troubleshoot any issues that may arise.


