Here's How To Make Your Own Roman Shades In Two Different Ways
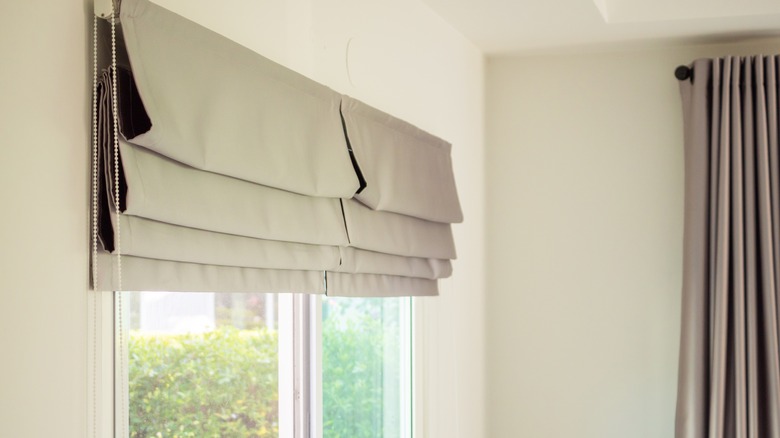
Roman shades are a classic, streamlined, and common window treatment that helps to block the sun and bring some privacy into your home. But buying them or having them custom-made for your windows can get a bit pricey. This type of shade starts at about $110 per window, not including the cost of installation. If you're feeling a bit crafty, however, you can easily make and install your own shades for a fraction of the price by following one of two methods.
The first approach, building Roman shades over existing blinds, is a bit more beginner-friendly and requires no sewing or advanced construction. If you don't have blinds or if you'd rather build your shades entirely on your own, it takes a bit more effort — but it's still a fairly simple process that can be achieved with a bit of sewing knowledge. Either way, the final product is sure to impress at a fraction of the price of buying shades in-store and paying for installation.
Covering existing blinds
For this method you only need a few simple materials: your existing blinds, measuring tape, scissors, a foam paintbrush, clothespins, a decoupage medium, and your fabric of choice. When picking up a fabric, choose a few yards of something mid-weight that's intended for use in furnishings — like upholstery fabric. You don't want something ultra-thin that will allow light to flow through after installation.
To begin, measure your window to determine the length of your shades, then pull the blinds to the correct length. Remove your blinds if they're on the window, then remove extra slats by trimming away the strings that connect them to the main string until you're left with a blind at each desired fold. About 7 inches of space is recommended by Better Homes and Gardens for this style of window treatment. From here, simply lay your blinds on top of the fabric and begin gluing the edges of the slats down to the fabric. Once it gets to the top and bottom of the blinds, you might have to get a bit more creative with folding and trimming for a seamless finish. After you apply your decoupage medium with the foam brush, use the clothespins to secure everything until it dries and you can reinstall your new shades.
Creating an entirely new shade
When creating your own Roman shade, you'll need your main fabric, lining fabric, dowels that fit the width of your window, cord, screw eyes, plastic rings, a 1x2 piece of wood, and two angle brackets. Once you have your materials handy, it's time to do some math. A Butterfly House recommends measuring your window, then adding a minimum additional 7 inches to the length and 1 inch to the width — it's best to cut more, then trim if necessary. Cut the lining fabric to the same dimensions as the window.
Next, hem your shade and sew down the lining for a clean finish. From here, you're going to make pockets for the dowels — more math. According to A Butterfly House's tutorial, you should subtract 3 inches from your fabric length, then divide by 4 to determine spacing. Mark these increments from the bottom of the shade, then begin folding pockets on the lining side to fit your dowels and sew them down. Once you're done, hand stitch your rings to each dowel pocket a few inches in. Insert the dowels, then get to work on attaching the shade to your wood piece with staples, using the mounting brackets to install the shade into your frame and adding screw eyes to the piece. Finally, thread in your string, and you're set to enjoy your newly-DIYed Roman shade.

