How To Paint A Window Without Painting It Shut
Painting a window may seem daunting, given the worry of inadvertently sealing it shut. However, it doesn't have to be this way. With the right strategy and preparation, you can easily paint your windows without rendering them unusable. Before you begin, gather all the necessary materials. This typically includes paint, a high-quality brush, painter's tape, a drop cloth, sandpaper, and a utility knife. Now, visualize your plan of action. The process is straightforward if you know how to follow the rules and avoid common mistakes. The crucial steps involve proper masking, careful application, and patient drying time. It also requires a steady hand, attention to detail, and patience to complete the task without rushing.
Before you begin, it helps to understand why your windows might get stuck. The primary culprit is a shoddy paint job that leaves every crevice clogged with cured paint that functions as glue once it reaches moving parts. This situation is frustrating enough when you try to pry the windows open in your newly-rented apartment, but it is downright harrowing when you own your home.
Preparation and priming
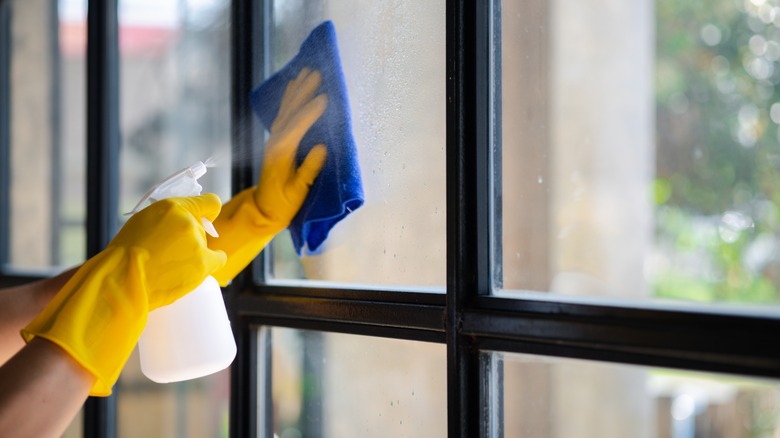
Before painting a window, be sure to remove dust, dirt, and grime from your work surface. Another crucial step you shouldn't skip is removing any flaking old paint or varnish, which creates a more receptive surface for the new paint to adhere to. Once clean, let the window dry completely. Next, you need to apply painter's tape to the glass around the edges of the frame. This helps protect the glass from unintentional spills or drips. Raising the window sash is also vital. If you leave the sash in place, there's a risk it might accidentally get stuck. Raising it allows you to reach all areas of the frame for a more even application.
If the frame is bare wood or you're making a significant change in color, applying a coat of primer is advisable. Primer not only helps the paint adhere better but also enhances the vibrancy of the color. Try only to use a thin layer of primer to ensure it dries quickly. Once done, leave it to dry for a couple of hours. During that time, periodically open and close the window to prevent the primer from sealing it shut.
Painting and final steps
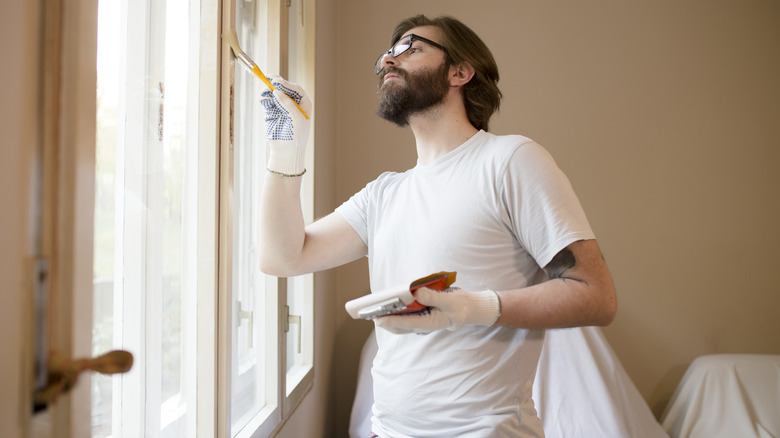
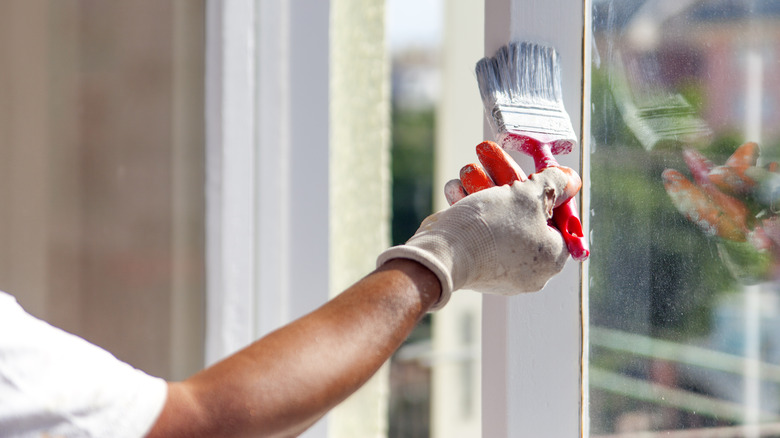
With your window prepped, it's time to start painting. An angled sash brush can be a game-changer, providing several benefits that make your project easier and more efficient. One of the main advantages is its precision, as the brush's angled tip easily applies paint to corners and along edges. This can be especially helpful when dealing with intricate sections like window frames, moldings, or trim. Instead of struggling with a standard brush to get clean lines, you can use the angled sash brush to reach these challenging areas effortlessly.
Opt for thin, even brush strokes. Remember that applying two thin coats is often better than one thick coat to prevent dripping. Also, remember to open the windows to ensure you address all critical areas. Continue to periodically open and close it as the paint dries. This practice further ensures that you don't inadvertently seal the window shut. Finally, carefully remove the tape when the final coat has thoroughly dried. You should be left with a beautifully painted window that's effortless to open and close.