These DIY String Light Poles Will Brighten Up Any Patio
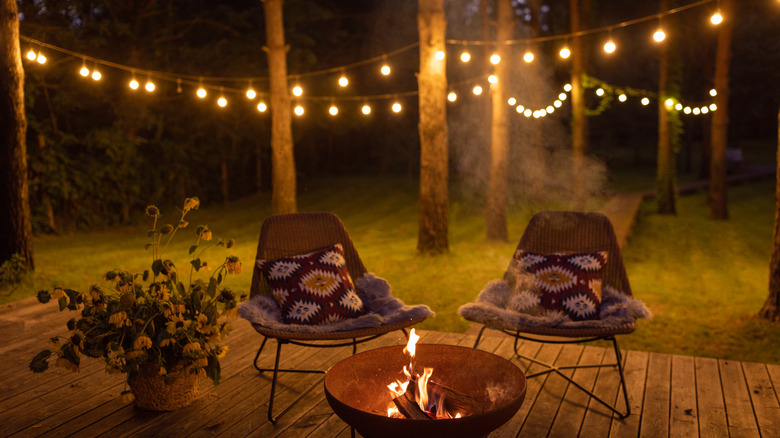
String lights are a popular and mood-enhancing way to illuminate your personal outdoor space. But without a man-made structure like a pergola or nature's finest hanging apparatus (trees), it can be more than a bit challenging to achieve the desired ambiance. Unlike permanent lighting installations, string light poles offer flexibility and portability, allowing you to move and adjust them for different occasions or completely rearrange them to accommodate a last-minute layout change in your back or front yard. Whether you're renting or simply want to redecorate and reposition your lights without damaging any property, these easy DIY string light poles provide a convenient solution.
When drawing up a plan, you're going to want to take into consideration the type of materials to use for your poles, as well as the actual size of your soon-to-be lit-up outdoor space. This project also requires quick hardening concrete, as well as containers to hold it. Buckets with handles work best because they're lightweight and easy to move. For ambiance, you'll want to choose a preferred bulb shape that is specifically made for outdoor use. Lastly, make sure there's an electrical outlet in close proximity to your outdoor zen zone. While these string light poles are mobile, it doesn't mean they're easy to schluff around.
Be mindful of your materials and environment
When selecting poles for hanging string lights, you have a few options to choose from. Metal poles, like galvanized steel or aluminum, are superior in strength, stability, and durability. They're also rust-resistant. If you prefer a more natural or rustic look, wooden poles that have been stained and sealed can offer you that particular outdoorsy aesthetic. Should you choose the wooden route, opt for sturdy woods like cedar or redwood, which can stand up to mother nature's best. If you're working with a budget, PVC piping is a cost-effective and lightweight alternative. It's easy to work with, can be painted or decorated to cover up its bland exterior, and can also hold up to the elements.
Your string light pole is going to be sitting in hardened quick-drying cement, so whatever receptacle you choose should be able to withstand that weight and pressure. For more permanent fixtures, you can use planter pots or even leak-proof barrels. If you're a person who likes to move things around constantly, then plastic buckets with handles might be a better option for you. They're also the least expensive. Keep in mind that some insta-drying concrete is temperature sensitive, so you'll want to choose your bottom piece accordingly.
Putting it all together
Start by sketching your planter's size and shape on paper, making sure to mark the dimensions clearly. The poles you've chosen should all be the same height and will need to be stained or sealed beforehand. You'll also want to be sure that any holes have been pre-drilled for hooks. Place the posts in your receptacle of choice, securing them with bungee cords against a flat surface like a table. This will keep them even and aligned (because no one wants a crooked string light pole).
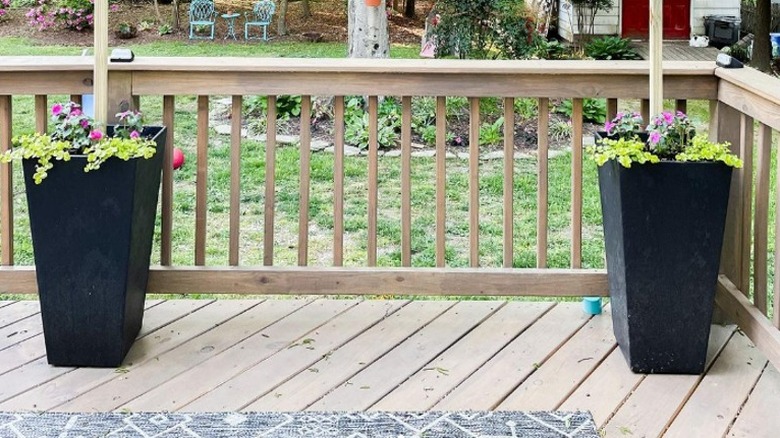
Find a flat surface and mix the concrete, per the instructions on the packaging, then carefully pour it into the containers, using a trowel to smooth down the mixture. After the concrete has hardened, you can move them to their desired locations. If you use buckets or smaller vessels and you're looking for a more permanent setup, you can get creative and place the newly cemented posts inside large planters. Fill the plant pots with soil and add your favorite weather-appropriate flowers.


