Transform IKEA Nightstands With This Custom Sofa Table Project
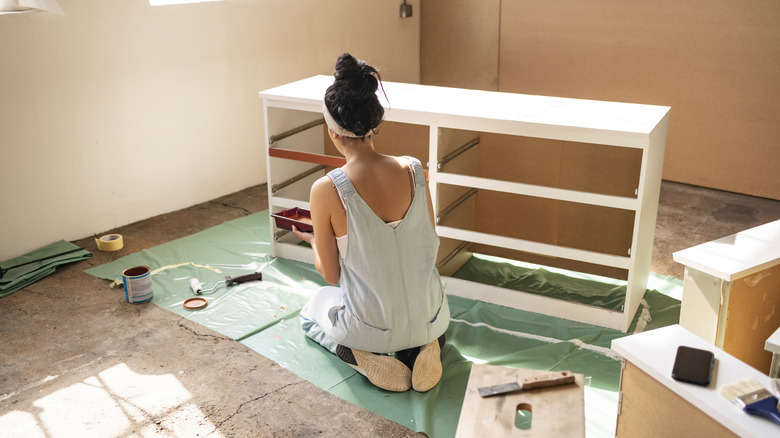
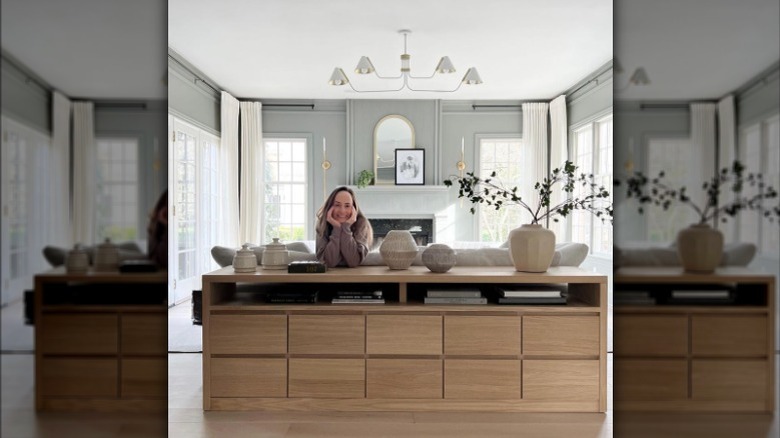
Whether you're constantly on the move or living in the same house for a long time, you'll probably accumulate many trinkets and décors. If you don't have enough storage space in your living room for more embellishments, setting up a sofa table can solve your problem. You can purchase a sofa table from any furniture store, but if you enjoy a DIY project, TikTok user @champagne.chaos shows how she DIYed a sofa table using Ikea MALM nightstands. This DIY project is for intermediate or expert DIYers because the project requires multiple items, steps, and days to complete. However, the end result is a stunning new piece of furniture.
Sofa tables are often placed directly behind your sofa, either against a wall or resting against the backside of your couch. If you have an open layout home, sofa tables are excellent for dividing a large space. You can decorate them with picture frames, vases, and other small décors. Moreover, they are available in different styles — a few have drawers or an open space to put baskets or low stools. The nightstands TikToker @champagne.chaos used have built-in drawers, which allowed her to put the sofa table behind her couch and use it as storage to hold her children's toys. It's the perfect piece to complement any interior and elevate your living room.
Steps for the sofa table
Sofa tables are usually smaller than the length and height of a sofa, so it's crucial to measure everything before building your table. You'll need a veneer, four pieces of white oak plywood (one for each side piece, and two to combine for the top surface), iron-on edge banding, nails, a drill, a bar clamp, a wood block, and a base wood feather strip.
First, set up the nightstands behind your couch without the drawers installed and connect them with nails — through their vertical side boards — so they don't slide around. Then, add a veneer layer to the top surface of the nightstands, making them look like one table. In addition, add the iron edge banding in between the nightstands (where they connect on the outside) and around sides that run around the top perimeter.
Measure the plywood sides that will attach to either side of the table. Cut the plywood to the desired height, but leave an indentation — this is where the top edges of the nightstand will slide into. Attach the sides, and then glue the wooden block to the center of the tabletop to provide support for the remaining two layers of plywood. Now, place the two plywood pieces on top of the block, holding them with bar clamps and nailing them down to the top of the plywood sides.
Finally, add a layer of edge banding around the outer perimeter of the plywood, install the wood feather strip at the base of the nightstands, and reinsert the drawers. Stand back and admire your new sofa table. Decorate your table with your favorite books, vases, photo frames, etc., to show off your personality.
Tips to consider before starting your project
While this project will give you an elegant furniture piece, starting can be intimidating, especially if you're a beginner. It's vital to measure everything before you start the project. TikToker @champagne.chaos used five nightstands for her sofa table, but depending on the size of your sofa, you might need more or fewer nightstands to fit behind your couch. However, if you end up short one nightstand, you can always purchase another, or if you buy an extra one, you can return it.
On the other hand, @champagne.chaos had a mishap where she overcut the side pieces, and she had to use Bondo to add an extra bit of plywood to make them taller. So, when measuring your plywood, mark where you will cut with a pencil or pen to prevent overcutting. Sofa tables should typically have 1 foot of free space on each side when they sit behind the sofa, and their height should be slightly below the very top of the furniture. You don't want the table to be taller than your couch. However, the sides can line up with the ends of the sofa if you want them to be the same size. Work at your own pace when completing this project to ensure you don't make any irreversible mistakes.

