How To Properly Thin Out Latex Paint
Typically, fresh paint that's been mixed in-store doesn't require any extra treatment before you apply it on your walls. If you have paint that's been stored away for a while, however, the consistency can become a bit thicker over time, making it harder to work with. Thankfully, this issue is correctable. After checking, if you determine that your can of paint isn't rotten and still fine for use, you can thin it out to create your desired viscosity and guarantee a more seamless finish in your freshly-renovated space.
If you're using oil-based paint, this process requires the addition of oil-based thinners, but the process of thinning out latex paint only utilizes one ingredient you're pretty much guaranteed to already have available — water. With that being said, it does still take a few steps to do properly. Hastily dumping water into your paint can thin out the top layer, but it can also cause inconsistencies in the formula that leave you with uneven coverage and texture in your final product. Because of this, it's important to keep the process slow and steady for the best results.
What tools you'll need
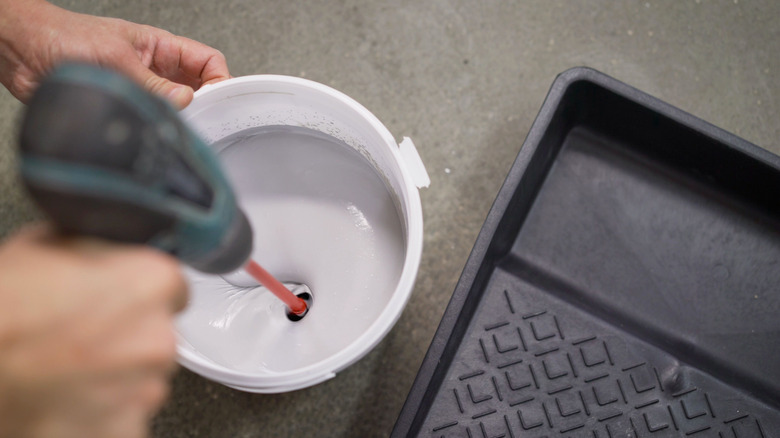
Before you begin the process of thinning out your paint, you're going to need to gather some supplies. First, a drill with a mixing attachment. In most situations, your paint will have been sitting for a while, so, if it hasn't been mixed recently, it's important to ensure that the pigment in your can is evenly distributed.
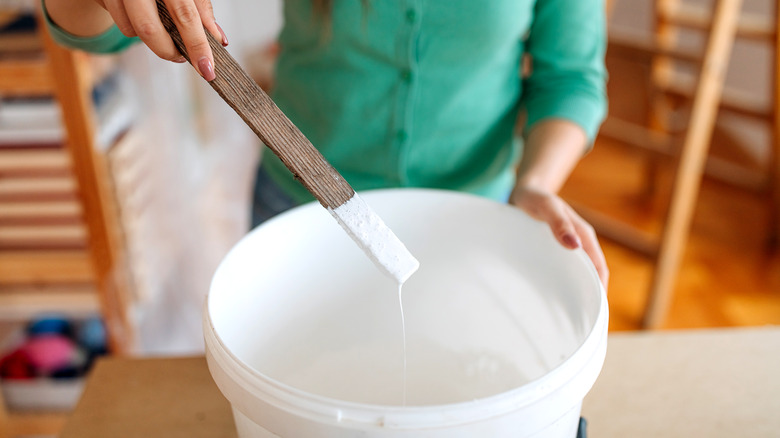
For the most part, a mixing arm attachment will cost you under $15, but if you don't want to spend the extra money, you could always bring your can back into the store to see if they'll professionally re-mix it for you. You'll also need a paint stirring stick to check consistency if you're mixing it yourself.
Additionally, if your paint has a few lumps and bumps, you're going to need a fine mesh strainer to filter out impurities. This step can be skipped if you're willing to fish clumps out individually, but a strainer will give you a more consistent texture and make the process much quicker.
How to properly thin out latex paint
To begin the process, allow your paint to sit indoors to acclimate, especially if it's been sitting in a cold or hot garage. Once it's reached room temperature, you can open the can to start mixing if you plan to do so yourself. Mix thoroughly, then test with the paint stick — if you continue to feel more drag at the bottom of the can or still see any inconsistent pigment, keep going. After it's mixed, you can check for any lumps and strain if necessary to smooth everything out.
At this point, it's time to assess how much you need to thin your paint, if at all. Take a look at the paint brand's website or the can itself to see if there are any specific instructions for how much water you should add. As a general guide, a half cup per gallon is recommended for the paint you'll add to a sprayer, but additions to simply improve consistency should be capped at around eight ounces of water. Start slow with three or four ounces, and mix as you go. Once you reach your desired thickness, you'll be ready to paint.


