The Clever Way Leanne Ford Updates Butcherblock Kitchen Countertops
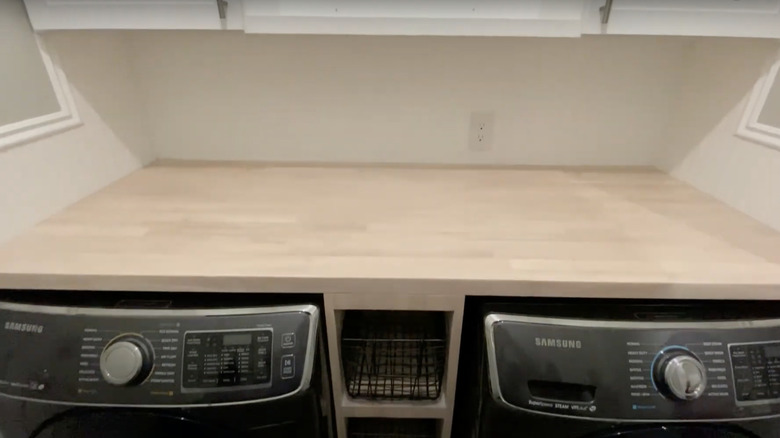
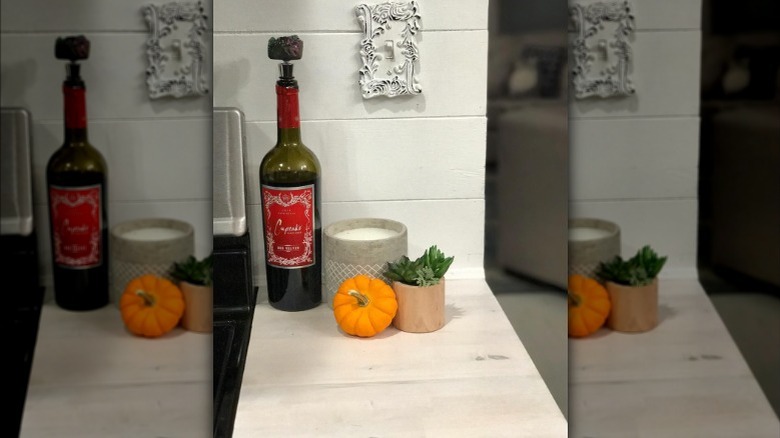
When picking out countertops for your kitchen remodel, you want to ensure they will complement the rest of the design. Butcher block countertops are the perfect style that adds warmth and versatility to any space. If you already have butcher block countertops that need a refresh or want a more muted tone with new countertops, interior designer Leanne Ford found the best way to spruce them up by whitewashing them. The result is a gorgeous white finish, ideal for farmhouse, cottage style, Scandinavian, and coastal interiors. However, the whitewashed butcher blocks enhance any interior and can be used as statement pieces.
Butcher block countertops are timeless and can last over 20 years. As time passes, the wood ages and looks better than when it was first installed. You won't have to replace countertops. If they get scratched, marked, or dinged, you can easily sand down the area, and it'll be good as new. If tile countertops crack, you'll have to repair the entire tile. As long as you take care of your butcher block, it won't give you any trouble. On the other hand, you can update the butcher block like Ford did if you're looking for a new look in your kitchen. Here's how.
DIY whitewashing butcher block counters
Updating your butcher block counters like Leanne Ford is easy. She worked with a team from Williams Construction; They used half water and half paint, then sealed it. If you're looking to replicate Ford's method with your butcher blocks, you'll need a light-toned butcher block, water, BEHR DYNASTY paint in Crisp Linen, a dry cloth, a staining sponge, Rubio Monocoat Wood Stain in Super White, a paintbrush, a bowl, and a quarter-inch roller.
Before you start, ensure your butcher block is clean and debris-free by dusting it and wiping it down with a damp towel. After the counter is ready, prep your whitewash in the bowl by diluting the paint with water. Use equal parts of the two. Instead of the paint appearing solid white, it'll look sheer, with the original finish slightly peeking through. Then, dip your staining sponge into your bowl and rub it on the counter in the grain's direction. Immediately remove the excess with your dry cloth. Repeat until the entire block is covered. Once the first coat is done, you can repeat the step to make it more pigmented or seal it. Combine the Rubio Monocoat Wood Stain parts to seal the paint by pouring part B into part A. Next, pour an apple-sized amount on the surface, brush and roll it toward the grain, and let it cure for 20 minutes. Finally, apply a second coat, and let it cure for 24 hours.
Tips for the best results
Leanne Ford's project is simple, even for beginners. However, there are a few things to keep in mind when you're painting and staining. For example, the project will take a couple of days of painting, staining, and fully curing, so you won't be able to use it. Also, if you live with others, let them know not to use the kitchen and plan ahead of time so the surfaces don't get ruined. Moreover, if you have pets, like cats, who like to walk on counters, keep an eye on them or place them in another room until the butcher block is completely dry.
Once you apply the paint to the butcher block's surface, wipe it off with a dry rag. You want to avoid the paint drying to prevent streaks from forming. They'll be hard to even out and make your butcher block look odd and not smooth. As you paint or stain the counter with your sponge, brush, or roller, always move toward the grain to hide the brush marks.


