Here's How To Give Your IKEA Cabinet An Inexpensive Window Pane Makeover
When you're looking for a quick and easy renovation that works within your budget, repurpose your furniture instead of buying new pieces. Painting dated cabinets, bookshelves, or tables will give them a brand-new appearance, even if you've had them for years. Or, if you see the furniture you love that's outside your budget, buy a similar style at a lower price and DIY it to make it look the same as the inspiration piece you saw. For example, TikTok user @peonyandhoney DIY-ed an Ikea cabinet that turned out similar to Crate and Barrel's black-and-white cabinet. The Ikea cabinet she purchased to repurpose was $219, while Crate and Barrel's cabinet was originally $1,799. All she had to do was paint the frame and add a few wood trim pieces to make it the perfect replica.
Cabinetry can be expensive when you buy them from name-brand stores, and there are a few makers you should consider. However, if you enjoy a DIY project, you can upgrade your cabinets or a more affordable set. Whether you plan on using your revitalized cabinets in the kitchen or living room, you don't want to make any mistakes, especially when prepping them. You want the paint to last for years before having to give it another coat. TikToker @peonyandhoney shows us how effortless it is to give your Ikea cabinet an inexpensive makeover.
Tools and steps for DIY project
As aforementioned, prepping any furniture you plan to refurbish is crucial in a DIY project. TikToker @peonyandhoney uses Ikea's white Billy Oxberg cabinet that's $219; she claims that it's available in brown and black, but is more expensive. In addition, if you want your cabinet to resemble Crate and Barrel's Kednize cabinet, the all-white is better since it has a white interior than the other colors, where they're all black or brown.
You'll need a few tools for the project: masking tape, newspaper, black spray paint, a thin piece of wood trim, a woodcutter or hack saw, measuring tape, and Loctite glue. When you're prepping your cabinet, you want to remove the doors by unscrewing them from the base and tape off the glass with masking tape and newspaper. Cover every inch of both doors to prevent staining the glass.
Once the doors are prepped, spray-paint them black, ensuring an even coat all over the surface. Then, lay the thin wood trim pieces on a cardboard surface, spray-paint them, and let them dry. Next, @peonyandhoney removes all the paper and cuts the wood trim in equal parts to create a grid pattern on the cabinet doors. She suggests using a hack saw to cut the wood; measure out the wood before cutting. After all your pieces are cut, glue them to the glass with Loctite glue. Finally, screw the doors back into place and admire your new cabinets.
Essential prepping tips
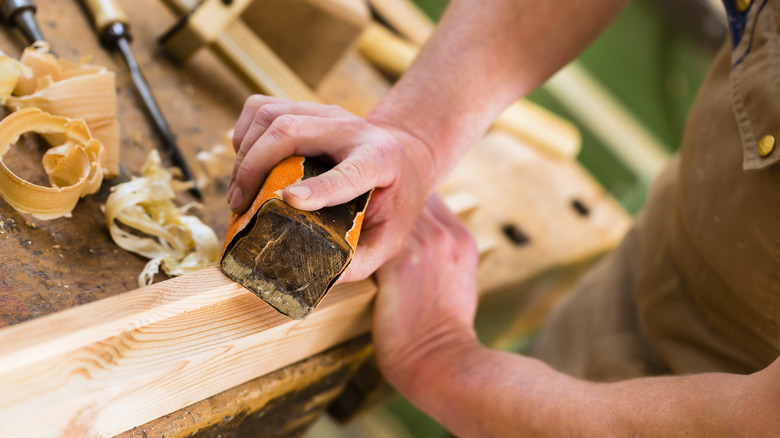
When you're working with any wood furniture, there are a few extra steps you want to do before you start painting. Ensuring you follow each one will allow your revitalized furniture pieces to last a long time. For example, if you plan to use a cabinet with raw wood that you've had for years instead of buying the Ikea one, it's vital to sand down the frame to prevent the paint from chipping in the future. Having a smooth and clean surface will allow the paint to last. In addition, cleaning it with soapy water will help remove any dust and debris, making it easier to paint. Priming after you've sanded the wood will make the paint apply smoothly.
If you're spray painting cabinet doors pre-painted, you can start painting after you've taped everything. You'll need to add a couple of coats to ensure it's evenly painted. Spray primers are available but aren't always required if the previous paint job is suitable. Then, you can decide whether to use it for your doors. However, you might need a quick wipe-down with a damp cloth to clean the surface.

