The Viral DIY On TikTok That Makes Creating Built-In Wall Alcoves Easy
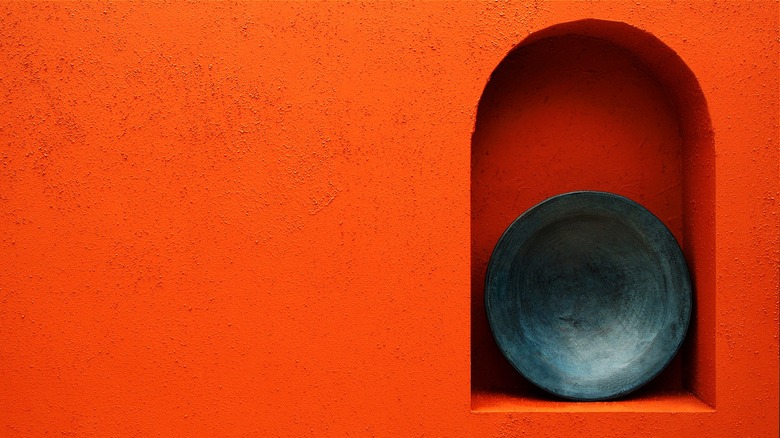
Whether you are working with a tight space that can't fit bookshelves or are trying to find ways to decorate a large wall, you might want to consider adding some stylish alcove shelves. Although this might seem like something you'd need a professional to handle for you, it turns out you could DIY it yourself. TikToker Alaina Kathleen (aka @alainakathleenhome) posted a recent TikTok video showing her working away on her "Mediterranean-inspired dream home," and in this particular video, we see her carving out her very own wall alcove.
To try this viral DIY in your home, you'll need to first know what kind of wall you're dealing with. Brick and poured concrete will be more difficult to cut into, while light cement walls will prove ideal. Also, you'll want to ensure the space behind your wall is deep enough to create a recessed shelf. With this said, you also want to be mindful of how deep the alcove shelf is, as one that's too deep may appear too dark.
Carving out a wall alcove
In her TikTok, @alainakathleenhome puts arched niches into her wall to create DIY alcove shelves. Her list of materials and tools includes a reciprocating saw, a hammer, a drill, sandpaper, a bit of wood, and a touch of plaster.
After marking out exactly where she wants the shelves to go, as well as their shape, Alaina Kathleen uses the saw to cut away pieces of the wall while keeping each section whole (and putting it aside for later). She then uses a hammer and drill to secure a bit of wood in each shelf area to provide a base. Next, she replaces the pieces of the wall but pushes them back further to create the wall alcove. Finally, she adds plaster to the inside of the curve as well as on the outer edge to smooth things over.
As for how deep you should cut into the wall to make your own built-in alcove shelf, a few inches should do the trick. Once you've chosen where you want the alcoves to go, you can then use chalk to create lines to cut.
Create a wall alcove with multiple shelves
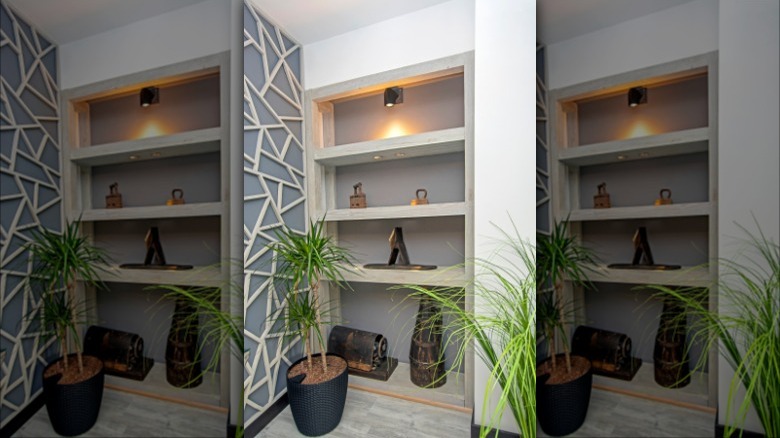
Smaller alcoves like those seen in @alainakathleenhome's TikTok are definitely a stylish option, but you might need a little more room. That's when you can install a built-in piece that has multiple shelves. This time around, you can either create the item yourself if you want to fully DIY this project, or you can purchase a pre-made shelf that can be placed in your wall. Either way, make sure to have the shelves ready to go before you start cutting into your walls.
Once you're prepared, you can again follow the steps above that can help you create an alcove of any size. Simply measure a space that's on the larger side and will fit your shelves. You may also want to align it between or next to studs so that you can attach the shelves to the supports to keep everything secure. Next, cut your hole but instead of adding wood for a base or using the wall piece, you can now install the pre-assembled shelves. If the piece is big or heavy, then be sure to add some extra support when you secure it into its spot. This might require nails, screws, wood glue, or plaster.
Once you have your shelves in place, give any glue or plaster time to dry before you admire your work and start filling your wall alcove with whatever you'd like to show off.

