How You Really Should Be Cleaning Your Oven
Each time an oven gets used, food particles and grease can make their way on the walls, door, and racks. The outside can get covered with grime and fingerprints, too. Your oven should be cleaned twice a year at minimum and more often if something was burned inside or it gets especially dirty. Unclean ovens can affect the taste of your food and transfer stuck-on flavors from previous meals. Not only that, but the carbon remnants can also make your food taste less flavorful. Spilled, hardened grease inside the oven can also smoke up when the oven gets turned on again. Breathing in those fumes can be hazardous to your health, and you have the added danger of the grease catching fire.
People put off oven cleaning because it's not fast and easy, like wiping down a counter. There are some shortcuts but a thorough job takes time. If you have a self-cleaning oven you won't want to turn it on and leave the house, so you have to make time in your busy schedule to stay home and wait it out. Manual cleaning is no quick picnic, either. It might not be a fun job. But once you find the best method, you'll pick up speed and have the satisfaction that comes with doing an amazing job.
What type of oven do you have?

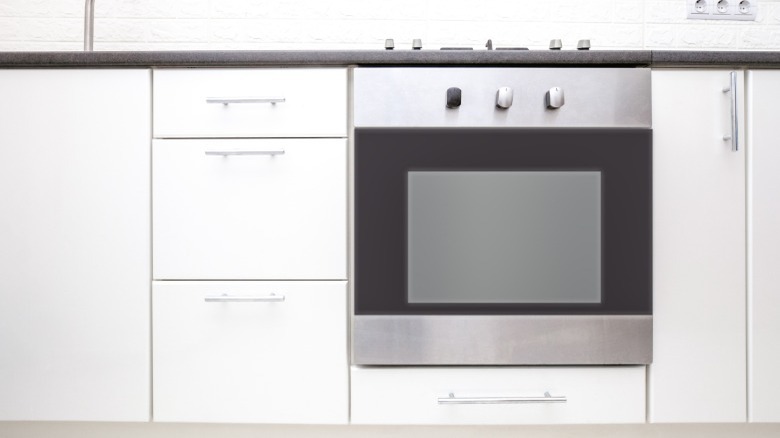
Ovens can be built into walls, kitchen islands, and counters, or be free-standing. Non-self-cleaning ovens must be cleaned by hand and there are quite a few ways to do it. Self-cleaning ones have touchpads or knobs that indicate this feature. But if you've moved into a home that has an old or defective self-cleaning oven, you may want to shop for a new one or have it repaired. These ovens also have coatings on the insides that might be damaged by other cleaners, so you have to be careful.
Self-cleaning steam ovens don't get as hot as other models but the steam loosens up hardened-on grease and crud. Continuous cleaning or textured ovens are made with special interior surfaces that oxidize food spills. Most of the time these two kinds of ovens can be wiped down after they're heated up and cooled down but you can use an all-purpose cleaner if needed. The best piece of advice is to read the manual for your specific unit.
How often should an oven be cleaned?
Instead of waiting until the oven cavity is covered in grease and debris, it's smarter to wait until it has cooled and check inside after each use. Remove any chunks of charred food from the sides and bottom with a damp sponge and if the interior looks mostly clean, you're done for now. This can save you time when you're doing a deep cleaning.
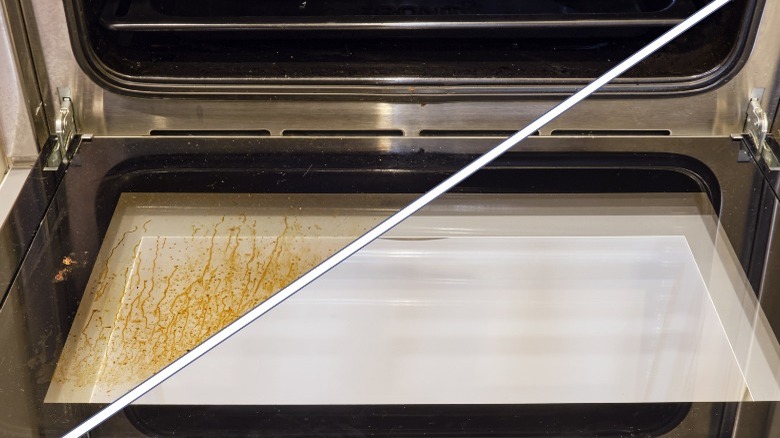
Clean your oven thoroughly once every three months at the minimum because if you put it off for too long, you'll have a much harder time. Of course, you should clean it more often if you use it frequently or have had spills. If you don't use the self-cleaning oven often enough, the cycle won't be able to remove everything as effectively. A red flag that your oven is past its cleaning-due date is a cloudy oven window. If it's so coated in grease that you can't see through it, then you can pretty much guarantee that the interior is just as bad.
Remove and clean the oven racks
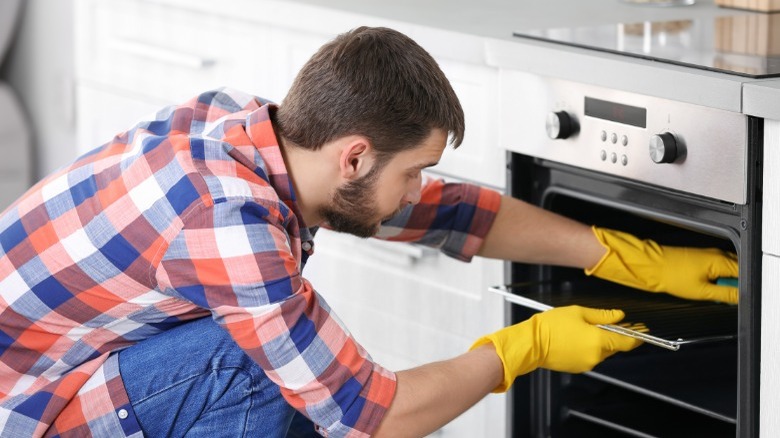
If you have a non-self-cleaning oven and leave the racks in while cleaning they will be in the way and you won't be able to do a good job. And contrary to what some people think, the racks must be removed before running a self-cleaning cycle. The temperature can get up to 1000 degrees Fahrenheit, which could damage them beyond repair.
Before turning on the self-cleaning feature, remove the racks from the oven and put them in a large container they'll fit in. Cover the racks with hot water and add one cup of laundry detergent or ½ cup of dish soap. Another option is to add a few cups of baking soda to the water instead. Give the racks a few hours to soak and give them a once-over with a scrubbing brush. Once they're clean, dry them with a towel before returning them to the oven after it's cleaned and cooled.
How to use a self-cleaning oven
Many self-cleaning oven features give users a choice of how long to run the cycle but this can be confusing at first. If you see that a shorter cycle isn't completely cleaning the interior, try using the longer one the next time. Once you turn it on, you may hear a click that lets you know that the door's locked. It'll stay that way until the oven is cleaned and cooled, so don't attempt to open it during the cycle. If you must stop the cycle for any reason, press the off button and wait until the door lock turns off.
Before turning on the cycle, make sure there are no racks, pots, or pans inside the oven, open a window if possible, and turn on some fans. You'll also want to wipe away any loose food debris and check to see that the oven vent is not blocked. Regular self-cleaning ovens get extremely hot and the dirtier the oven is, the more smells and smoke there will be. This happens because the residue is getting incinerated and after it's finished cleaning, you'll open up the oven door and see ash inside. That can be wiped away with a clean, damp cloth or sponge. You'll have to be patient because oven self-cleaning cycles can last anywhere from 1½ to six hours.
Use baking soda paste and vinegar
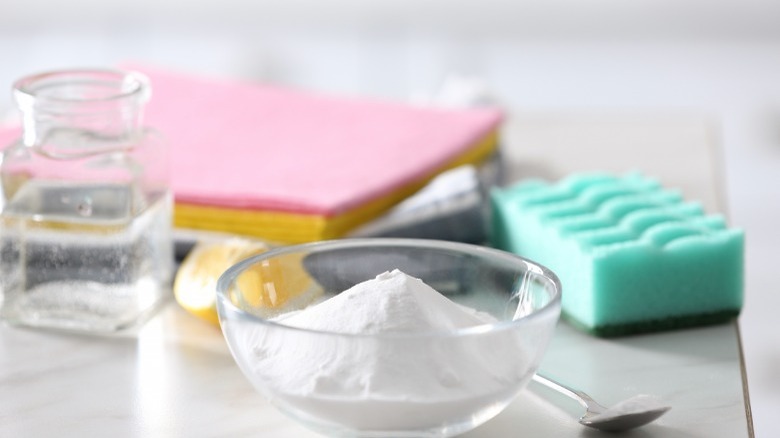
There's a standby all-natural oven cleaning method that is safe to use on self-cleaning and manual-cleaning ovens. It uses two favorite kitchen standbys — baking soda and vinegar. This can take up to 12 hours to work so you can do the initial step early in the morning or before going to bed. To get started, grab a clean paintbrush and pour ½ cup of baking soda into a small container. Add a little bit of water at a time until it has a paste-like consistency. This concoction can be painted onto the oven cavity.
After allowing the baking soda to work, combine equal parts of vinegar and water into a spray bottle and spritz it all over the baking soda. It will start bubbling up and that is completely normal. Shut the oven door and let the reaction do its work before wiping down the surfaces. And if there's still residue, you can repeat the process.
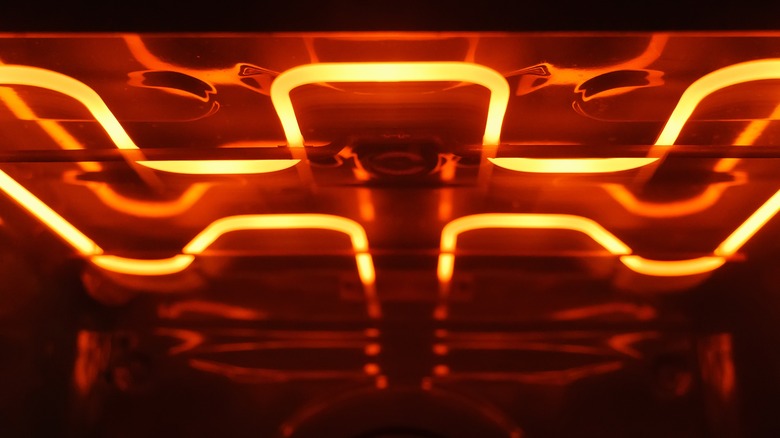
Steam cleaning manual cleaning ovens

You easily can turn a manually cleaned oven into a steam cleaner with these DIY methods, but you'll need to leave a rack inside. That's because conventional ovens have heating elements inside on the tops and bottoms. You'll need to use a large ovenproof bowl for this and you can't rest it on top of the bottom element. So leave one rack inside, fill the bowl almost to the top with water, and rest it there.
Now, squeeze two lemons or limes and add the juice to the bowl. Close the oven and set it to its highest temperature. Stand nearby and keep checking until you see the water start to boil then turn off the oven. The circulating steam will help loosen the grease and grime, which you can wipe off once the interior has cooled down. Another method is to fill the bowl with equal portions of water and vinegar,turn up the heat, and keep it on for up to 60 minutes.
Cleaning ovens with ammonia

If you don't want to steam-clean the oven, ammonia can be just as effective on manual cleaning ovens. Leaving the racks inside, place one cup of water in an ovenproof dish on the bottom rack and a second one with a cup of ammonia on the top rack. There are two ways to tweak the ammonia method if you need extra cleaning power. First, turn the oven on to 150 degrees Fahrenheit and shut it off before putting in the two bowls. You can also fill the bottom bowl with boiling water instead of tap water. Let it sit for 8 hours or overnight and the next morning, crack open the oven door and leave it like that for 15 minutes. You might want to open a window and wear a mask at this point because the smell will be strong.
Remove both bowls but don't dump the ammonia yet. Instead, pour it into a bucket and add a few drops of dishwashing liquid and a quart of warm water. Now you can remove the oven racks and use the cleaning mixture to wipe down the surfaces with a nylon scrubbing pad.
Using oven cleaner sprays
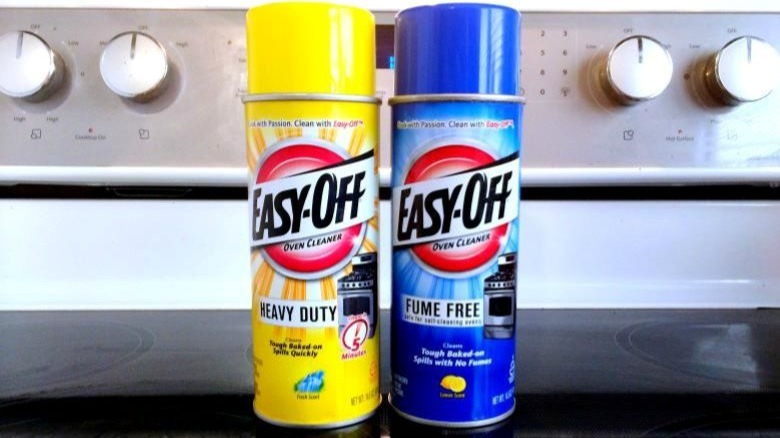
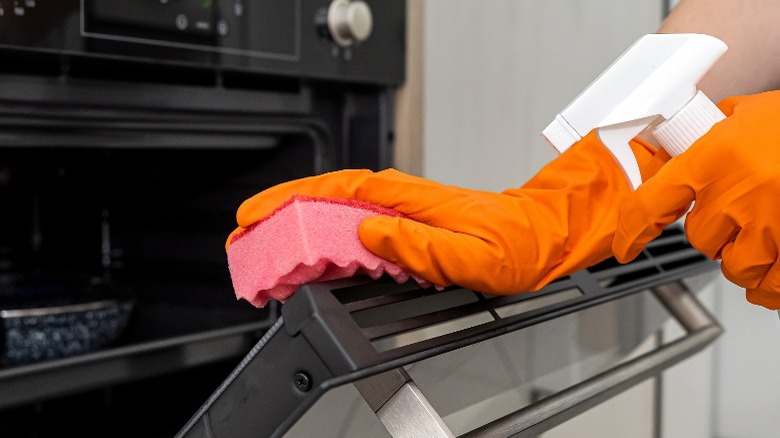
There are pros and cons to using store-bought oven cleaner sprays. Easy-Off is one of the best-known brands and can be used to clean warm or cold ovens, and you can also use it for spot cleaning. However, it's important to be careful with these kinds of products because they contain corrosive ingredients. These are harsh chemicals, so you'll need to wear protective gloves and ventilate the area. You'll also want to use tarps or paper to protect flooring and cabinetry from any overspray.
Apply an even layer to your oven's surfaces from a distance of about 9 to 12 inches. The solution takes about 20 minutes to work on mild to moderate buildup but you can leave it in the oven for up to eight hours. You can also preheat the oven to 200 degrees Fahrenheit then turn it off before spraying to loosen up stuck-on grime. This can help the spray work in less time for a quicker wipe down.
The dishwasher tablet trick
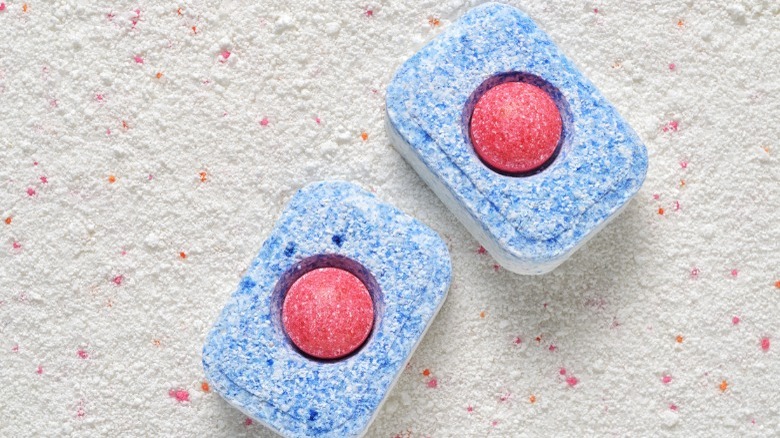
This oven-cleaning hack uses a dishwasher tablet in a bowl of water to loosen up the cooked-on food residue. First, remove any loose debris and crumbs from the oven using a paper towel and take out the oven racks. Take a Finish brand dishwasher tablet, unwrap it, and place a bowl of hot water within reach. Wearing protective gloves, loosen the red ball inside the tablet and drop it into the water. This patented Powerball is designed to remove grime in the dishwasher and can do the same for your oven.
The white and blue part of the tablet that remains makes a convenient scouring sponge. It can be dipped in the solution and used to scrub away grease from the oven door and surfaces. You'll need to keep wiping the mess away with paper towels as you're working, so have a roll nearby. The tablet will start to break down as you go, so you might need to use more than one. Then, thoroughly wipe the entire oven out with a clean damp towel to remove all of the residue.
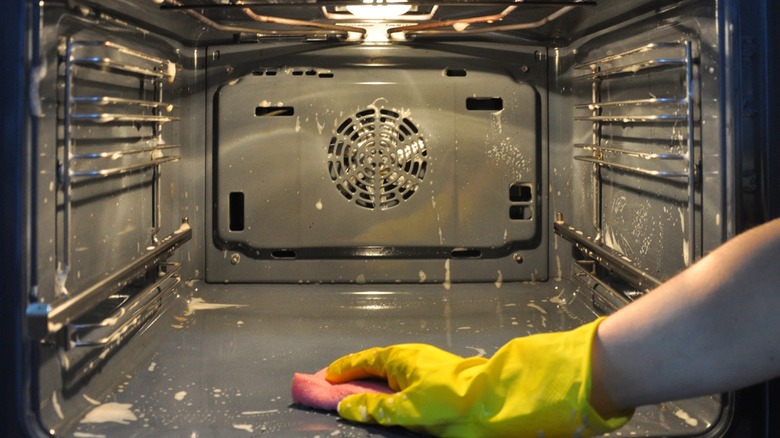
Wiping down the cavity
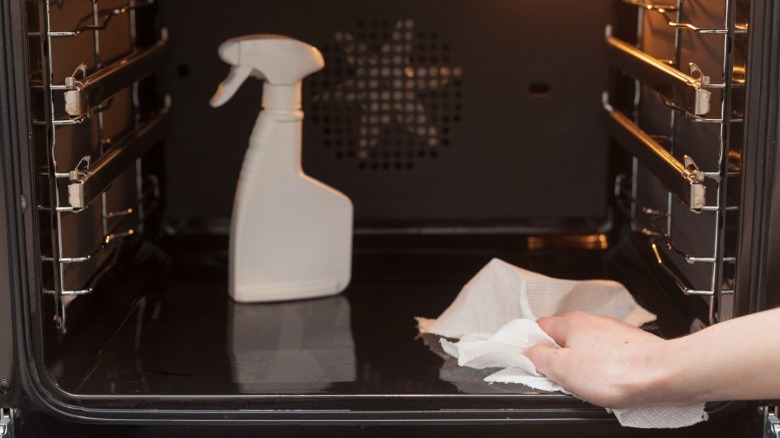
No matter what cleaning method you use, thoroughly rinsing the oven's surfaces is a vital last step. This is important because you don't want your food to taste like ammonia, a dishwasher tablet, or any other solution you've used. It can also be the messiest part so if you haven't done so already, place some old towels on the ground. Fill up a spray bottle or bucket with clean water and wipe any residue away with a damp sponge or cloth. And if there is still a stuck-on mess, try loosening it with a plastic scraper or spatula. Remember to avoid using anything made from metal to prevent scratches.
Once all of the cleaning solution is removed, do one last pass with clean water. Then, the easiest way to dry the oven is to put it at 200 degrees Fahrenheit for about 10 to 15 minutes until no moisture remains. Replace the oven racks and your pristine oven is ready to be used again.
Cleaning the oven exterior
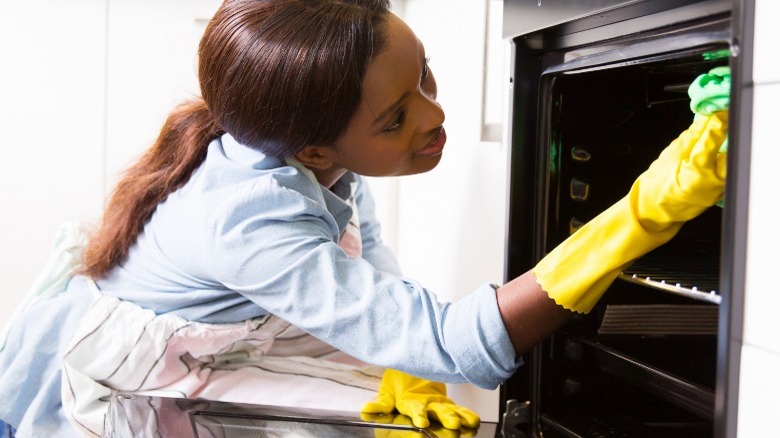
This should always be done after the inside has been cleaned and the racks returned to their places. The oven's exterior can also be covered with grease, so you can first wipe it down with a damp sponge or microfiber cloth and a drop of dishwashing liquid. Don't use too much soap because it will suds up and take forever to clean off. You can also use plain distilled vinegar to cut through any grease.
Be sure to get all around the oven door handle because grease can hide under there. Dip a toothbrush in dish soap or a little vinegar to get into all of the cracks and crevices. Once you've cleaned the door, do a final swipe down with equal parts vinegar and water spray to remove streaks and fingerprints. You can also change out the vinegar spray for a sliced lemon. Cut one in half on your cutting board and wipe down the door with that.
Clean inside the oven window
There are two ways to handle this job and you likely want to try the least-invasive method first. Attach a small sponge or scouring pad to the end of a long wooden skewer and open up the oven's bottom drawer. Run your hand along the bottom edge and look for an opening big enough for the skewer to fit through. Then, you can stick it in there and push it up until it reaches between the oven window's two layers of glass. If you get the hang of this you can dampen the sponge or pad with vinegar, ammonia, or glass cleaner to do a better job.
This hack isn't always possible so you may need to take the window apart to clean it. Look closely at the inside of the window to see if any screws are holding the two layers together. Take photos of the screw placements or label bags with their locations and carefully unscrew them while supporting the glass. This will allow you to take the panes apart and access both interior glass surfaces for thorough cleaning.
Clean the drawer and floor
If your oven has a built-in drawer on the bottom to store pots and pans, here's a helpful tip. These drawers can usually be pulled out easily, so remove what's inside and give it a gentle tug. If it won't budge don't force it. However, if the drawer does come out, you can fill it up with water and dish detergent and let it soak for a while before rinsing it out. You might need to scrub it lightly to remove any oven drippings that have found their way inside.
In the meantime, check the area under the oven with a flashlight. This spot could be harboring mice droppings, insects, and rogue crumbs. Use your vacuum hose attachment to clean the floor to remove any loose debris. Then, mop the floor using a solution appropriate for the material to get rid of any dust or grease. Allow the area to dry completely and return the clean drawer to its spot.
Clean the broiler pans
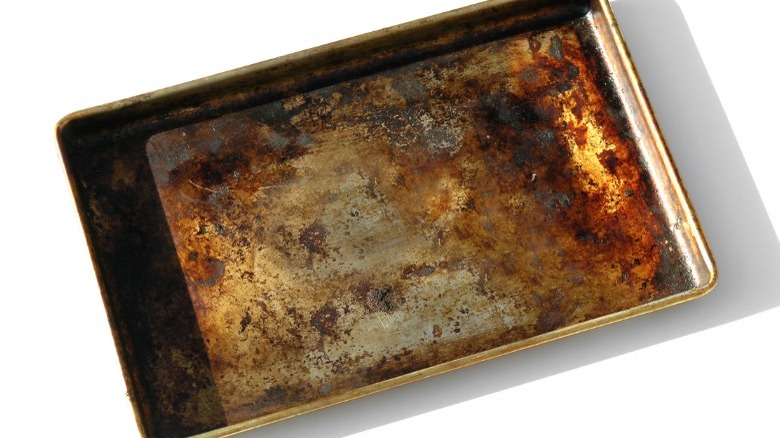
Broiler pans take a lot of punishment and you can keep them cleaner by lining them with aluminum foil before cooking and broiling on them. But when they need deep cleaning, here's an awesome hack — use dryer sheets. You can either place the pan on a kitchen counter and fill it with warm water or soak it in a large sink or container big enough to hold it. Squirt some dish soap on top of the pan and place one or two dryer sheets on top. Then, add just enough water to cover this and let it soak for an hour up to overnight.
Once it's done soaking, drain out the water and remove the dryer sheets. You should be able to scrape off the pans with a sponge, and then rinse it with another drop of dishwashing liquid and clean water. If there are stubborn stains that didn't budge, try using Bar Keeper's Friend or a baking soda paste to remove them.