How To Achieve The Checkered Wall Paint Trend
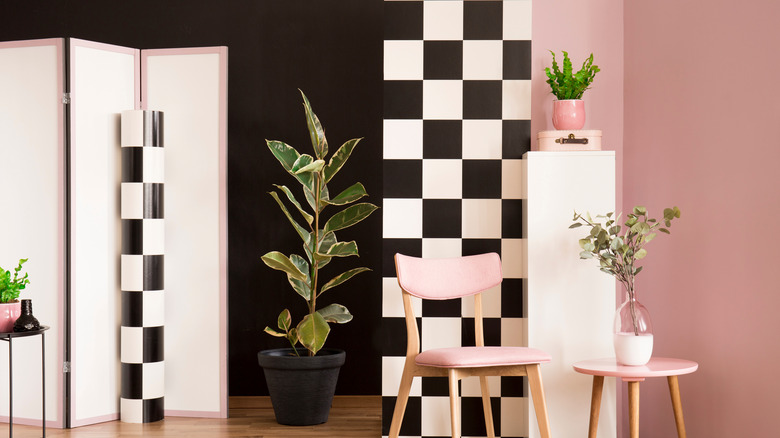
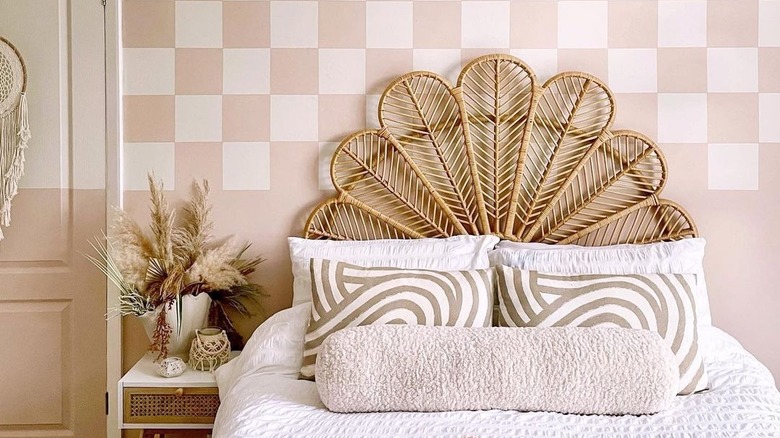
Checkered print is one of the defining features of interior design, and the bold pattern isn't likely to go away anytime soon. Interior designer Tim Neve tells Living Etc., "Looking back in design history, checkerboard obviously has a very classical appeal, given its repetitive, symmetrical nature." He explains that patterns such as this provide a sense of stability and domestic nostalgia, something many of us are longing for in our homes given the tumultuous world we live in. Designer Tiffany Leigh of Tiffany Leigh Design, notes that the trend has come and gone over the course of decades, but this time around, we're seeing some less saturated versions of the traditionally black and white pattern. Trendy colors like tan, sage green, and lavender are giving checkerboard a softer appeal.
Checkers are a timeless pattern that will always be in style, especially for sworn fans. Some even love the boxy motif so much that they're willing to cover their walls with it! Are you charmed by checkerboard print? Smitten by bold colors and strong designs? Here's what you need to know to achieve a picture-perfect checkered wall.
Preparing your wall
A flawless checkered wall requires careful preparation. One helpful way to envision your checkered wall is to start by capturing a photo of the blank wall. In a digital program or on printed paper, sketch your checkered pattern over the wall photo and play around with size, scale, and colors. Once you've settled on your checkerboard design, start by painting the entire wall in your lightest paint shade, such as white. It will be much easier to paint the whole wall white and then add colored squares, rather than paint individual square colors one at a time. Once the base coat is completely dry, you're ready to start marking out your design.
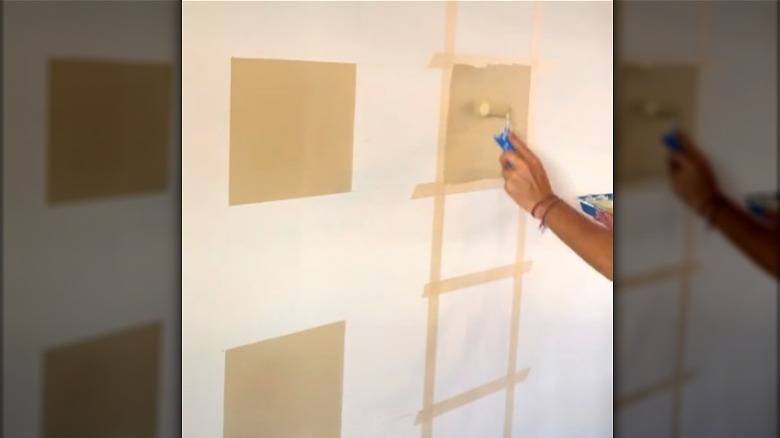
Start by measuring up from the baseboards and marking the height of your first row around the room. Pencil horizontal lines at this height using a level and measuring tape or a laser line projector. Repeat the same steps until you get all the way up the wall, then create a grid pattern by sketching evenly spaced vertical lines around the room. Cover baseboards and door frames with painter's tape, then tape out your boxes. A TikTok user called Furstset shares a helpful technique for preparing your checkerboard squares without getting dizzy; they start by taping every other vertical column, then tape around the boxes within each column.
Painting the pattern
With your columns and boxes taped, you can start painting. Give every other square within each column a nice coat of your darker paint color. You can use a paintbrush if you're working with a small-scale pattern, but a mini-roller is ideal to help you get a smooth finish. To avoid drips and splatters all over your pattern, contractors at A&P Painting and Flooring recommend that you first wet your paint roller or brush with water and pat it dry before dipping it into the paint, then use very light pressure and work slowly on the wall. If you do happen to drip black paint into a white box, for example, wipe away as much as you can and touch it up later with a small brush of white paint.
After painting in boxes on the first half of the columns, let the paint dry overnight or longer, then slowly remove the tape. Use your finished boxes as a guide for lining up more tape horizontally and vertically around the remaining empty boxes. Once again, paint carefully, let it dry overnight, remove the tape, and you're done! All in all, the whole wall may take you a few days to complete, but patience and perseverance will help you achieve professional quality results you'll be proud to show off.


