How To Easily Check Your Homes Water Pressure Levels
It goes without saying that water is important for every household. However, what is even more important is having a consistent water pressure level. Unfortunately, most homeowners only remember to check the water pressure when there is some kind of problem. Moreover, high water pressure is just as harmful to your property as low pressure. According to Knight Plumbing, when high water pressure is left unchecked, it can slowly erode pipes leading to breakages or complete failure. For proper plumbing function, you need to maintain a sweet spot that allows you to take showers and fill water containers in a reasonable duration without risking bursting the water pipes in your home.
For this reason, it is necessary for homeowners to make sure that the water pressure in their homes is within normal ranges. Nu Aqua Systems recommends checking your home's water pressure levels at least after every six months. The good news is that checking the water pressure in your home is not complicated, and you don't necessarily need to call a plumber for the task. However, if it's your first time, you may have trouble knowing exactly what to do. Take a look at the following steps that should help you get started.
Decide on the location
Before going shopping for a pressure gauge, start by identifying the right spot for testing the water pressure in your home. This is an important step that you shouldn't ignore if you want to get an accurate pressure reading. You have a few reliable testing points depending on your specific water supplier.
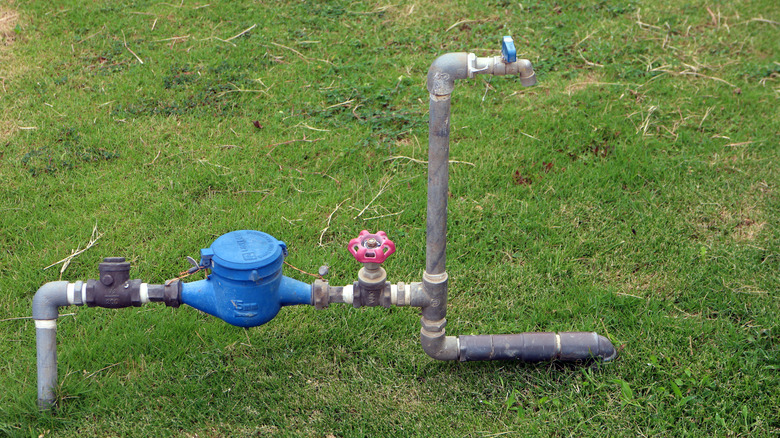
First, if you get your water from the municipal or city water utility, the best location to test your home's water pressure is any outdoor faucet close to the water meter or the mains water supply connection to your home, explains 4FastPlumber. Usually, the pipes supplying water from the mains to your home are the largest giving you the most accurate pressure reading. However, if your water is supplied from a well, the best place to test the water pressure is on an outlet closest to the well water pressure tank, according to Mr. Rooter.
Close every outlet
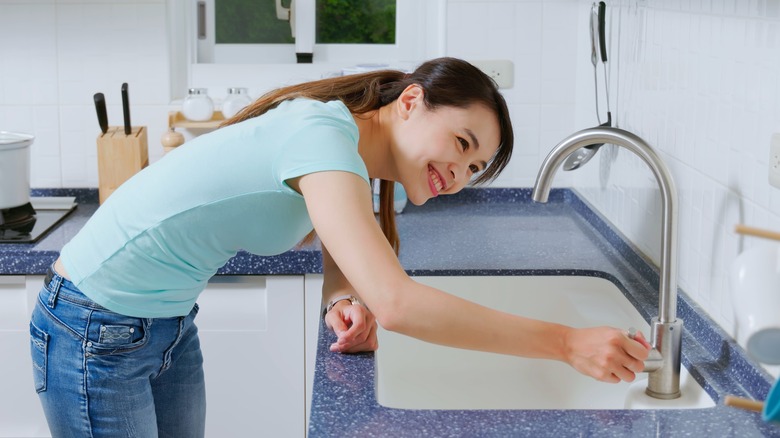
Once you have picked the right spot for testing the water pressure in your house, the next order of business is to turn off the water outlets in your home both inside and outdoors. Depending on the size of your home, you may have plenty of outlets that you need to make sure are off. Begin by turning off every faucet and any other water-using appliances in your home.
This includes appliances like the refrigerator, filter, sprinklers, dishwasher, and also your washing machine. This is particularly necessary to allow you to get the most accurate reading during your test, notes Mr. Rooter. When testing the static pressure of a fluid, any movement of water from an outlet will result in a low-pressure reading. Make sure everyone in the house is aware of what you are doing to eliminate the chances of someone running water randomly in the kitchen during the process.
Hook up the pressure gauge
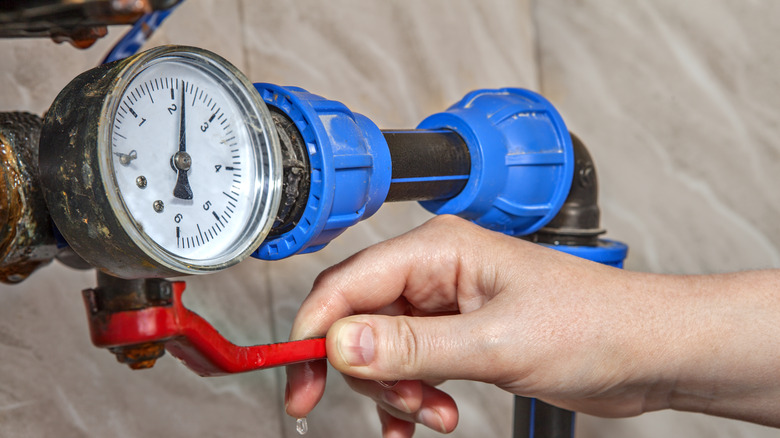
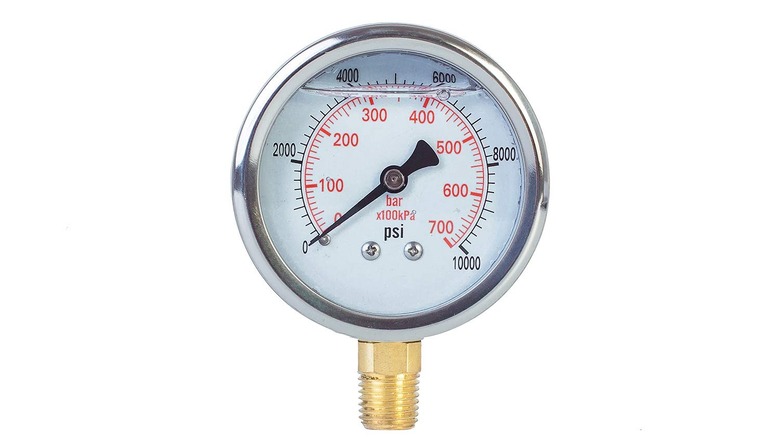
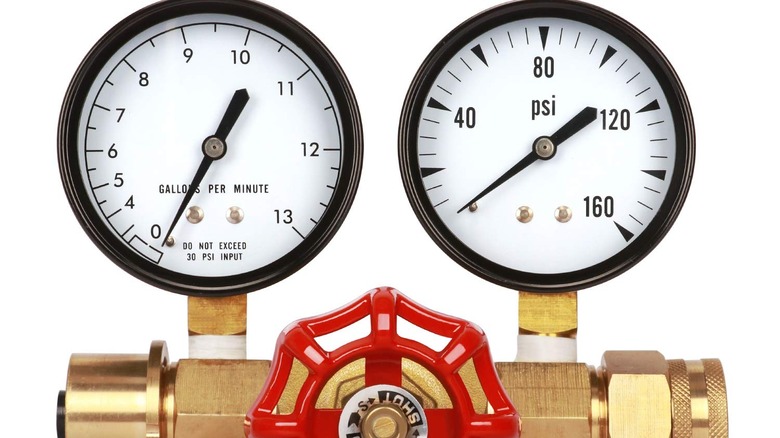
Now, it is time to install the pressure gauge on a faucet in your home. However, you need to be sure you get the right one depending on the use. The ideal pressure gauge should be compatible with the pressure range measured. For regular residential use, Wonkee Donkee Tools recommends getting a pressure gauge with a scale ranging from 0-150 PSI. During installation, it is imperative that you install the pressure gauge right onto the faucet, as attaching the gauge to a hose pipe will compromise your pressure reading.
Typically, you don't need any extra leverage to tightly attach the gauge to the faucet. Hand tightening is enough since the rubber gasket inside the faucet is enough to provide a water-tight seal. However, if you do get a leak during installation, go ahead and grab a pair of pliers or an adjustable wrench to tighten the pressure gauge further. Remember, it is essential that no water leaks from the attachment as this will again give you an inaccurate pressure reading.
Read the gauge
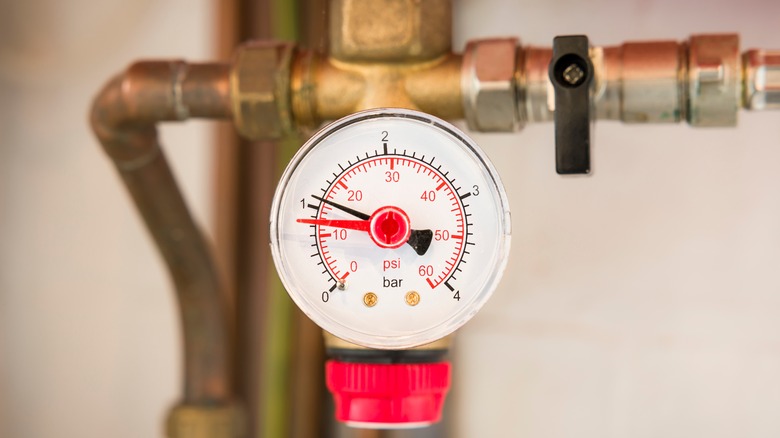
Once the gauge is secured on the right faucet, the next step is to take the readings. It is also worth mentioning that pressure gauges come in different calibrations, and as mentioned earlier, the right one should have the right calibrations depending on the specific application. In this regard, the ideal water pressure for most households should be between 40–60 pounds per square inch (PSI), (via Horizon Services). However, you can check with your water supply company to get the specific flow of water in your area.
You can easily determine whether the pressure is too high or low depending on the specific parameters you have gotten from the water supply company. Begin by turning the faucet fully on, it is necessary that the faucet is all the way open to make sure that water is flowing at full pressure, this is the only way you can get an accurate reading from your water pressure test. Remember, if you get any reading below 40 or over 60 psi, you should find the necessary help from a professional.
Addressing a low or high water pressure problem
So what should you do when the reading on the pressure gauge has deviated from the normal? Well, there are a couple of things you can do depending on whether the pressure is high or lower than recommended. If the water pressure is high, consider installing a water pressure regulator on the mains. If you already have one installed, and the pressure is still high, the device might be faulty. American Home Water & Air, recommends adjusting the regulator to a level below 80 PSI which is ideal for residential homes.
However, if the water pressure is low, it is a good idea to have a look at the pressure regulator to see if it can be adjusted. If the regulator is not to blame, then the problem might be with your water supplier. It is also important to mention that while you can check and also adjust the water pressure by yourself, you can always call a plumber to help you with the task.
