How To Clean A Toaster
Invented in 1893, the toaster is one of the most convenient kitchen and household appliances, via Toaster Report. Whether you have a simple pop-up toaster or a toaster oven, the compact appliance can be found in almost every household across the country. Despite their incredible convenience, from simply toasting your bread to reheating or even cooking whole meals, they are not without drawbacks.
One of the most common issues people may have with toasters is that they can be a fire hazard, warns Jenkins Restoration. This is because they have to produce high heat levels in a very concentrated amount of time to properly function, which, when combined with electricity, causes issues. Modern toasters are designed to be safe for regular use, but things like burnt food or damaged wires can cause a problem. As can your toaster being dirty; crumbs and food remnants at the bottom of your toaster can burn or even catch fire if you don't regularly clean them out.
How often should you clean your toaster?
Cleaning your toaster safely and efficiently is important, but even more when doing so frequently, as it can prevent crumb and dust buildup from becoming a significant safety hazard. According to Appliances Connection, an average pop-up toaster should be cleaned out at the very minimum once a week. If you use it more than once daily, you should consider cleaning it often.
Toaster ovens require even more regular attention. While pop-up toasters usually only heat bread, bagels, or toaster pastries, toaster ovens can and do cook multiple types of food. Instead of just breadcrumbs, you also have to worry about larger chunks of cheese, vegetables, meats, grains, etc., which are much more likely to cause an issue if they start burning. In truth, it's recommended that you give your toaster oven at least a quick clean after every use, as well as a deep clean once a week.
Toaster oven interior
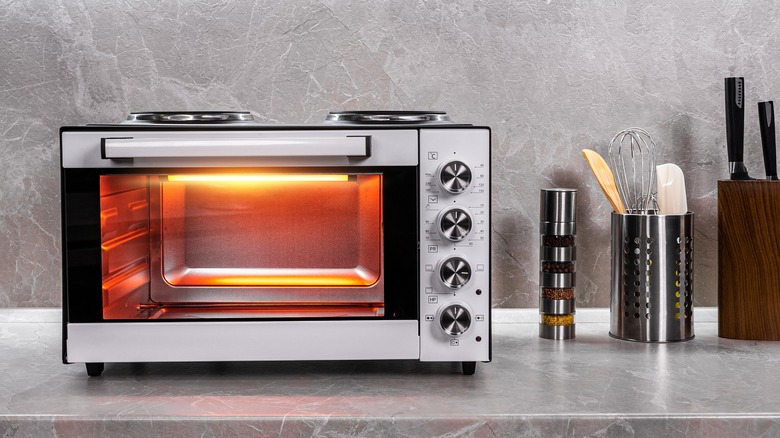
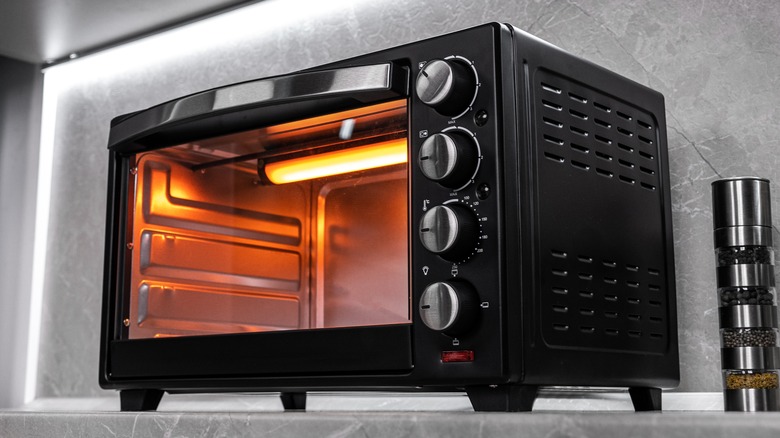
Since they require the most attention, we'll start with how to clean your toaster oven — specifically, the inside of the appliance since it is the most crucial part. This involves the cooking racks, bottom tray, interior walls, and heating coils. The first step in this process is to unplug the toaster oven and ensure it is completely cooled down. Begin by removing the rack and tray, which can be cleaned with dish soap and hot water. If they're filthy, use a food scraper or metal brush or soak them in a hot water bath and dish soap.
While they air dry, either over your trash can or a paper towel, tilt the toaster over and shake it to get out as many crumbs as possible. Then, using either a soft cloth or sponge lightly soaked in a mixture of water and dish soap, gently clean the walls, including the ceiling and floor of the oven. Immediately dry it with a clean and dry cloth, making sure no fibers are left behind. Finally, according to HowStuffWorks, you'll need to clean the heating coils, which can be the most dangerous if food is left on them since it uses infrared radiation to heat or cook your food. Wet the coils with a wet towel, then dip a toothbrush in baking soda, lightly brushing off any food or dirt. Wipe it down again with a damp cloth and dry it before use.
Toaster oven exterior
Now it's time to tackle your toaster oven's exterior. This is a more straightforward process and is more about looks and general cleanliness than safety, but it's still essential. You will need a towel, dish soap, a toothbrush, and vinegar or a disinfectant. Begin by mixing the dish soap with water in a small bowl. Next, dip your towel in the blend and wipe down the entire exterior, being careful not to get any water on the electrical components.
Grabbing the toothbrush, dip it into the soapy water and clean all the harder-to-reach areas, like the inside and hinges of the door. Once that's done, give the whole thing one more once over with just water and then again with a dry towel. Polish all the buttons with a dry towel or stainless steel spray if you want extra shine. Alternatively, per Cooking Light, you can use a cloth with a dab of oil, white vinegar, club soda, or baking soda for that glow. Then use vinegar, or a similar food-safe disinfectant, to sanitize the door, buttons, and anywhere else at risk of bacteria or germ contamination.
Pop-up toaster interior
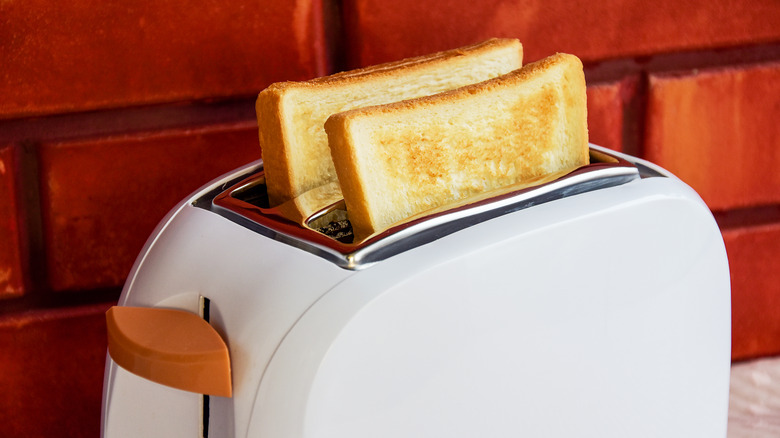
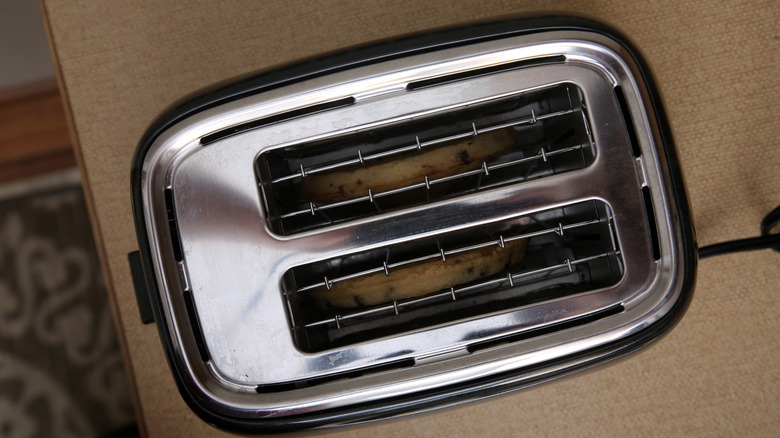
Next up is a pop-up toaster. While they aren't as dangerous when dirty as a toaster oven, cleaning them can be a bit more complex since there's less room to reach and wipe them down. As with toaster ovens, the first and most crucial step is making sure it's turned off, unplugged, and cool to the touch. Note that even if the appliance is switched off, it's still connected to electricity unless removed from the outlet, per the City of Geneva, Illinois.
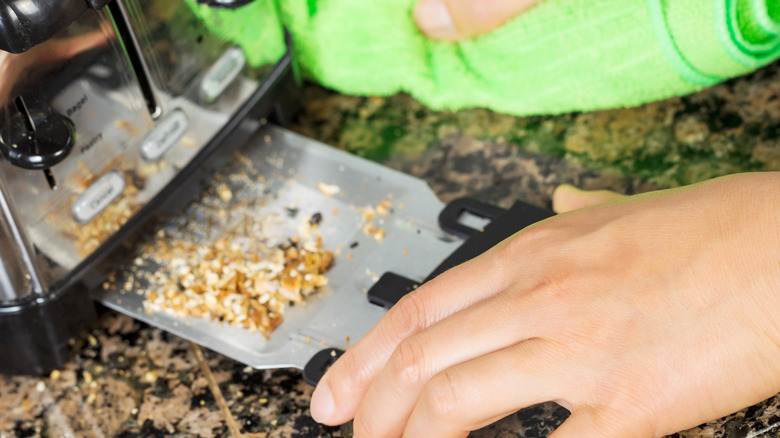
Next, you'll need to remove the crumbs. Most pop-up toasters have a removable or hinged crumb tray on the bottom, and they'll usually either slide out like a drawer or pop off. Regardless of which one you have, you'll need to empty it over a trash can or sink. If the tray comes off, remove it and wash it with dish soap and water, or soak it for heavier buildup. Then, give the toaster another shake over a sink or trash can, tapping on the side to eliminate as many crumbs as possible. You can take a new toothbrush to reach in and disrupt any stuck crumbs.
Pop-up toaster exterior
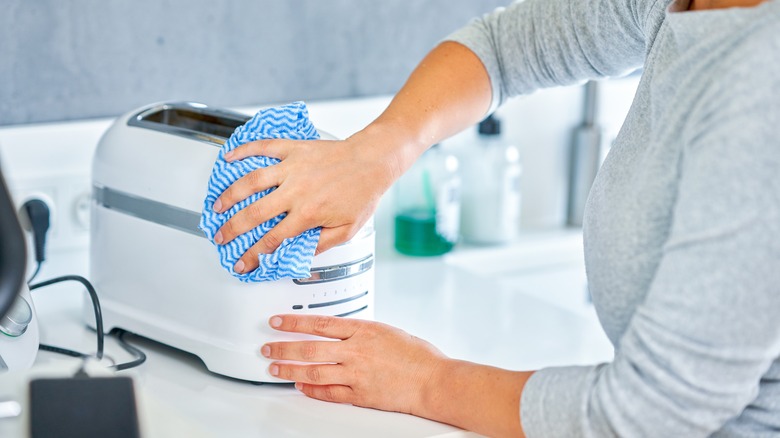
Finally, it's time to clean the exterior of your toaster. This is very simple or slightly involved depending on the material of your toaster. If it's a plastic material, mix dish soap and warm water and use a sponge or towel to clean off the exterior. Use the rough side of your sponge if you have any grime or harder-to-clean spots; then wipe it down with a dry towel.
If you have a stainless steel toaster, you'll need to account for preventing and removing rust. According to Don's Appliances, dish soap and water works fine as long as it's cleaned up immediately, but it may not make the steel shine as much as a commercial cleaner and could also leave behind water spots. It also won't remove rust spots. A simple homemade cleaning solution to remove grease and make the toaster shine involves creating a paste out of the water and baking soda, wiping it on in the direction of the steel grain, followed by a spray of vinegar and a quick buffing. As for rust spots, cream of tartar and vinegar can be applied with a toothbrush to spot and treat the stains.
