The Easiest Way To Get Paint Off Of Brick Walls
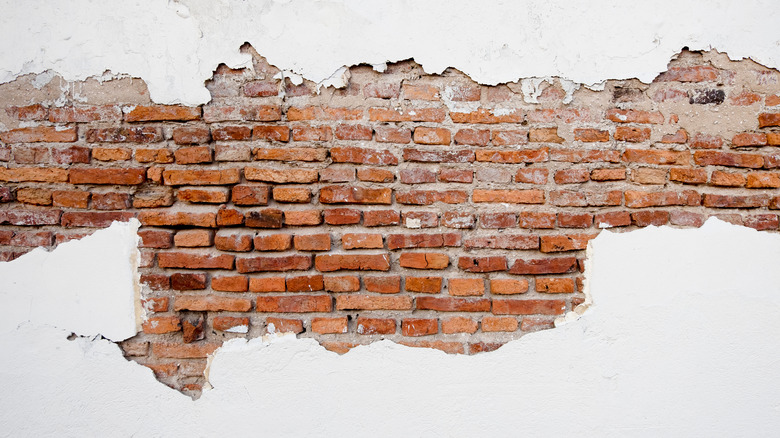
While painting a brick wall seems like a good idea at first, the natural appeal of raw brickwork is unmatched. It might not have been your idea to paint over the brick wall in your house, but that of the previous owner. So if you need to remove the paint over the surface, you will be delighted to know it is possible. Other than uncovering the beautiful brickwork underneath, removing the paint over the wall surface allows it to breathe, which helps prevent moisture problems common with painted brick surfaces, via Blythe Building Company.
You can remove the paint from the brick surface with the right tools and plenty of elbow grease. However, it is important to mention that this process is often tedious and may take plenty of time, depending on the scope of the work. Removing paint from the exterior of a wall is easier said than done. Nonetheless, if you are only dealing with a small surface, it is more straightforward to remove the paint using the available paint stripping products. Take a look at the following tips to help you quickly remove paint from your brick wall.
Choose the right paint stripper
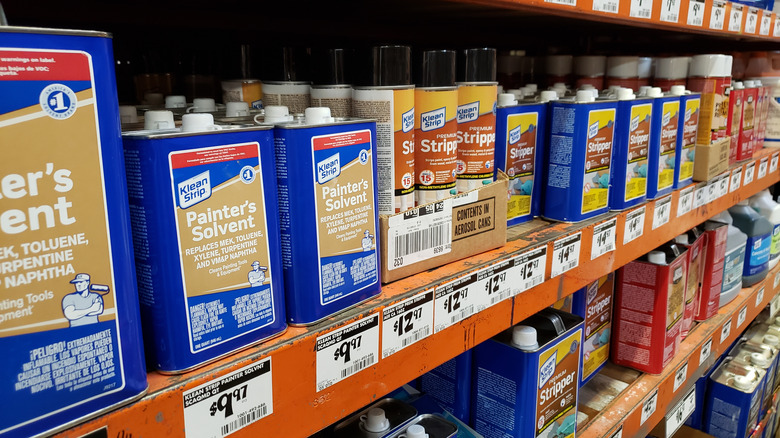
Using the correct stripper will make your work easier. While there are other alternatives like sandblasting and power washing, they may not apply to brick walls because they will destroy the surface, via Rawlins Paints & Coatings. There are two main types of paint strippers: solvent and caustic-based. Solvent-based paints break the bond attaching the paint to the given surface, allowing the color to come off easily. Essentially, solvent-based strippers are more potent than the caustic alternatives but are highly flammable, bringing an element of risk every time you use them.
Caustic strippers, on the other hand, work by breaking down the paint. They are not flammable like the solvent-based options making them relatively safer to work with. So which type of stripper should you use? According to Rawlins Paints & Coatings, solvent-based alternatives provide a far superior finish but are not ideal for thick coats of paint. Caustic-based strippers, conversely, are suitable for oil-based paints with molding. If you are working on a tight budget, you should know that solvent-based strippers are often more expensive than their caustic-based counterparts.
Test and prep the surface
Before going all in, the first order of business is to test a small surface. Apply the paint stripper on a small area on the wall. This step is crucial since it will give you a rough idea of how that particular paint stripper works and the brick wall's condition. It is common for homeowners to paint over old and damaged brick wall surfaces to conceal the unsightly surface. If the previous paintwork is old, it is a good idea to test for the presence of lead on the paint. Little House on the Corner mentions that removing lead paint is more dangerous to your health because of the danger of inhaling lead paint dust.
Another reason for testing a small surface beforehand is that it gives you a sense of the scope of work to expect. The next step is to prep your working area; remember, removing paint over a brick wall leaves plenty of dust and debris. As such, you need to use dust sheets or any other suitable material to hold all the debris and dust. This will go a long way in making the cleanup process a breeze.
Protect yourself at all times
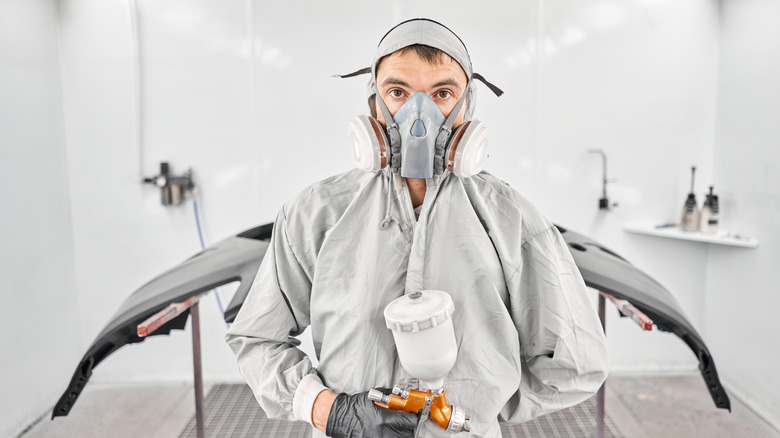
Keeping yourself safe from the chemical compounds of the paint stripper is your responsibility. The U.S Consumer Product Safety Commission mentions that chemicals in paint strippers can cause adverse health effects when not used correctly. Some substances can easily be absorbed into your skin or the eyes, causing irritation and other side effects like dizziness and headaches. For this reason, it is essential to don the correct protective clothing to keep you safe. To prevent the paint stripper chemicals from getting to your skin, consider putting on an overall or clothing long enough to cover your feet and hands.
It is also good practice to wear gloves and a pair of protective goggles to protect your eyes from any hazards. Furthermore, look at the manufacturer's recommendation regarding the gear. Depending on the project's scope, you might be working with a considerable amount of paint stripper and other chemicals; therefore, keeping yourself safe is paramount.
Apply the paint stripper
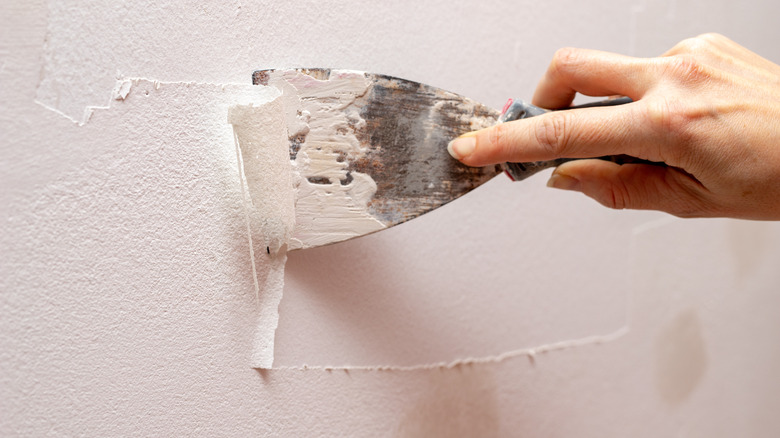
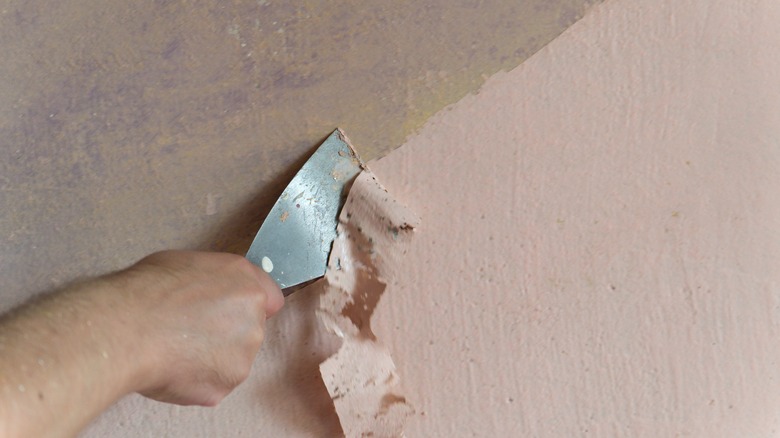
Before applying the stripper to the wall, begin by scraping off the loose paint from the brick surface. Prepping the surface by scraping off any loose paint goes a long way in reducing the mess that you will create during the entire process. Using the specialized tool to apply the compound onto the brick wall surface evenly. Be sure to read the instructions provided by the manufacturer. For hard-to-reach places like the crevices and the mortar joints, you can use a paintbrush to get the paint stripper into those tight nooks and crannies.
Apply the paint-removing compound in thick layers that won't dry out too fast. You can achieve this by applying several thin layers until the mixture builds to the recommended thickness from the specific manufacturer. Remember, the stripper should not dry before covering it with peeling strips, mentions Paint Corner Pro. To make your labor more manageable, consider working in smaller sections; this allows you to apply the stripper and cover it without risking it drying.
Remove the paint
Once you have applied the stripper to the area of interest, you need to give it enough time to penetrate the paint effectively. How long the stripper takes to remove paint depends on the specific brand. However, Mr. Hardware mentions that the paint strippers that take a shorter time tend to have strong chemicals; therefore, you need to be careful when handling them. Begin by removing the strips or the sheets and test the solidity of the paint underneath using a putty knife. The color should be molten with a thick consistency that is easy to scoop and remove. Start from the top, scraping the thick paste across and moving down gradually.
Depending on the quality of your stripper, you might have to apply another coat on the stubborn areas. Remember, the goal is to remove the existing paintwork on the brick wall, and leaving behind patches of paint will only make the wall look more hideous. It is worth mentioning that while the stripper will remove most of the paint from the surface, you will have to go in with other hand tools to do the finishing touches. You will need a wire brush to scrape off any remaining paint. Once all the paint is off, hose down the surface using normal pressure and step back to admire your handy work.
