The Easiest Way To Paint Your Outdated Wicker Furniture
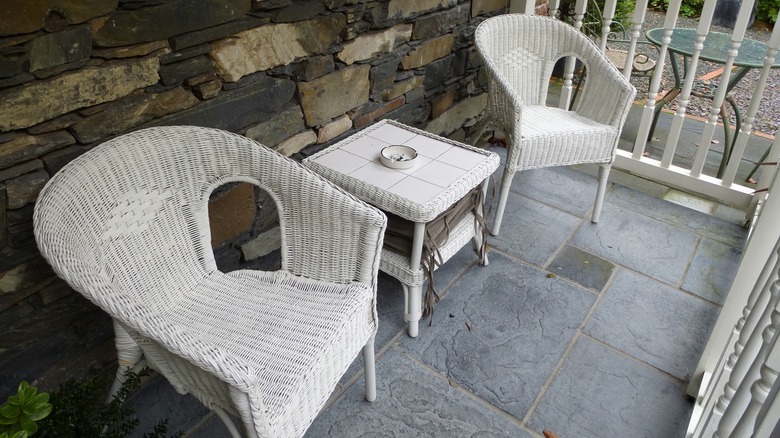
There is so much to admire about wicker furniture; they not only add plenty of beauty and personality to your space but are also relatively lightweight yet sturdy, via Networx Systems. Heck, they will easily last you several years when properly maintained. Famous for the outdoors, this fantastic furniture brings back nostalgic summer vibes regardless of the season. However, after a couple of years, it is normal for the woven material to start losing its aesthetic appeal, especially when exposed to weather elements. However, the good news is that it is relatively easy to bring your wicker furniture back to its former glory using paint.
So whether you are giving your old wicker furniture a retouch or thinking of getting a few chairs from the antique store, a good coat of paint will do the trick for you. Fortunately, painting your wicker furniture doesn't need the help of a professional — by following a few easy steps, you can easily DIY the entire process. Having said that, take a look at the following steps to quickly revamp your outdated wicker furniture with a fresh coat of paint.
Prep your working area
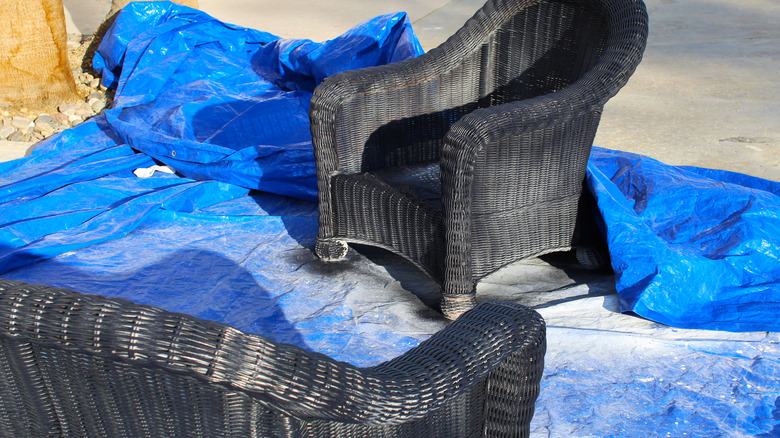
To begin, it is worth mentioning that spray painting is the only way to achieve an even and consistent finish because of the woven design of the wicker furniture. As such, you need to pick and prepare a suitable place where you will do the spraying. Remember, spray painting can get messy, and despite your carefulness during the process, you are bound to overspray. For this reason, the best place to spray paint your wicker furniture is outside, preferably on a warm sunny day, according to Painted Furniture Ideas.
It is also essential that you pick a less windy day, lest debris like leaves gets blown your way, compromising the quality of your finish. Be sure to remove any belongings out of the way and also consider moving further from your house to prevent accidental splashing. Furthermore, it is vital that you lay down a drop cloth that will prevent the paint from spraying all over your yard or patio. You don't want the unnecessary task of scrubbing the paint stains off your patio right after spraying. Another benefit of a drop cloth is ensuring no ground debris spoils your finish.
Clean the furniture
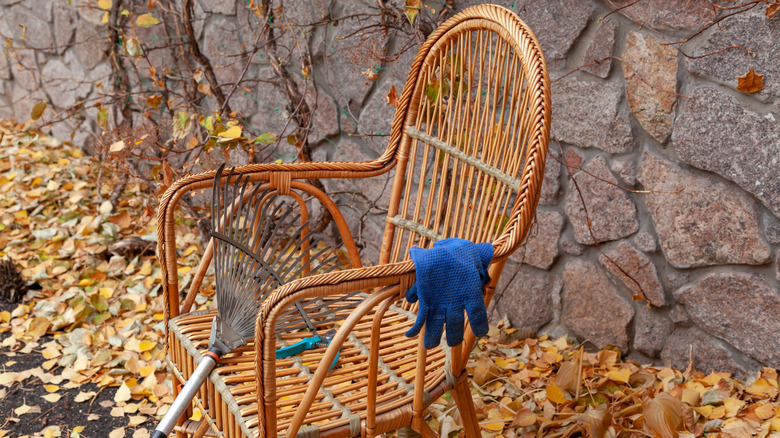
Painting your wicker furniture is no different from painting any other object, like a wall in your home. Before getting down to the actual paint job, the first order of business is to clean the surface you are updating. According to All Climate Painting and Remodeling, debris and dirt on the surface will ruin your finish's quality, making surface preparation necessary. Because wicker furniture is notorious for having cobwebs and holding other unwanted debris, especially if they were in storage, begin by scrubbing down the surface with a stiff brush. Remember not to go too hard to the extent of damaging the material.
Right after, you will need to wash the furniture with soapy water. During the process, be sure to inspect for the presence of mildew. In the unfortunate scenario of mildew on your furniture, All Dry USA recommends preparing a mixture of 1 part vinegar and 1 part water and using it on the affected area. This will help you kill the mildew and mold permanently. Rinse everything off with clean water and allow the furniture to air dry.
Prime before painting
If you want to pull off professional paintwork on your wicker furniture, you cannot afford not to prime before painting. Essentially, priming the surface before painting allows the paint to adhere better and is also quite important when considering changing the color of your furniture from darker to lighter shades. The Wicker Woman recommends using oil-based wood spray primer for the surface of the furniture. To prevent the paint from absorbing right into the material, consider giving the furniture more than one coat of primer.
It is also important to mention that you must allow each coat to dry before going in with another coat whenever necessary. The good news is that primer dries relatively quickly compared to paint, so you don't have to spend more time outdoors than you need to. When it comes to the primer application, consider wearing a mask to avoid inhaling the toxic fumes. Also, stand about a foot away and coat the surface with the primer from every angle, ensuring the furniture is evenly coated. Use gentle continuous sweeping motions to achieve the best results.
Time to paint
Now here comes the fun part! Right after the final coat of the primer has dried up, it is time to give your wicker furniture the much-needed coat of paint. You will be required to provide your furniture with more than one coat of paint. For most applications, two coats should be enough; however, if you need to add one more for whatever reason, by all means, do so! Like the primer application, sweeping motions give superior finishes when spraying. The Wicker Woman also recommends oil-based paints for wicker furniture because they are long-lasting and adhere better than their latex counterparts.
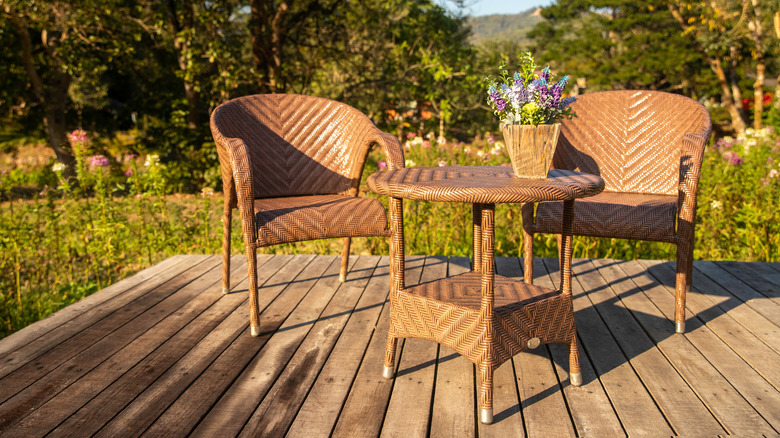
Be sure to apply paint from every angle; starting from the far-to-reach corners might be ideal as you finish the visible parts last. Since you must use more than one coat, allow the first coat to dry off properly. After painting the surface to your liking, allow the paint to air dry slowly. There is no one set drying period; how fast the paint takes to dry depends on the type and specific manufacturer. There is no doubt that the painting phase is the most transformative step in the entire process — you get to witness firsthand how your old and dusty furniture jumps back to life.
Allow the paint to cure
Just because the paint is dry doesn't mean the furniture is ready for use; the paint needs time to cure. This process can be challenging, as it involves the evaporation of solvents. While the paint might dry in two hours, the curing process takes longer. According to Salvaged Inspirations, how long a paint takes to cure depends on the factors like the number of coats applied, the thickness of the paint, or even the sheen. When painting wicker furniture, the type of paint plays a critical role as far as the curing time is concerned.
To put this into perspective, oil-based paints take between 3 and 7 days, while water-based paints take 21 to 30 days. Once confident that the paint has cured, you can dorn new hardware on your revamped furniture. While you can use the older ones, you will be surprised just how much better your furniture will appear with new shiny pieces of hardware to complete the new look.
