5 Clever Ways To Store The Seeds You Collect From Your Garden
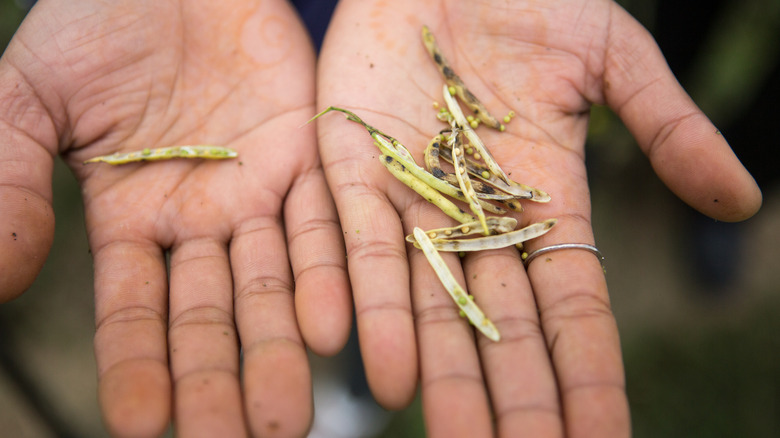
Collecting seeds from your garden instead of buying them from the store can help you save money and make it easier to plant the varieties you love each year. However, collecting and storing seeds can be a tedious and frustrating process if you don't do your research first. The way you collect your seeds can differ based on the type of plant you are harvesting them from. As told by the University of Minnesota Extension, self-pollinating, cross-pollinating, open-pollinating, and hybrid plants all have different needs when growing and harvesting. If you are a beginner gardener, it's recommended that you stick to self-pollinators such as tomatoes, peas, and peppers.
After collecting seeds from your garden, they can be stored in a variety of containers. However, they must all be kept in the same type of environment that is dry, cool, and dark to avoid disease development. From plastic and glass to cardboard and foam, there is no limit to the imaginative seed storage options you can create. Look around your home for unused items that could store your packets with ease. To get you started, below we've detailed five different household items you might already own to organize your seeds for years to come.
Recycle old cardboard boxes
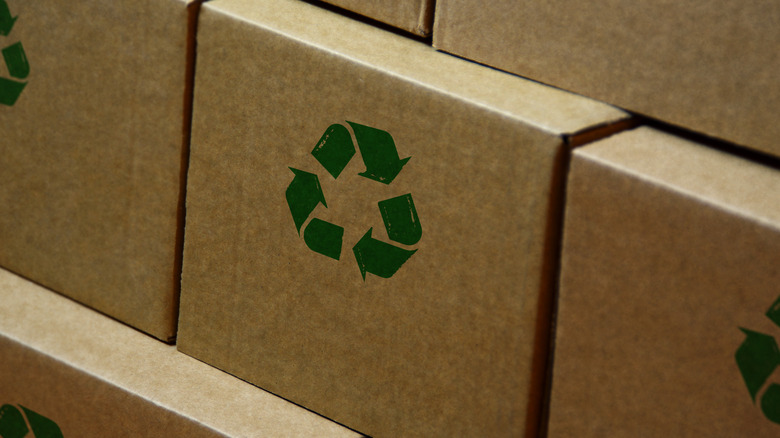
Almost anything in your home can become the perfect place to store your seeds if you are creative enough. One great option is sitting in your recycling bin. By cutting up cardboard, you can store seeds as if they were in a tiny filing cabinet for easy access in the spring. Cardboard is a good medium to store seeds in because it is rigid and easy to move. Small cardboard boxes that once stored dry goods such as cereal, mac n' cheese, pasta salad, or cake mix are perfect for bringing into your garden for collection and storing in your pantry, attic, or basement storage room until you need them.
As noted by Oregon State University, seeds should be kept in an area that is easily made dry and cool inside your home. Often, sources such as this suggest that you keep your seeds in an airtight container, but that is not necessary if your storage area isn't humid or wet. In dry areas, paper and cardboard allow airflow that keeps your seeds evenly dry and cool throughout the winter.
Cassette tape case
Looking around in your long-forgotten storage space can help you find something to keep your seeds in. Containers such as eight-track or cassette tape cases are perfect for seed storage. This is a wonderful option for those of us that are not necessarily crafty because the cases need no modifications. They already have even separations for you to keep your envelopes full of seeds perfectly organized.
Thankfully, these cases are already air-tight too. When storing your seeds here, you can rest assured that they are safe from moisture as well as rodents that may be searching for a snack. After going through the painstaking process of harvesting, separating, and drying your seeds, as described by Utah State University, the last thing you want is for your bounty to be ransacked. If you live in a particularly humid environment, try placing silica gel packets inside your eight-track case to absorb any moisture that may find its way into your storage box.
Photo album
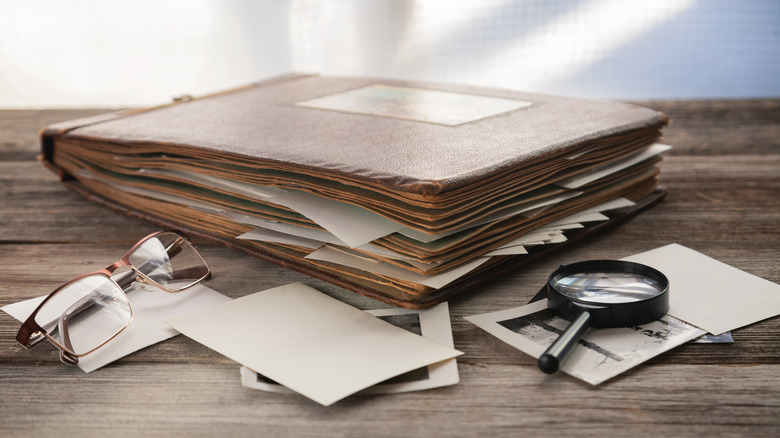
Photo albums don't just store your favorite memories. It's common for savvy organizers to also use these compact storage books to keep makeup samples, coupons, receipts, and even plant seeds. If you have an extra photo album laying around your house, its plastic pockets and easy-to-organize layout allow you to store your seed packets with ease. Whether you are a no-fuss gardener that simply slips each of your packets into the photo pockets, or you like to customize your storage solutions, this clever opportunity to arrange your collection of seeds will please you.
The University of Minnesota Extension mentions that you should label all of your seeds no matter how you store them. When you keep seeds in a photo album, you can simply write on the plastic pockets, so you know exactly what your assortment holds. Alternatively, if you want your organizer to show some personality, you can print off images, name tags, or templates that creatively tell you the species, variety, and when they were collected.
Plastic bags
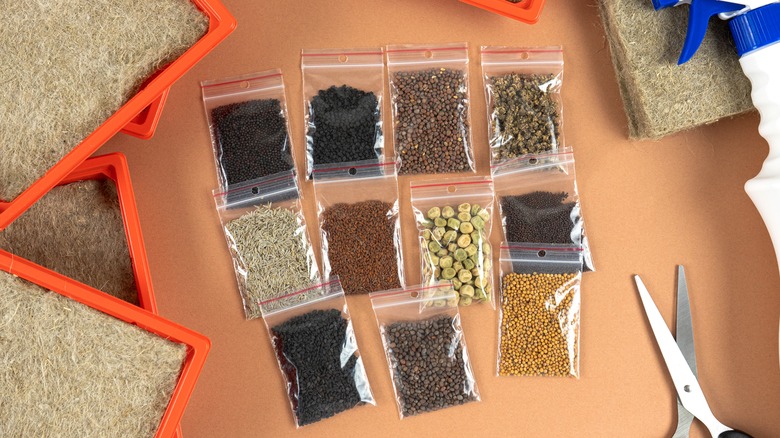
Sometimes, the simplest option is the best option. Plastic bags can easily keep seeds dry, cool, and safe from animals or insects that are trying to steal your stash. They are also the perfect size for filling with the seeds you've collected from your garden and storing them in a box for later. You can easily organize them with nothing more than a marker to write the important information down, which will help you with planting in the growing seasons to come.
RHS notes that seeds will be harmed if there is any excess humidity when they are stored. Moisture that finds its way in causes them to rot or become diseased. If this happens, all of the seeds in that container will be unusable during the growing season. To avoid this when using plastic bags to store your seeds, you should make sure that you squeeze as much air as possible out of the bag and consider using a desiccant like calcium chloride or silica gel to soak up any moisture left over.
Mason jars
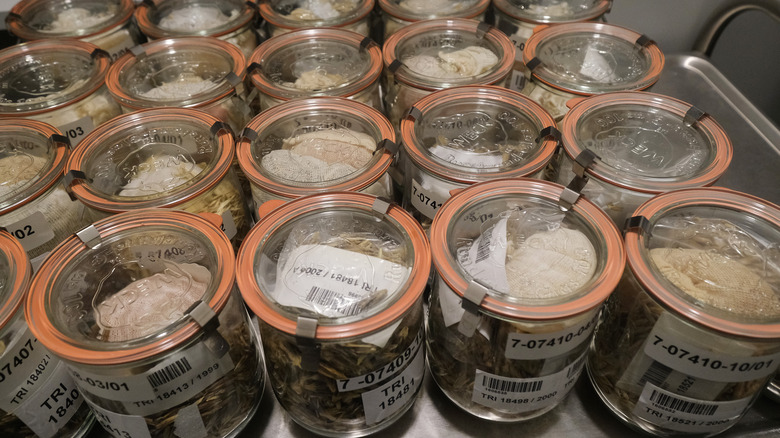
Mason jars are one of the most highly recommended seed storage containers. They are cheap, durable, reusable, and airtight, which checks most gardeners' boxes when they are looking for an easy storage solution. Truly, the only problem with most mason jars is that they are transparent. When storing seeds away for the winter, you must be certain that they won't receive any sunlight. Warmth and light can cause them to begin developing before you plant them, making them useless, according to High Mowing Organic Seeds.
Glass or plastic seed storage should be made opaque with fabric, tape, or another material to protect the seeds from warming temperatures. On the other hand, you can also store these containers in your freezer to ensure a cold enough environment to keep them from growing. However, keep in mind that rapid dethawing can also harm your seeds. Allow your jars to fully warm on their own before taking off their lids so that the seeds absorb no moisture during this process.
