Savvy Ways To Make A Plaster Wall Effect In Your Home
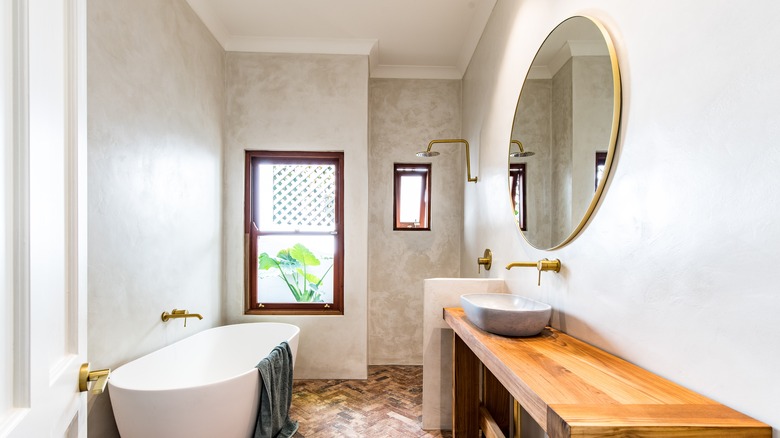
The bare plaster wall effect has become a huge trend seemingly overnight. This visual element brings up images of a heavily used art studio or warehouse space that oozes creativity and the energy of the antique intelligentsia of another era.
A plaster effect on a wall can elevate the uniqueness of any room and create a blank slate with which a homeowner can reimagine the decorative aspects of the property. This is a great option for minimalists looking to generate empty space without actually stripping away color and decoration, and it can work perfectly in a home working environment that requires calming background energy and décor.
Regardless of your purposes, it's probably not feasible to strip away paint and other coatings from the wall to create a true, exposed plaster wall. In fact, Homebuilding notes that plastering any wall requires highly technical skill and an intense amount of focus and patience. As a result, creative problem solvers have developed surefire ways to replicate the look and basic tactile response of a barren plaster wall with savvy paint application.
Continue reading to learn how to achieve a plaster look in your home.
Select your color palate and prepare the surface

The color palate that you select will guide the remaining process. Therefore, it's crucial to think long and hard about the color scheme you are hoping to achieve with the decorative element. You'll need a few different coats of paint in various shades of the same general color tone, so it's also necessary to consider how dark you want the finished product to appear. Plaster wall creation can be a light affair or one that leans heavily into darker hues and a gritty ambiance.
Dulux suggests thinking about the colors you like to wear or the shades present in your favorite memories (for example, a beach or forested backdrop of your favorite vacation spot). These kinds of glimpses into your deep-seated personal preferences can help make the process easier and the finished product all the more stunning.
As well, to prepare the surface, you'll want to clean the wall, lay drop cloths around the space to be painted, and apply a coat of primer — as you would with any wall that you are preparing to paint. Even though the finished product will look a lot less refined than in a typical painting scenario, the same rules apply. In fact, with the nuanced process ahead and the desired look in mind, the preparation may be even more important than in a more traditional painting setting.
Apply multiple coats of similar tones and rough up the interim product along the way
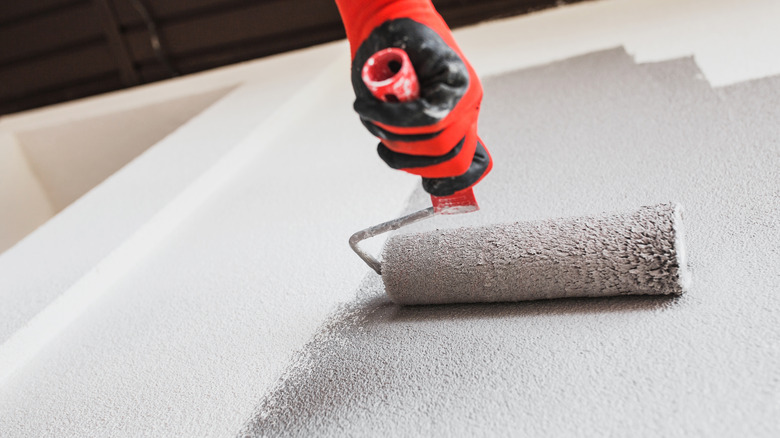
After preparing the surface, it's time to paint. Texturing a wall is all about the plan you bring to bear, and True Value notes that it can be beneficial to add texturizing elements to paint before even considering rolling it onto the wall. Another option suggested by True Value is to use joint compound after the paint has dried.
For a plaster effect, it's all about the layers, bringing the same kind of planning elements into the project as a brick wall effect or other similar design options. Painting the wall with your darkest shade first will create a backing tone that all the remaining texture elements can contrast against. Applying a thin coat of paint and scraping it with a putty knife (or similar tool) will give the wall a barren, aged appearance that's a perfect starting place for the remaining stylization steps.
After the dark shade has dried, applying new coats of continuously lighter shades (one or two shade additions is typically perfect) and roughing the texture with paper towels, a sponge, or a rag will ensure that the wall maintains its unfinished plaster appearance. Similarly, you'll want to paint in a sparse pattern that allows patches of the darker shade (or shades) to peek through the layers. And stand out as visual contrast along the surface.