Keep Your Closet Organized With A DIY Jewelry Box
We may receive a commission on purchases made from links.
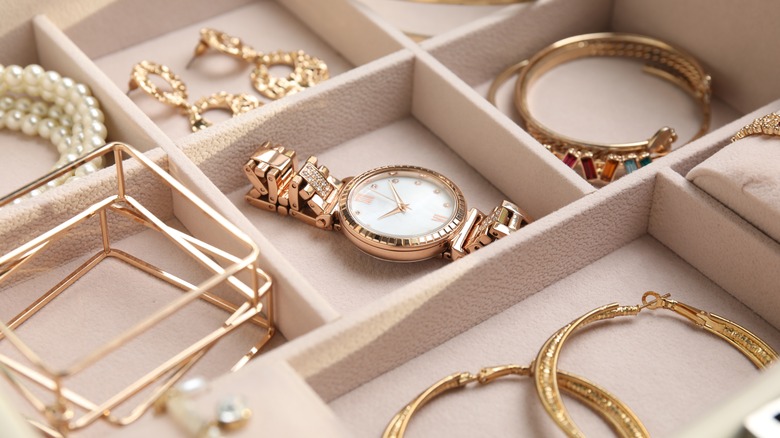
Even if you've discovered the best way to organize your closet, small and valuable items like jewelry can still become a messy eyesore if they're not stored neatly. Surprisingly, it shouldn't be too difficult to DIY the perfect jewelry box for your needs with some wood. This project will also require a miter saw, clamps, a sander, and a strong wood glue which you can purchase at Ace Hardware for about $5). While you can simply make a wooden box with a lid to store your keepsakes, adding a tray inside or hinges to the lid are easy ways to customize this project. To decorate your DIY jewelry box, staining the wood can be a great look, but if you're using scrap pieces that don't match, paint is a wonderful way to make your storage solution unique.
For the top and bottom of your box, you'll want a thicker board, while the sides can be slightly thinner. For those who plan to add hinges, ensure your wood has the correct dimensions to properly screw them in. If you make a tray insert, the pieces of this should be about half as thick as your sides. Once you've decided what size you'd like the jewelry box to be, you can begin measuring your planks and planning. Now you can avoid cluttered drawers and tangled jewelry with this DIY organizer, and make a beautiful jewelry box that's just your style. When cutting the wood, be sure to wear eye protection and take safety precautions.
DIYing a custom wooden jewelry box
Saw your thick board into two identical planks to make the top and bottom pieces. Cut grooves into all four sides of the top and bottom that are ½ inch wide and ¼ inch deep. These will allow your sides to sit perfectly flush against the bottom and top of the box. Now, cut four side pieces, making sure the short ends are at a 45 degree angle to allow them to sit perfectly together. Apply wood glue into the grooves and onto the angled ends of your side pieces and clamp together. Make sure to wipe off any glue that squeezes out of the seams. If you just want a minimalistic jewelry box, finish by sanding and staining or painting.
To make a tray insert, start by gluing two of your thinnest planks into opposite sides of the box. These pieces should be the same length as the box's sides and will hold up your tray, allowing for more storage beneath it. Using the same thin wood, cut out a bottom and five sides that are an ⅛ inch smaller than the dimensions of the box's interior. Make grooves into the ends, bottoms, and middles of two side pieces, and into only the bottom of two more. Glue the bottom and sides together using the grooves, and fit the last piece in the center as a divider. With this simple project, you can DIY stylish jewelry organization to keep your closet tidy.