The Paver Tiles You Should Install To Create A Safe Play Area Outside Of Your Home
Installing pavers over a portion of your yard gives the outdoor space more functionality and lets you enjoy activities like alfresco dining, entertaining guests, and throwing barbecue parties. But if you have kids, traditional paver stones present the same hazards your little ones are subject to when playing on the street. Most notably, falling on a stone paver surface can easily lead to bruises and scratches. Fortunately, there is another type of paver tile that lets you designate a safe outdoor area where your kids can engage in carefree play without risking injury. Rubber pavers, like these ones from Material Warehouse, create a sturdy surface to run around on, but they're soft enough to absorb the shock of falls without causing pain.
Apart from being kid-friendly, rubber paver tiles offer a wealth of other advantages. In fact, some of these benefits are compelling enough to consider using these pavers instead of traditional stones to pave the entire backyard patio. Unlike brick, stone, or clay pavers, their rubber equivalents are much more comfortable to walk and stand on, due to their inherent softness. Also, these pavers are not prone to cracking because they're made from an elastic material that doesn't damage easily in response to loads. Finally, rubber pavers can weigh as little as three times less than their concrete or clay peers, which makes them much easier to install without expending lots of elbow grease. Below, we'll explain how to install rubber pavers properly to make a child-friendly outdoor paved area.
How to install rubber tiles outdoors
The specific steps for installing rubber pavers will vary depending on the pavers' manufacturer, so it's always important to follow the instructions on the package. That said, the process generally involves very similar steps. Whether you're installing the outdoor flooring over a grassy area or a dirt patch, you'll need to prepare the paver base first. If you have grass, strip the top layer, and excavate the soil until the surface is even. Proper drainage is important, since water that gets trapped beneath the pavers could be problematic. Then, use a tamper tool to compact the soil as best as you can.
With the surface prepared to receive pavers, figure out how many pavers you will need. It's a simple enough calculation. First, multiply the width of the area you intend to pave by its length. Then, divide this number by the area of the pavers you're using. For example, if the play area you've designated measures 10x10 feet, and the pavers are 12 inches x 12 inches, multiplying 10x10 gives you 100 square feet. Since a 12x12-inch paver is 1 square foot, you'll need 100 pavers to complete the job. In some situations, you might need to cut the pavers, so add 5-10% to the calculated quantity to account for waste.
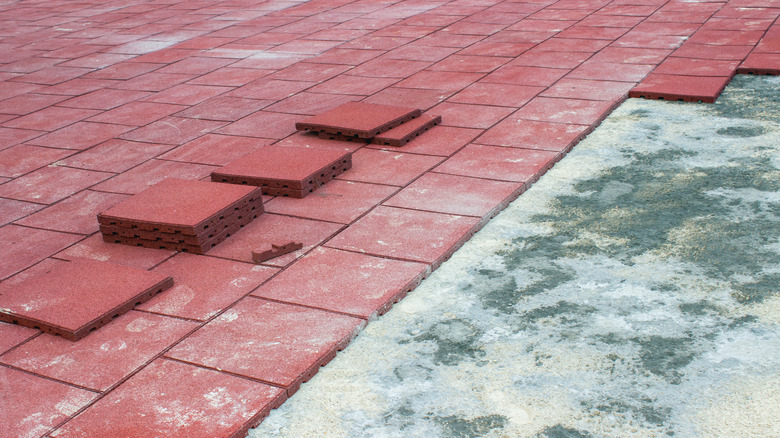
Next, install the edging system that will secure the pavers per the manufacturer's instructions. Then, use the 3-4-5 method to make sure that your layout is perfectly square, and begin laying down the pavers from the center. Depending on the product, you may have to fasten them to the substrate with a bonding agent — be sure to follow the adhesive manufacturer's instructions if this is the case. Likewise, some paver systems come with a grid you'll need to install, then lay the pavers on top.