The Simple DIY Water Bottle Organizer That Brings Harmony To Cluttered Cabinets
We may receive a commission on purchases made from links.
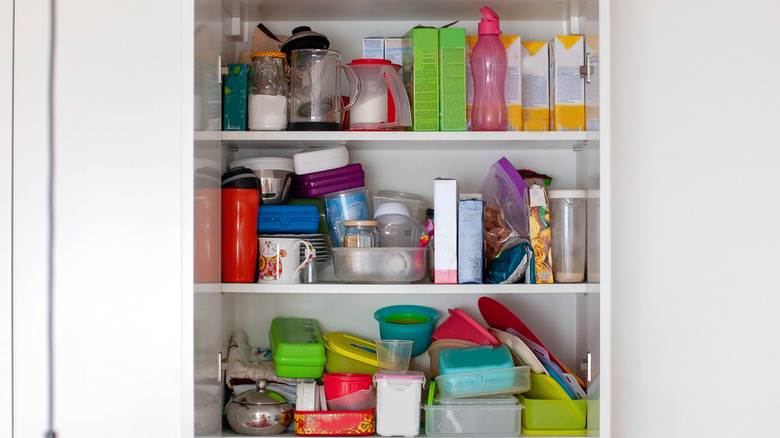
While we all may have different opinions about whether our reusable water bottles should be inexpensive and basic or trendy and pricey (looking at you, Stanley cup!), most of us have one thing in common — we have battled organizing them. There are many water bottle storage hacks, but an easy two-part solution is genius. First, throw away any grungy-looking bottles or ones with missing parts. Also, look for discolored or black spots, as water bottles can be a source of mold, mildew, and germs if they have been improperly cleaned. Donate any others that you don't need. Once your decluttering is done, build a simple water bottle holder to keep your collection tidy and easy-to-get-to. To do this, you'll cut your wooden boards, attach the pieces together, place it in your cabinet, and organize all your water bottles on it. The best part of this project is all the extra space you'll have in your perfectly organized kitchen cabinet.
If you don't already have them, look into borrowing a couple of tools from family, friends, or a hardware store. You'll need a brad nailer, which is a small nail gun, and a circular saw along with brad nails and wood glue. For a rack with just one level, you'll also need a 1x6 board that's at least 16 inches long and a 1x2 board whose length is at least three times the desired width of your holder. If you want more storage, make two (or more) levels and join them together with mounting tape. Also, buy a pint of your favorite paint color to decorate the rack when it's done.
How to DIY a wooden water bottle holder
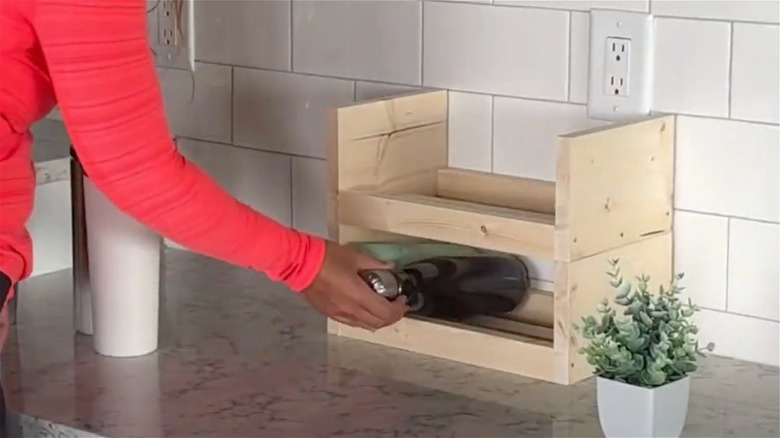
To build your wooden water bottle rack, first figure out how long you want it to be and then subtract an inch and a half from this measurement. Cut your 1x2s into three even sections that are equal to that length. For the sides of the rack, cut your 1x6 board into two 8-inch long pieces. Once you have all your cuts made, lightly sand the edges of each for a smooth finish. Then lay the three 1x2 pieces next to each other, with the middle piece laying flat and the top and bottom pieces standing on their sides. Place the side pieces vertically so they touch each end of the 1x2 pieces. Space the 1x2s out evenly, then attach the 1x6 side pieces to them using brad nails and a brad nailer. Use wood glue to strengthen the seams. If you're stacking two racks, use double-sided mounting tape between the levels to keep them together.
Now comes the fun part: decorating your water bottle rack. Paint or stain the wood in your favorite color. You can go bold with more than one color or match your kitchen cabinets for a more traditional feel. To organize your home like The Home Edit, use cute labels to sort your water bottles by size or owner. Amazon has a 100-piece set of chalkboard labels for under $7 that comes with a paint pen for a sweet vintage look. If you're really crafty, use a wood-burning pen to etch a design on the front and sides of your rack.