You Don't Need A Professional To Install An Attic Hatch And Ladder On Your Own
Attics offer a convenient place to store items you seldom use. Accessing attics, however, is anything but convenient. If you don't have a sufficiently wide access point, or a ladder leading to it, what do you do? If you're dealing with this limitation while trying to convert your attic into a usable space, the best thing to do is to cut out a new attic opening and fit it with a hatch and ladder. Fortunately, there's no shortage of attic ladders on the market, most of which are retractable and come attached to a hatch. And if you're worried about tackling this project on your own, let us set your mind at ease. While it's not the easiest DIY task out there, with good preparation and a helping hand, you can make a new attic opening and install a ladder on your own, without hiring professionals.
To complete this project, you'll need to find a suitable ladder, determine the ideal hatch location, cut the opening, and finally, affix the ladder. The most challenging part of this DIY will be to cut the opening, especially if the attic joists are spaced at less than 2 feet (the optimal opening width is about 25 inches). To help you avoid costly errors during the most treacherous steps of this DIY, below we've put together a quick explainer on how to cut out an attic hatch and outfit it with a ladder, as well as which mistakes to steer clear of in the process.
Typical steps for building an attic hatch and ladder
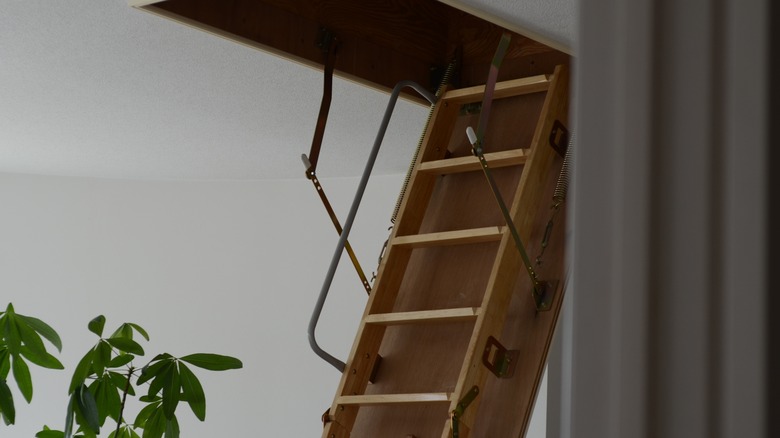
Before buying a new attic ladder, consider how much weight it will have to support — it should hold up at least your weight plus another 100 pounds or so. When quantifying the length, bear in mind that the ladder will not be perpendicular to the floor in the open position. The ideal angle between the ladder and the floor is between 70 and 80 degrees.
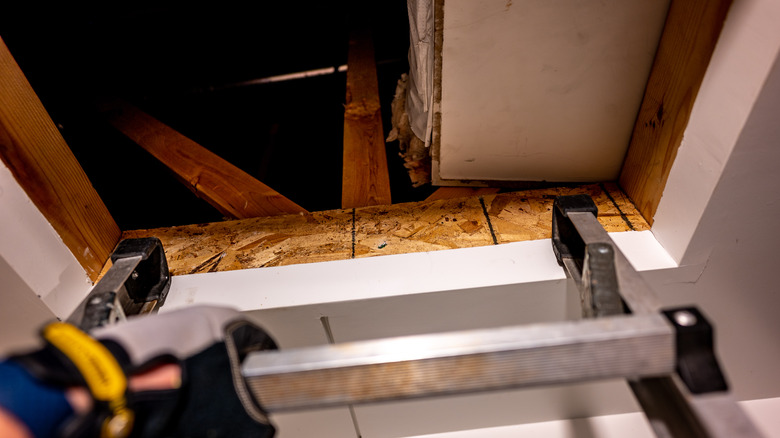
Next, find an appropriate spot for the attic hatch. Consider the attic ceiling height — you want to be able to traverse the ladder comfortably, without having to crouch when entering or leaving the attic. This problem could present itself if the access point is too close to the walls that support the roof structure, since the attic ceiling will be at its lowest point there. Once you've picked a spot, use a stud finder to identify ceiling joists and mark the cutout location in a way that avoids them. This part may get tricky, since the opening must be roughly 25 inches wide, and over 55 inches long to make the passage up and down the ladder convenient. Meanwhile, the maximum joist spacing is 24 inches. So, it'll be a tight squeeze.
Now, use a saw to cut the drywall out, then reinforce the hole you made. Cut wooden planks to the size of the opening, and fasten them to the joists with screws. This will give you a framed rectangle around the access hatch opening. Now, follow the ladder manufacturer's instructions to affix the ladder to the opening.
Mistakes to avoid when DIYing an attic hatch and ladder
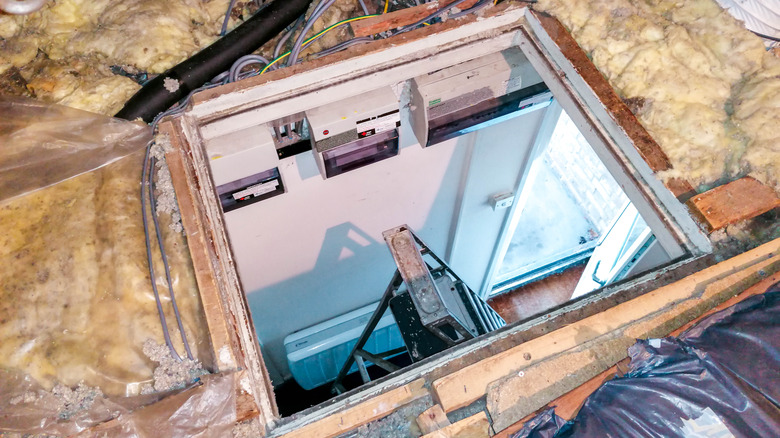
You'll have several opportunities to err when tackling this DIY. For one, the attic floor joist spacing may well be narrower than the 24-inch maximum, as joists can also be spaced at 12 and 16 inches on center. If yours have narrow spacing, it could be a problem. You don't want to be squeezing yourself through a foot-wide opening when you use the attic, so your natural compulsion may be to cut some of the joist material out of the way. That's fine, just don't make the mistake of cutting the joist without bracing it first — this can cause the ceiling to sag. You can create a brace by nailing down two planks, one on each side of the opening, perpendicular to the joists. Once these braces are in place, you can cut the offending joint out and frame the new opening the way we described above.
Another mistake you can make is to leave the new attic opening uninsulated. This omission would mean that warm indoor air has an easy escape route up through the hatch. To avoid this situation, consider insulating your attic opening. There are several ways of doing so. For one, you can attach weatherstripping to the frame you make for the opening. This way, the edges of the opening will be properly sealed. Another way to tackle the issue is to install rigid foam insulation along the perimeter of the access hatch. You should be able to bond the insulation to the frame using a foamboard adhesive product, like this option for just under $6 from The Home Depot.