Different Ways You Can Approach Kitchen Cabinet Refinishing For A Stunning Refresh
We may receive a commission on purchases made from links.
You don't need to gut your kitchen if you want a refresh. Instead, you can completely transform how your kitchen looks by refinishing your cabinets. If you have a '90s orange oak finish or a dark and dated cherry stain, all is not lost. You can make your kitchen light and airy with a coat of white paint or trendy and contemporary by focusing on fashionable hues, such as dark green, navy, or even black. However, there is an art to refinishing cabinets so they look like you bought them rather than DIYed them, and there are a ton of different ways to go about doing so. From using a paint brush to a spray gun, you've got options. To help you narrow down your choices and understand all the extra steps you can take to make this project as streamlined as possible, we reached out to a paint expert to see what the pros do.
"There are a few methods for refinishing cabinets, including using a paint brush, foam roller, or a spray gun. Each method has its pros and cons," Paige NeJame, owner of CertaPro Painters of the South Shore and Boston, exclusively tells House Digest. The one you choose depends on your comfort level and skill set. However, painting isn't the only step in refinishing a cabinet. There is also important prep work involved, and cutting corners on that will lead to amateur results. Keeping that in mind, here are all the different ways to paint your kitchen cabinets.
Degrease your cabinets before starting
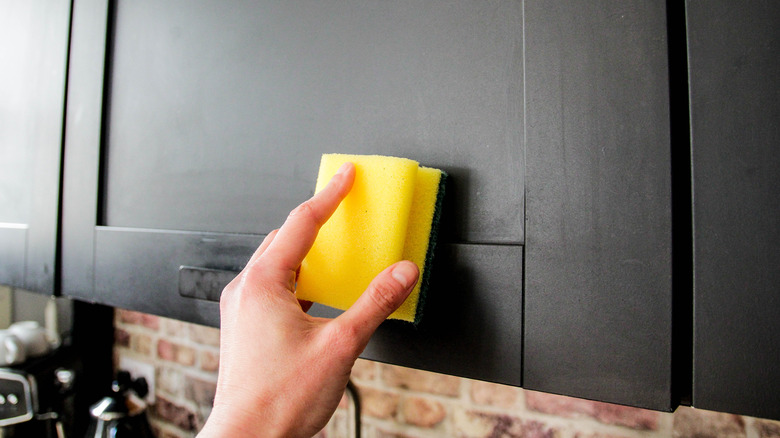
It might feel tempting to skip all the prep work and jump into painting your cabinets to get those immediate results, but if you want a professional finish, you need to take the time to clean and dry the surface properly. Nothing will scream "DIY paint job" louder than bumps and uneven texture due to painting over old grease and caked-on dust. Plus, having a thin layer of dirt between your paint and the cabinet itself can compromise the coat's integrity. "Degreasing is important before refinishing cabinets since grease and grime can prevent the paint or stain from adhering," NeJame explains.
If it's been a while since you last washed your cabinets and there is noticeable sticky residue on the doors and sides, then it's best to use a strong cleaner to cut through the fat. "Use a TSP Substitute or a heavy-duty degreaser, especially for kitchens. Follow the manufacturer's instructions," NeJame shares. An example of the former is Klean-Strip TSP Solution, which retails for $5.47 on Home Depot. However, if you prefer to get a product you can use outside of painting, try a strong kitchen degreaser instead. An example is Krud Kutter Concentrated Cleaner/Degreaser Stain Remover, which costs $7.98 on Amazon. Or, if you prefer to use something less harsh, you can use pantry staples, too. "You can also use a mixture of equal parts vinegar and water, baking soda paste (baking soda mixed with a bit of water,) or Dawn dish soap," NeJame notes. "All of these require a good rinse with clean water."
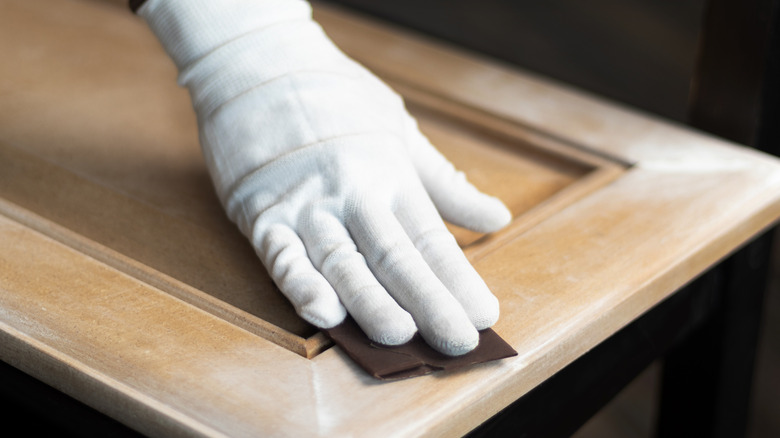
Use liquid sandpaper for small details

If you have done any research on how to resurface your cabinets, then you know that you have to remove the old paint or finish with sandpaper in order to put a new layer on. However, it can sometimes be tricky to get into the small crevices and details of a cabinet. Think of the small corners in shaker panels or any detailed trim on more custom pieces. Rather than struggling to get into those crevices with your sheet of paper, you can instead use a liquid version of it. "I'm not a big fan of using liquid sandpaper because it can be tricky to use. However, it can supplement regular sanding in situations where sandpaper can't reach, such as nooks and crannies, ornate pieces or cabinets with a lot of molding, and hard-to-reach corners," NeJame shares.
One of the most popular brands is Klean-Strip Easy Liquid Sander, which you can get for $12 on Amazon. To be clear, this isn't actually sandpaper. Instead, it's more of a deglosser. You put a thick coat onto your surface, wait for it to dry, and then put your paint on top. The idea is that it creates the textured surface you would need to allow your paint to stick. However, professionals agree that it's not as good as sanding down your surface, which is why it should only be used for these specific instances.
Use pre-taped plastic sheets before refinishing
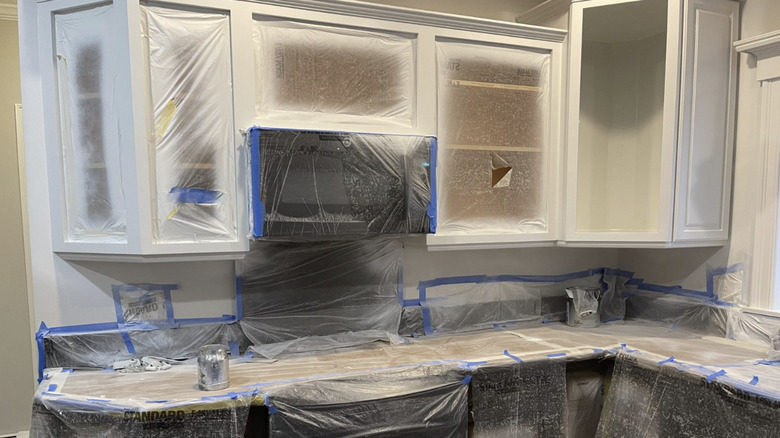
If you're not painting the inside of your cabinet, you will need to protect the cavity with plastic sheets. However, it can be pretty cumbersome. First, you tape the door frame with the sticky side facing you. Next, you lay a plastic sheet over the tape, pressing it down. To secure it, you need to add another layer of tape on top of the edges, trapping the plastic between the two layers of tape. If you don't secure it well enough, paint can get inside the cabinet, making your paint job seem more amateur than professional. However, there is a great shortcut to this, and that's using pre-taped plastic sheets. "These sheets already have painters' tape attached, making it easier to cover large areas quickly," NeJame explains.
An example of this is 3M ScotchBlue Pre-Taped Sheets, which cost $9.38 for 30 yards at Home Depot. The sheets open up to 24 inches tall and 30 yards wide, allowing you to cut them to size. To apply it, simply stick it on the inside of the cabinet, pressing the tape down so it adheres. Give it between 30 minutes to an hour to cure, and then begin painting. To remove it, wait until the paint is completely dry. It doesn't leave behind a sticky residue, so your job will be done once you peel it back.
Use a specific type of painter's tape

If you would rather go the old-school route and tape down your own sheets, then you can simply use painter's tape. However, not all brands are created equally. If you're not a professional, there is more room for error, which means you need a hardworking product that won't let any paint bleed through where it's not wanted. Because of this, NeJame recommends a specific brand. "We are experienced enough to use blue painters' tape to produce clean lines. However, novices should use FrogTape — it is more expensive than blue tape, but it more easily produces clean lines," she says.
This tape has something called "PaintBlock Technology," which uses a polymer that thickens when it interacts with water in your paint. This makes it hard for the paint to seep through underneath its edge, leaving behind crisp lines with little to no bleed. To help the tape stick even better, use a putty knife to smooth it flat against the surface. However, unlike the blue tape, you want to remove it when the paint is still wet for best results. In addition, you can buy this tape in different widths, depending on what your project calls for. For instance, on Amazon you can get rolls that are 0.94 inches, 1.41 inches, and 1.88 inches wide.
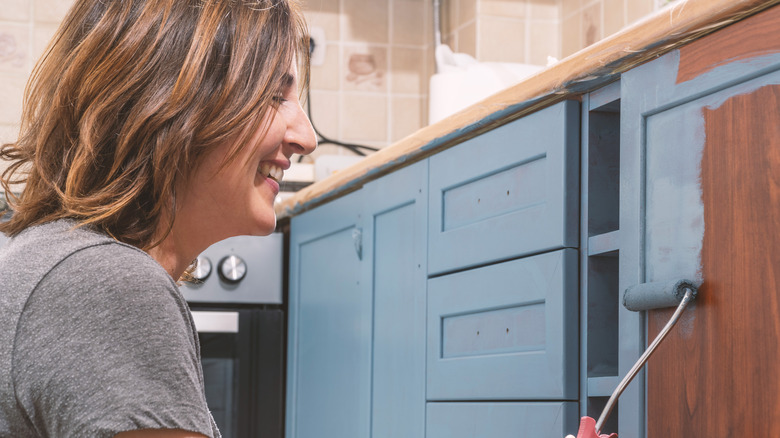
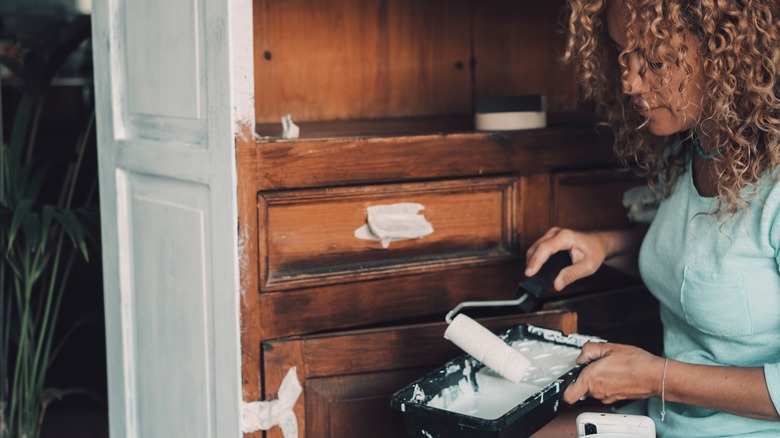
Refinish it with a brush
When choosing which technique to use to refinish your cabinets, there are several options to consider. The first is to use a simple paint brush. This is especially great if you're choosing a high-gloss finish. "It works well with gloss paints to avoid unwanted texture," NeJame explains. This is one of the less complicated options, but that doesn't mean there is no room for error. "Cheap brushes can easily leave brush strokes or hairs behind, and it's time-consuming," she warns. So you probably shouldn't get your brushes at the dollar store, and you want to avoid getting the cheapest ones at the hardware store, too. Instead, you want to look for one that is high-quality. Not doing so is one of the biggest mistakes you can make when painting.
First, you want to choose one made from synthetic rather than natural bristles, as the natural ones will soak in water from the paint and create a streaky finish. You also want to choose one with soft rather than stiff bristles, as this will make brush marks less noticeable. You will also want two different brushes on hand — one 2.5 inch angled brush for cutting corners and a 2.5 flat brush for the body of the cabinets. You might also need a smaller detail brush if you have any decorative elements on the doors. When it comes to quality, you can't go wrong with either Purdy or Wooster brushes.
Refinish with a foam roller
The only downside to using a paintbrush to refinish your cabinets is that it's prone to leave brush marks if you're not careful. If you want a cleaner finish with less room for error, try trading in your paint brush for a foam roller instead. It's one of the tools that makes painting your kitchen cabinets much easier. "It leaves a smooth, even finish and can cover a large area," NeJame shares. However, that doesn't mean you won't have to be careful when rolling on your paint. "It might require multiple coats and can leave marks if not done well," she warns. Plus, it's not the best for gloss paints.
Just like with brushes, it's best not to cheap out when buying your foam rollers. There are two types you can choose: foam or nap. Both will give you a smooth finish, but the nap one will give you the smoothest one between the two. However, these rollers also come with different nap sizes, ranging from 3/4 to 3/8 to 1/4 inch. When painting wood, you want to go with the 1/4-inch option for the cleanest coat. You also want to get a 4-inch wide one, as it will cover a good amount of surface. A quality one to try is the Purdy White Dove 1/4-inch roller, which you can get for $6.28 at Lowe's.
Refinish with a spray gun
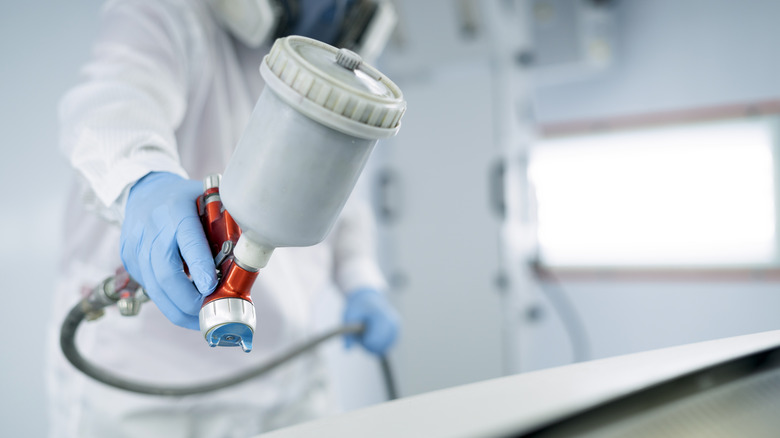
For the smoothest, most professional finish, consider painting your cabinets with a spray gun. "Spraying cabinets is the preferred way to paint kitchen cabinets," NeJame says. "It's the fastest, most efficient method for a smooth, professional look and can easily get hard-to-reach places." Just like with the other options, you need to remove the doors and hardware from the cabinets, and then sand and prime them. Different spray guns have different features, but most allow you to choose between two spray settings: low or high air pressure. The higher you go, the finer the mist, which means the smoother the finish. Because of this, consider using the maximum air pressure setting. You can also tinker with the paint flow, but it's best to choose either a low or medium flow, especially if you're a novice. A fast flow can cause you to put on too thick of a coat or overlap streaks, creating a messy finish.
While this creates the best finish, it's also the hardest option, and not just because there is a learning curve to using the gadget. "It's the most expensive option and requires a lot of prep work in terms of tarping and taping off the area," NeJame warns. There are tons of sprayers on the market, but one popular one is the Wagner FLEXiO 5000. It comes with two nozzles — one for regular painting and one for dainty details — and has an 11.5-foot hose for easy maneuvering. You can paint an 8 x 10-foot area in just five minutes, helping you get through your cabinets quickly. You can get this sprayer on Amazon for $229.
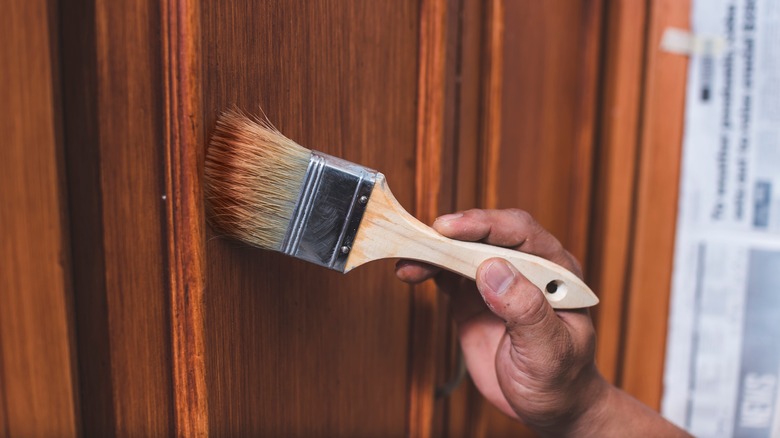
Refinish veneer doors with gel stain
What if you have veneer cabinets and you like the wood grain but not the varnish? You don't have to hide that beautiful wood underneath a layer of paint in order to modernize it. Instead, you can carefully remove the varnish and give it a more contemporary stain. "Gel stain is typically used to give composite doors a wood-finished appearance, so it should work well on veneers, provided that the surface prep creates enough 'bite' or roughness to ensure proper adhesion," NeJames explains. However, you will need to be careful and delicate while doing so. "It must be done very carefully and gingerly so that you don't sand through or crack the veneer," she warns.
However, not all veneer cabinets are candidates for this option. "I would emphasize the importance of the veneer being in reasonably good condition before starting any work. If the edges are chipped or the veneer is delaminating, any surface work could make these issues more noticeable," she explains. If it looks worse for wear, a stain won't be able to hide that. That is also true if you decide to fix the cabinets with any wood filler. "Repairing dings and chips along the edges of the veneer is not always 'pretty' because the repairs will likely be visible after the gel stain is applied." Because of this, only focus on cabinet sets that are in pristine condition but can use a more modern update.