The End Of Summer Bike Shed DIY Project You Should Try For A Winter Storage Solution

As the summer months come to an end, a challenge that many homeowners face is finding a place to store their bicycles until the weather and riding conditions improve. An alternative to a garage, off-site storage unit, or one of the methods for hanging a bike on a wall is to DIY your own bike shed. Bike sheds are great because they free up space inside your home, keep the rain and snow from rusting and damaging important components, and can also provide extra security, ensuring that your bicycle lives to see another summer.
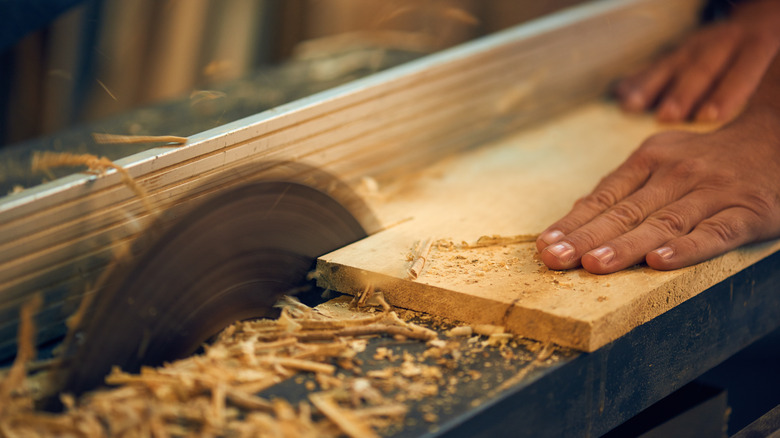
There are bike shed manufacturers that will deliver pre-fabricated enclosures to you, but the more customizable and potentially cheaper option is to build your own. The only tools needed are a standard drill (or a hammer if you choose nails over screws), a circular saw to cut the wood, a carpenter's square, and a level. The entire build can be completed in a day, with a little time added for letting the paint and water sealant dry. Here's how to get started, and a few things you need to consider before adding this DIY project to your to-do list.
Location, materials, and design
Deciding where your bike shed will live is very important because it affects the overall design, the types of materials you can use to build it, and how the construction process will work. The best locations for bike sheds are flat and relatively free of loose rocks and weeds. Areas where water pools or drain pipes empty are not ideal. If slopes are unavoidable, the ground where the shed sits will need to be made level (Here are 5 smart tips for leveling your backyard). Wood is a popular choice for bike sheds because of its durability, cost, and versatility. DIYers in snowy regions can use the same simple ways to protect wood decks in the winter to also protect their sheds, while homeowners in salty beach towns should choose species of wood and types of hardware made with those conditions in mind.
The last things worth considering before starting this project are how many bikes and accessories you have to store and how often you'll need to access them. This is important because you may need to make modifications to the overall dimensions, the style of the doors, or how the interior of the shed is organized. Once those factors are considered, the real fun starts: the build.
Constructing the bike shed
In this video, Danielhiggins7424 on YouTube shows us how quickly the bike shed can take shape and how, with some finishing touches, it can complement the exterior of your home perfectly.
The step-by-step guide to building a DIY bike shed varies slightly based on the needs and specifications of the homeowner, but the overall process is the same. After the location for the shed is chosen and the plans are finalized, cut all of the wood pieces for the project and organize them into groups along with the necessary tools. The first group to be assembled is the floor so that the rest of the shed has a foundation to stand on. The floor can be built in place or moved into position after it is fully constructed.
Next is the frame. After making sure that the rectangular frame is straight on all sides using a carpenter's square and flat on the top using a bubble level, the frame can be attached to the base. The angles and level of the frame should be checked throughout the process to ensure that your bike shed is sturdy and straight and that the bikes actually fit into their new home. The walls of the structure are next, with the plywood sheets nailed directly to the supporting beams. If the roof is separate from the frame structure, that can now be assembled and nailed into place before the entire bike shed is painted, weather sealed, and introduced to its new tenants.