Turn Dollar Tree Finds Into Designer Bookends With This Easy DIY
You spent a ton of time, money, and effort creating the perfect book sanctuary in your home, only to battle books constantly tumbling, dominoes-style, on the shelves. Bookends are clearly the solution to your constant literary collapse in your bookshelves, but your book nook budget is blown on, well, said book nook. This bookend DIY uses Dollar Tree finds to keep the hit on your wallet to a minimum. Plus, even the most craft-challenged person could successfully complete this project. Take apart four square picture frames in your finish of choice, adorn the backing with attractively patterned peel-and-stick wallpaper, and glue the frames together in pairs. Then, glue each pair to a gold-hued letter sorter.
Seeking savvy tips for storing your books without using a bookshelf? These bookends will keep books neatly upright on pretty much any flat surface. Free your nightstand of that messy stack of recent library finds, or use them to organize your carefully curated collection of cookbooks in the kitchen. Bookends aren't just practical, either. Use them to add a pop of color or introduce some visual interest in an otherwise dull living room or make your fireplace mantel pretty. As interior designer Artem Kropovinsky of Arcsight so aptly states (via Homes & Gardens): "Select bookends that mirror your personal interior design style or hobbies, and turn every shelf into a story."
Gather your designer bookend-making supplies and tools
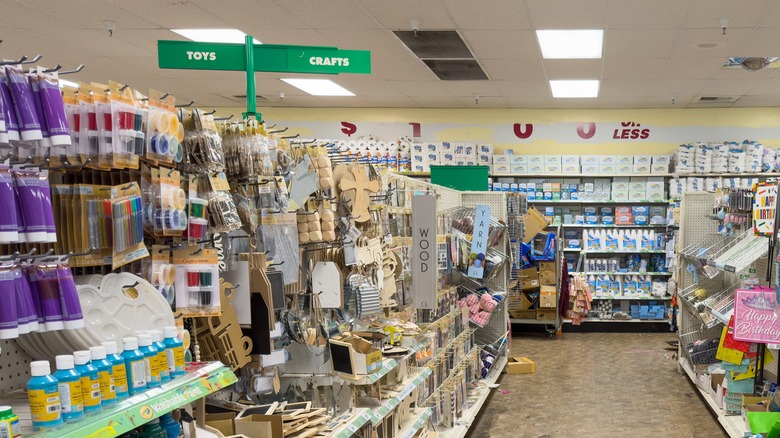
You're going to need a few supplies — though, fortunately for your wallet, not too many — to DIY these stunning bookends on a budget. The first thing to grab from your local Dollar Tree is two rose gold wire letter sorters. You'll also need four square picture frames, which Dollar Tree has in an assortment of finishes: Gold glitter, iridescent, and matte white or black. Which you choose will determine the removable wallpaper pattern you go for — or vice versa if you prefer to pick the wallpaper first. Again, Dollar Tree has multiple options: Gold woven geometric, herringbone, rustic white-washed reclaimed wood, and main street wall in red brick. If you love all things sparkly, combine the gold options: Gold letter holder, gold glitter frame, and gold-patterned wallpaper. However, if your home decor is more subdued, the herringbone or wood-print wallpaper in a black or white frame may be a better choice.
YouTuber @Belindasdiys, the crafty genius behind this project, recommends using both hot glue and super glue on hand. If you don't already have one, Hobby Lobby sells a mini dual temp glue gun with sticks for under $8. The super glue sold at Dollar Tree isn't recommended for porous surfaces so skip that and pick up some all-purpose Krazy Glue from Walmart for about $6. You'll also need a pencil and scissors or a utility knife.
Creating your truly boujee Dollar Tree bookends
If the Dollar Tree frame finishes don't appeal,spray paint them in a preferred hue. Give the letter organizers the same treatment. Likewise, if you're no fan of the wallpaper patterns on offer, get creative with your frame fills. Family photos or your kids' drawings add a nostalgic touch to this DIY. Pages torn from books picked up cheap at thrift stores show what a bookworm you really are. Or go cottagecore with legit vintage botanical wallpapers or free wallpaper samples.
Palettes sorted, it's time to get crafting. Unclip the backing from each of the picture frames, and remove the paper inside them. Spread the wallpaper out flat and, using the backing as a template, draw four squares with your pencil. Cut out the squares and peel back wallpaper to reveal the adhesive surface. Stick the wallpaper to the inside surface of all the frame backings, smoothing any wrinkles as you go. Tear off the stand — it should come off easily. Insert the wallpapered backings into the frames. Working in pairs this time, apply a line of hot glue and super glue to the back of each frame (just the frame part, not the backing), and press them firmly together. Use the same technique to adhere a letter organizer to one side of each pair of frames. Leave your book ends to cure completely — follow the glue manufacturer's instructions on timing — before using them on your bookshelves or elsewhere.