VEVOR 8 In 1 Heat Press Review: A Novice Tests Out This Hot DIY Crafting Tool
If you're a crafty person who enjoys making homemade gifts for your family and friends, you already know the joys of designing custom clothing, bags, mugs, hats, and the like. When it comes to putting prints on fabric, though, maximizing quality isn't easy, and requires more specialized equipment. For the most pristine custom prints, a heat press is the best way to go.
VEVOR, a company that specializes in creating home tools on a cost-efficient scale, sells a variety of heat presses for this exact purpose. The VEVOR 8 in 1 Heat Press Machine, priced at $299.99, is designed with home crafters in mind. Ideally, it allows the average person to enhance nearly any item they want with their own logos, decals, photos, and transfers.
The biggest question when purchasing an item of this caliber is simple: How difficult is it going to be to navigate the ins and outs of use? In this case, the person giving VEVOR's product a try was a certified heat press novice: myself. While I'm not an overly tech-friendly person, VEVOR's promise of user-friendly components and ease-of-use piqued my interest. I spend a significant amount of money on graphic tees, printed totes, and even comical mugs, so why not save a little money making my own? Besides that, I wanted a way to make presents for people that didn't require hours on Amazon.
This budget-friendly heat press is a multifaceted, multipart extravaganza
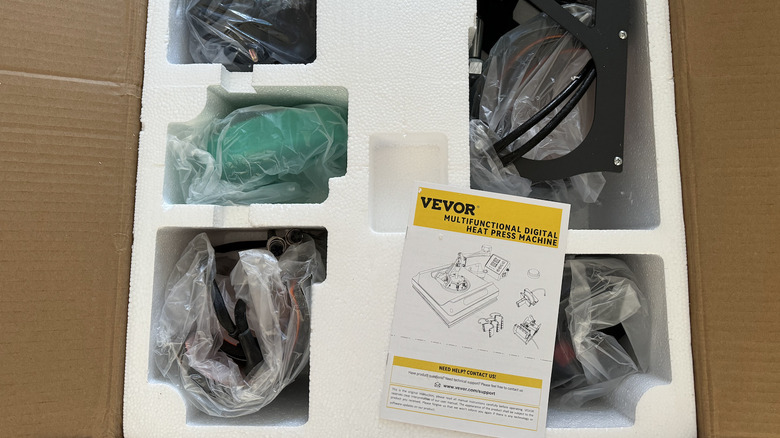
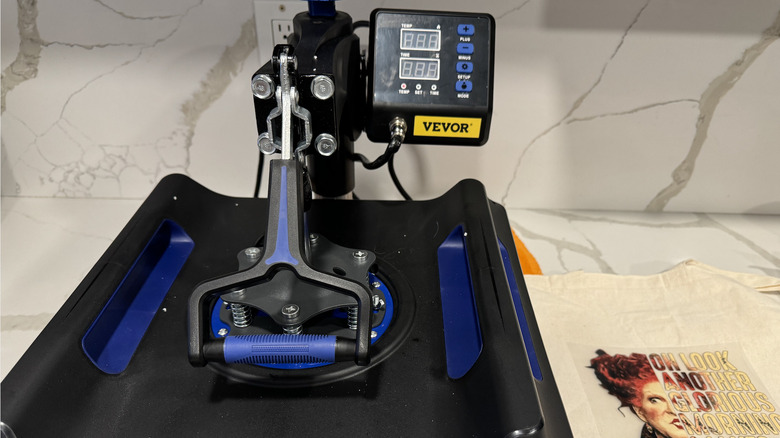
I should preface here by noting that I never really considered the process, per se, connected to creating homemade graphic pieces. When the VEVOR arrived quickly, and in a dauntingly large box, I initially feared I may have overestimated my skills. After opening the delivery package, my fears were slightly assuaged as all the pieces were neatly wrapped in plastic and the instruction manual lay on top of it all, with the promise of confusion-free crafting. The press itself is large, and it's important to have free space in your home craft room big enough to fit the 15 x 15 base.
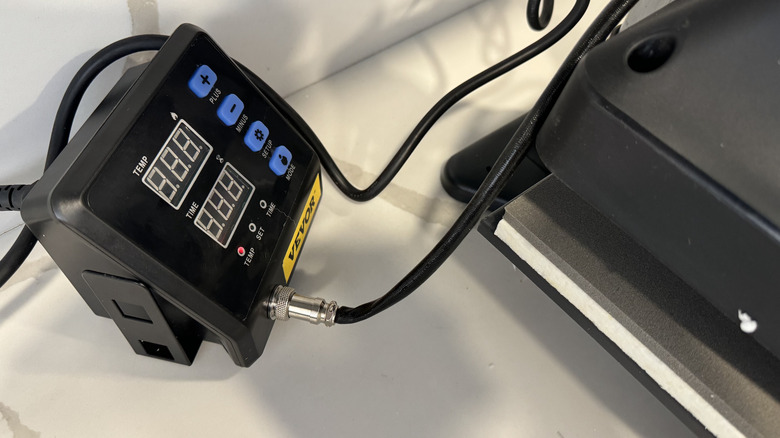
The assembly itself was straightforward. There's a box that needs to be attached by a cord to the base. This box controls your temperature, time, and any other settings. Once you've screwed in this cable, there is a latch on the right-hand side of the box that allows you to "hang" it so it's easily accessible. I recommend hanging the box first, then attaching the cord if you can, as I did the reverse and caused the cable to sit at an awkward angle.
Nonetheless, one mistake was not going to deter me. Press assembled, I followed the instructions to prep everything for my first transfer. In terms of supplies, I purchased a pack of canvas totes, a large cotton T-shirt, and a mug.
Getting started with the VEVOR 8 in 1 Heat Press
For the initial trials I didn't want to overshoot with too many items, as each required different settings and transfer sizes. The instructions give an outline of what temperatures are needed for different fabrics. My totes were canvas, and thus would need slightly altered times and temps compared to a T-shirt. The mug needs a completely different attachment put on, so I decided to do the fabric items first. I veered slightly from the instructions on the first bag, but only because my husband has done clothing transfers before, and he suggested pressing the tote first without a transfer, to heat the fabric for optimum adhesion.
For the canvas tote and vinyl transfers I purchased, the instructions recommended to set the heat to 350 degrees Fahrenheit and the time to 30 seconds. To alter these, you turn on your control panel and press settings. The first time you press this button, the temperature control appears, and you can use the "+" or "-" buttons to raise or lower the temperature. I was a little confused at first, since I thought the temperature would read at the top where it's labeled. However, once I figured out (with amazing assistance from the VEVOR customer support team) that both time and temperature are displayed on the bottom screen while adjusting, I was good to go. I pressed settings again and got the time reading.
Adjusting the pressure on the VEVOR 8 in 1 Heat Press is important
After these are set, press the settings button a couple more times to get back to the "main" screen, where you will see your temperature and time displayed. The temperature will start to rise to your designated degrees, and then you can prep your items. The VEVOR 8 in 1 Heat Press Machine stands out among other heat presses because of its swivel opening: Those who use presses often prefer a swivel, which lifts the lid only slightly and twists to the right or left to allow you to place items down, as opposed to the straight up-and-down press which can release heat straight toward you when opened.
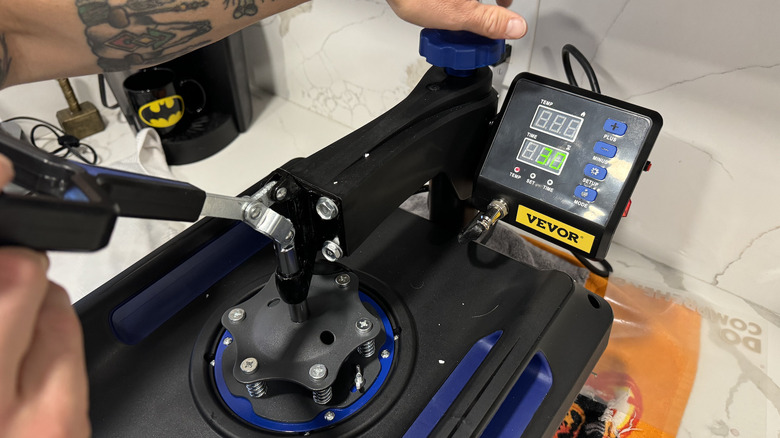
On the VEVOR, you lift the handle upwards then swivel the lid right or left before placing your fabric on the bottom plate. I pressed it once under the temperature I set, then added my transfer face up so the glossy side of the vinyl was facing the top plate. Different transfers will either need to lie with the paper facing up or down, so make sure to check your VEVOR instruction manual. Once your transfer or decal is positioned, lower the lid and adjust the twist knob on top to change the pressure. The pressure knob helps keep the transfer on the fabric to adhere properly, so play with this until you notice you need a little more strength in shutting the latch to ensure a solid adhesion.
There was some trial and error involved
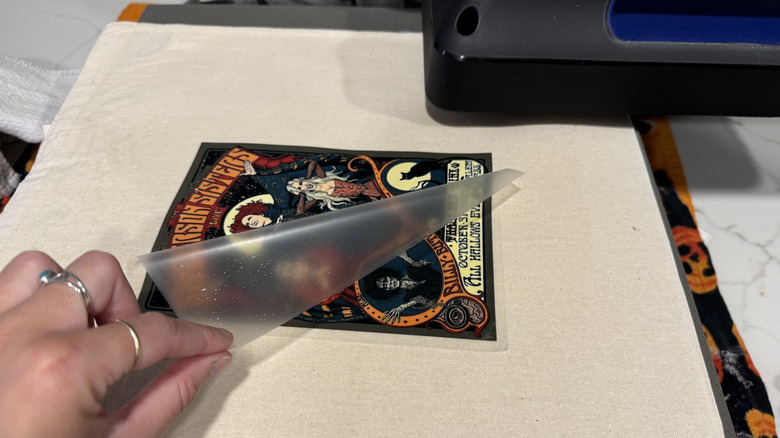
On my first attempt, I missed this step — an oversight on my part. One edge didn't stick when I pulled up the paper, but the damage was minimal. The manual also recommends placing a thin white towel over your design to avoid edge marks from the paper. I tried it with and without the towel, and I found that both worked, but it's super important to adjust the pressure wheel at the very top of the press once you've closed the lid. My second bag did take three different attempts at 45 seconds each, with the towel over the top. This could be chalked up to the type of transfers I bought, too, since I'm still learning the best options for this machine. After the third segment, I found an edge that was definitely adhered, then pulled from that corner. My design stuck completely, with no issues.
The mug attachment is easy to hook up: Just switch the cables and plug the one attached to the mug cable into the control box. I used sublimation vinyl and a sublimation glass coffee tumbler. Since I didn't have a vinyl cutter, I decided to just wrap the mug. You place it inside the mug holder, adjust the pressure, set the time and temperature, and squeeze the handle shut. I didn't have heat-resistant tape, so I got a few bubbles in the paper, but the results were good. If you want to even out your funky, mismatched mug collection and have more matching pieces, pressing your own is a great option.
The VEVOR 8 in 1 Heat Press is a great option for home crafters

The biggest drawback of my first heat press experience? It was challenging to learn all the different types of transfer paper and settings you need for fabrics. Paper-wise, there's sublimation and transfer paper, but you might need to play with timing and temperature to know what works for each, as well as designs and fabrics. With more time and practice, I don't anticipate having any issue getting perfectly pressed items.
There's a lot to recommend about VEVOR's product. I like that the heat press cools after a certain amount of time in idle, and that the outside doesn't get too hot. The timer is also great, so you don't have to stare at the countdown and can focus on other tasks for the few minutes that the press takes. The various attachments allow you to create a plethora of custom items. That said, this machine requires some trial and error, and you'll have to learn how to change the fixtures when creating mugs, hats, plates, and other items. That was the part I found most confusing, but for people who understand how such machinery fits together, it'll probably be less time-consuming. Overall, the press was fun and easy to use on fabric items like totes and T-shirts, and it has given me an excellent way to make gifts and customized pieces at home rather than scrolling the internet. There's a learning curve, but this device is worth the effort.