This Rustic Wood Pallet DIY Will Instantly Add Storage To Your Entryway
We may receive a commission on purchases made from links.
Entryways require a good deal of storage to accommodate coats, hats, and other accessories. If you're looking for a new storage solution, but aren't keen on spending money on a run-of-the-mill IKEA coat rack, don't despair. There's a simple yet unique wood pallet project that will leave you with a storage rack that's as full of character as it is easy to make. Using an old pallet, you can make a rustic-looking DIY rack that serves as storage for all your outdoor clothes and bits and bobs.
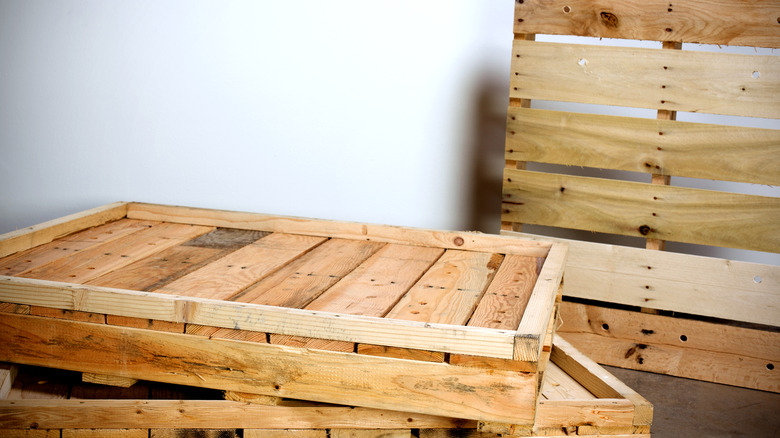
To make this rack, all you need is an old pallet, a hand saw, some coat hooks, protective equipment, and your finish of choice. The pallet's deck boards — the flat panels that comprise its top surface — lend themselves perfectly to a coat rack application, as long as you fasten them securely together. The size and configuration of the unit is up to you, and the design can be quite flexible. Meanwhile, adding a top shelf to the unit gives you ample storage for items you don't want to hang, like gloves. Below, we'll explain how to convert your old pallet into a wall-mounted entryway storage solution, and show you two ways of imparting a unique rustic appearance onto the wood boards.
Give the pallet boards a rustic finish before you build the rack
You have three options for finishing the pallet boards to give the new entryway storage solution a rustic appearance. First, if you like how the pallet deck boards look, then go ahead and build the rack. However, in the likelier event that you're not thrilled with the pallet's appearance, you can finish it with wood stain or blacken it with a blow torch. To use wood stain successfully, give the pallet boards a good sanding first. Start with 80-grit paper to remove major surface imperfections, then use 180-grit sandpaper to make the surface smooth. Next, wet the wood with a cloth, allow it to dry, then sand it once more with a fine-grit sandpaper before wiping away the dust.
Now, apply staining conditioner to the wood to make sure that the stain doesn't cause streaks, which is possible with pallets made of pine (and most are). Finally, stain the pallet boards, wipe off any excess, and allow them to dry. If you want the rack to maintain its color, apply sealant once the stain has dried.
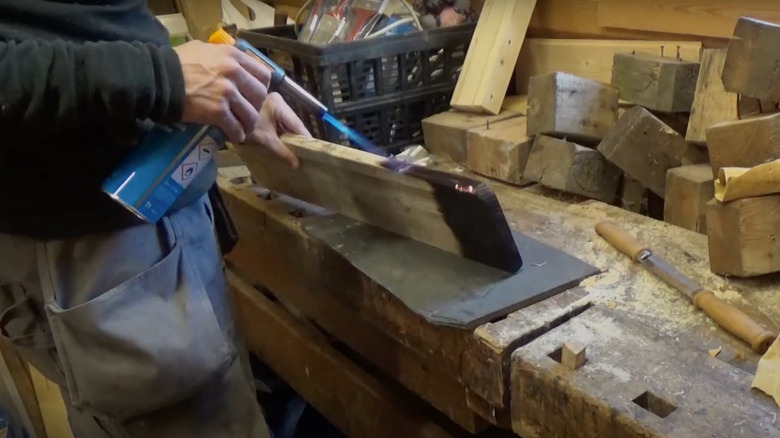
The second finishing option is simple. Wearing protective gloves and goggles, use a blowtorch like this one from Lowe's to blacken the wood surface. Then, soak the boards with water and scrub the surface with a brush — the charred layer will come off and leave you with an antique-looking, black-brown finish. You can then seal the boards to preserve the color.
How to build a storage rack out of a wood pallet
Start by deciding on the dimensions and configuration of the rack you want to build. Your options are as wide as what the measurements of a standard pallet allow. Most wood pallets measure 48 by 40 inches, 42 by 42 inches, or 48 by 48 inches. You can also cut your pallet to the desired length and width. If the pallet is built with blocks, you'll have stringer boards running perpendicular to the deck boards for support. You can leave these in, or cut widthwise to the outside edges of these stringers. This way, the deck boards stay fastened together. You'd have to remove the blocks so the new storage unit fits tight against the wall.
If the pallet you have is designed on stringers instead of blocks, these stringers will be too deep to leave on. In this case, detach as many deck boards as you need, and connect them at the back with three perpendicular strapping boards (one by three planks should do, but you can go wider or narrower if you like). Next, cut right-angled triangles from a few more pallet deck boards, and use them as supports for a top shelf — this element will come in handy for storing hats, purses, and other accessories. Finally, screw on coat hooks like these ones from The Home Depot, then attach the unit to the wall with screws. To avoid making unnecessary holes, find wall studs using a stud finder and drill into these.