The Perfect DIY Narrow Side Table For A Small Living Room
Whether you live in an apartment, or just have a small room that needs a little extra surface area, a narrow side table could be just the thing you need to spruce up your tighter spaces. A side table can serve as a place to set down a drink or to store your favorite books. You can also use it to corral everything from TV remotes to pet toys. Or use it as a tray table for those nights when eating dinner from the couch feels just right. If those reasons aren't enough, maybe you just want to decorate a side table and elevate your living room aesthetic.
Side tables are not especially expensive to buy from retailers (most cost under $100, with some high end exceptions). But you may consider DIYing your own side table for a couple reasons — the first being to customize the dimensions. YouTuber Simply Mindy's DIY side table plans allow you to make the size of your table totally bespoke to your space, which can be helpful if you have a very specific area that you're trying to furnish, like a narrow gap between your sofa and a wall. But the other reason to make this table yourself is because you can choose the color or finish to match your space, using wood stains or paint.
What you need to DIY a narrow side table
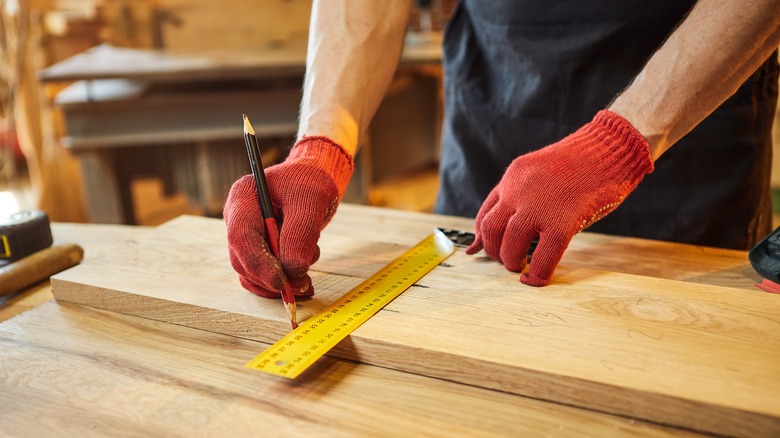
A video from Simply Mindy on YouTube demonstrates one method for creating a small narrow side table from pine wood. She starts with a 1" x 8" x 4 ft board for the table shelves, and two 1" x 2" x 8' boards for the supports, along with a box of pocket hole screws. She also uses a pocket jig to create perfect pocket holes in the ends of each support piece for the table. If you are an experienced DIYer who already owns a pocket jig, the other materials only cost around $30. But if you need to invest in a jig, you can find a mini VEVOR version at Lowes for an additional $20.
Mindy uses a circular saw to cut down the narrow pieces of pine. But if you don't have a circular saw, you can also use a handsaw, like this $14 option from Stanley, available at Home Depot. And if you don't want to use a saw at all, you can take advantage of the wood cutting services at your local home improvement store like Home Depot or Lowes. For finishing touches, Mindy opts to spray paint the shelves of the table with a satin black, but this is where you can really make this project your own. Opt for a creative, bold color, or just a hue that matches the decor in your home. You can also experiment with a different look by staining your raw pine pieces to create a new wood finish.
Simplify your side table DIY with the power of wood glue
In another video tutorial for a narrow side table from YouTube channel Ana White, the approach is similar to that from Simply Mindy. This project also uses pocket holes to create a cleaner finish, but if you are a DIY novice, you can always use regular screws and holes to assemble the various pieces of lumber. Also, if you prefer not to operate a drill at all, you can opt to put together your table with just wood glue and clamps.
Typically, wood glue is used in conjunction with screws because it needs time to cure to its full strength. In this scenario, screws act as a clamp to hold the wood joints in place while the glue cures. But, to keep the project drill-free, you can opt to use a PVA wood glue like Gorilla Wood Glue – just under $4 per bottle at Home Depot – as well as a set of wood clamps like this HORUSDY six-pack available from Amazon. The caveat for this method is that you may have limited clamps to use at a time while you wait for the wood glue to dry. But, the good news is that wood glue doesn't typically take that long to dry, and there are things you can do to speed up the wood glue drying process if necessary. While using wood glue alone isn't necessarily the best option for large scale carpentry projects, it's more than capable of getting the job done for a small project like this side table.