Has Your Toilet Water Supply Line Sprung A Leak? Here's How To Install A Replacement
A damaged supply line is one of the common reasons your toilet keeps on leaking. This issue is bad news: With time, the dripping water can damage the adjacent floor and wall. If you have neighbors below, the leak might harm their ceiling and leave you on the hook for repairs. So, if your toilet has sprung a leak, it's best not to postpone repairs and to stop the dripping water as soon as possible. Fortunately, a leaky supply line does not always signal the need to call the plumber. Replacing a damaged water supply line is a straightforward task that generally boils down to unscrewing a few nuts, attaching a new line, and retightening the nuts again.
That said, before you can install a new toilet supply line, you need to make sure you buy a suitable replacement. The new line must fit the existing plumbing fixtures and be made of good quality materials to prevent future leaks. With a good replacement selected, you'll need a wrench, a few old towels and rags, a bit of elbow grease, and roughly 20 minutes spent on your knees to get the toilet working again leak-free. Below, we explain how to choose and install a new toilet supply line and make the leak a thing of the past as quickly as possible.
How to choose the correct toilet supply line size and type
Before you buy and install a new toilet supply line, determine what size and type the line should be. The size of the new line should match that of the old one to ensure a working connection. The sizes you'll see on the packaging refer to the diameters of the two connections — one for the supply valve, and the other for the underside of the toilet.
Supply lines come in two common sizes: ⅞ inch by ⅜ inch and ⅞ inch by ½ inch. The first dimension (⅞-inch for both sizes) refers to the end attaching at the toilet's underside, whereas the second dimension indicates the size of the end that's affixed to the valve. All you need to do is use a tape measure to approximate the diameter of the valve end. This may be difficult to with accuracy without removing the line, but you should be able to see if it's half an inch or smaller. The length of the line varies between 12 and 96 inches, so measure the distance between the supply valve and the tank connection to establish the correct length.
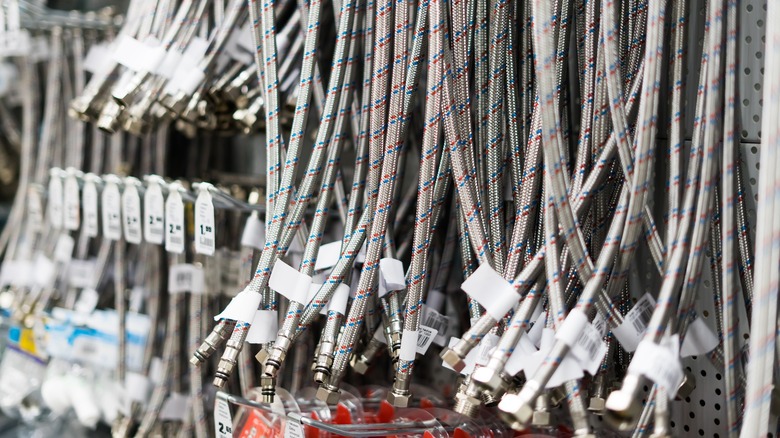
Toilet supply lines generally come in two types: braided stainless steel hose and PVC pipe. Braided hose lines offer two key advantages: They're durable and their flexibility makes installation a breeze. On the other hand, PVC pipes are less robust and may be difficult to maneuver during installation, but have a lower price point.
How to install a new water supply line for your toilet
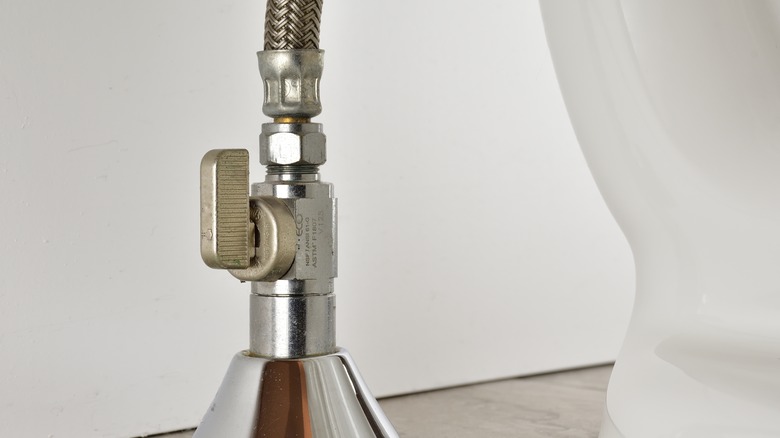
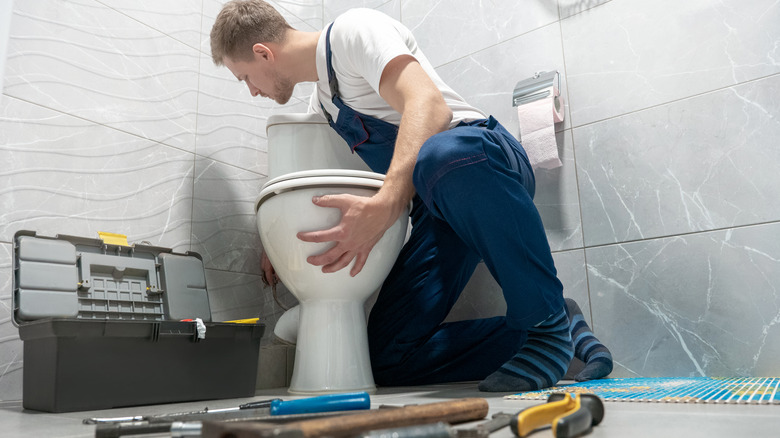
Begin by shutting off the water supply valve, which joins the supply line and the supply pipe that protrudes from the wall or floor. Do this by turning the valve clockwise. With the water shut off, you can empty the tank without it getting refilled automatically, so flush the toilet a few times. Since the supply line is attached to the underside of the tank, you need to soak up any remaining water, so it doesn't leak once you detach the damaged line. Throw a towel down, too — some water may stay inside the hose you're taking off, and it will leak once the hose is detached. Next, unscrew the nuts connecting the supply line to the tank and then the valve with a wrench.
Now, connect one end of the new supply line to the valve, and the other one to the connection at the underside of the toilet. You'll have to tighten the metal nut at the valve and the plastic nut beneath the tank; do so by hand at first. Then, turn on the valve and look out for leaks. If the valve connection is leaky, tighten the nut with a wrench another quarter of a turn or less. However, if the water is escaping through the tank connection, use your hands to fasten the plastic nut. Don't use a wrench, as doing so may crack the plastic nut. Familiarize yourself with more maintenance tips that'll keep your toilet in tip-top shape!