Reuse That Rusty Coffee Can As An Aesthetic Hanging Planter With This TikTok Trick
We may receive a commission on purchases made from links.
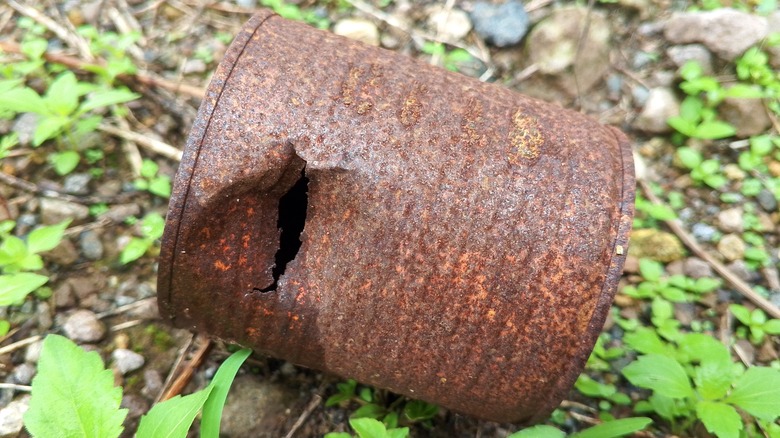
Upon finding a rusty coffee can in your garage, shed, or yard, your first thought may be to throw it in the garbage. After all, what can you do with such an old and damaged item? However, while it may seem like the can is just another piece of trash, it can actually be turned into a beautiful treasure — no matter how beat up it may look. To transform your rusted coffee can into something valuable, turn it into an inexpensive (in fact, it could even be free!) rustic hanging planter. As shown by TikToker @gypsyfarmgirl, you'll do this by bending the bottom end of the can, adding twine, filling it with coconut fibers, soil, and plants, and suspending it in your yard or on your balcony.
However, before you start to make this stunning DIY hanging planter for your home, ensure you put on tough, thick gloves. You should always protect yourself when working with rusted items to avoid dangerous cuts and tetanus. To be clear, we don't recommend bending rusty metal with your bare hands like this TikToker demonstrates. Further, because a coffee can isn't typically very large, this hanging planter is ideal for plants that will thrive in a small space like succulents or trailing vines. Finally, if your can is rusty, it's best to only use this planter for decorative greenery and not for edible plants. This is because you wouldn't want your produce to come into contact with the rust and possibly become contaminated.
How to make this simple hanging planter
With your gloves on, start by cautiously removing the bottom of your coffee can if it's still intact. You should be able to cut it out with tin cutters. You can also take off the lid. Then, once the can is just a cylinder, bend one end until the two sides are almost touching. Try to keep the other end of the can as open as possible.
Next, with either a sharp screwdriver or another similar tool, puncture two holes in opposite sides of the more open end of your planter. You'll then take some twine or another form of rope or string and thread this through the two holes. Ensure it's secure and won't come undone, as this is what you'll use to hang the piece. To keep the soil inside the planter, you'll add in either some coconut husk fibers, which you could buy a gallon of from Amazon for under $18, or a coconut lining, available at Walmart for less than $3. This added layer will also contribute to good drainage. Fill the container with potting soil and add in your plants. Finally, hang your planter wherever you desire like on a tree branch, along a balcony wall, or on a door.
Ways to personalize this hanging planter
On the other hand, if you'd rather leave more space in your coffee can planter for greenery, you can keep the base intact. Instead of removing it, use a screwdriver or a drill to puncture drainage holes in the bottom. Then, you can follow all of the same steps for building the piece. Also consider that you can turn any old container that you find around your home into a planter — it doesn't have to be a rusty coffee can. For instance, you could upcycle an old lantern into a unique hanging planter or transform a soup can that isn't rusty. In fact, using a less-rusted can would be much safer (though we'd still recommend wearing gloves). Or, if you don't like the look of hanging your planter with twine or rope, you could attach the can to a wall trellis with a sturdy screw instead.
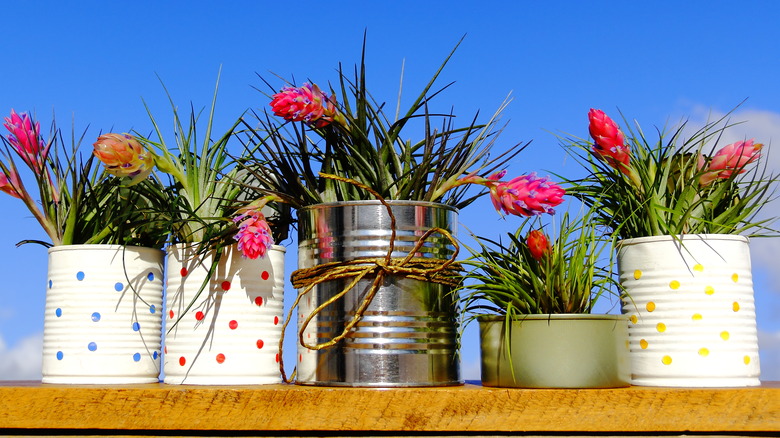
Furthermore, if you don't love the rustic look that an aged can provides, you can transform the piece with some spray paint. To do this, start by cleaning the can with a soft cloth and a degreaser. Next, choose whatever color paint you desire; Rust-Oleum is a great option to use to preserve the piece for outdoor use, and you can purchase it at Walmart for about $6. Two coats is typically best to completely cover the item. Then, wait for the piece to fully dry before adding in your coconut fibers, soil, and plants.