Creative Ways To Reuse An Old Chair For Extra Home Storage And Organization
If you're looking for ways to maximize storage space using common household items or furniture, you're in luck. Chairs are simple in function but come in various shapes and unique designs that make them fun to repurpose into storage. Either transform an old chair you already own, or jazz up a thrift store find. You can leave it in one piece, or take apart the backing, legs, or seat to find new ways to use the parts for extra home storage.
Below are six DIY ideas that elevate interior design and improve home organization. Some of these projects may require additional supplies from a home improvement store, but all of them are doable in a day using amateur layperson tools. Many of the chair projects are also budget-friendly, making them a more economical option than just buying a new storage container. Just make sure you lay down a tarp to protect your working area and use gloves and protective eyewear when sawing, sanding, painting, or using other crafting tools. Read on to learn more about how to complete these projects and what supplies you'll need.
Bolt a ladder-style chair to a wall to make a towel rack
If you salvage a chair with a ladder-style backing, upcycle it into a hanging towel rack for storage. Saw off the front half of the chair, carefully making a straight edge with a hand saw or table saw. Paint over the chair with a moisture-resistant paint, such as Benjamin Moore's $31 Kitchen & Bath paint. Give it two hours to dry, then flip the chair upside-down and bolt it to the wall using brackets and screws. Make sure the ladder backing is facing outwards, leaving space to drape towels to dry.
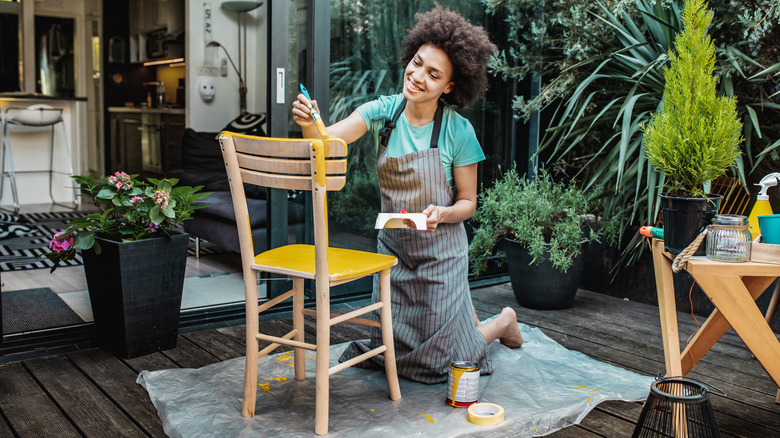
Turn stools or chairs into plant stands
Transform a wooden chair into a rustic plant stand by removing the back piece and leaving only the seat and legs behind. This can be done by either unscrewing the back from the seat or sawing it off, depending on how the chair is assembled. Once you've done that, simply put plant pots on top of the chair. To add a personal touch, consider painting the piece with a paint best suited for wooden furniture. Chalk paint is perfect for furniture with a matte finish, while mineral paint works well on semi-shiny surfaces. Remember to sand glossy surfaces before painting to ensure the new coat adheres properly.
Create a coat rack from an old chair
A chair with an elaborate backing has the perfect design for a decorative coat rack. Start by detaching the back of the chair with a hand saw, carefully keeping it in one piece. Either repaint the back or leave it in its original color. Next, purchase multiple coat hooks, such as this $3.93 coat hook from Home Depot. Screw each hook along the bottom horizontal panel of the chair backing, and display your finished product on a wall using screws.
Combine two broken chairs into a farmhouse bench
Transform two old chairs to make an ornate bench. Remove the front legs and seats of both chairs. Make a rectangle from four pieces of plywood, two of the same width as the chairs and two of the length you'd like the bench to be. Screw the rectangle between the two chairs, and paint it in the same color or finish, so all the pieces match up. Purchase a piece of flat plywood matching the dimensions and color of the inner rectangle, and screw it on top to provide a base for the cushions.
Decorate a chair to emulate a bedside table
It's easy to repurpose a simple chair into a convenient bedside table. Thrift a small decorative chair with a seat reaching roughly the same height as your mattress, usually between 24 to 28 inches. Paint it to match the rest of your bedroom furniture, or leave it as is. Perch the upcycled chair beside your bed with its back against the wall and decorate the seat with an alarm clock, book, glass of water, and any other items typically kept on a nightstand.
Transform the chair backing and seat into a hanging shelf
Repurpose an old chair for extra wall storage space by first disassembling a wooden chair. Use a handsaw to separate the back and the seat. You can leave the legs or remove them, depending on if you want a more maximalist or minimalist look. Leave the pieces as they are, or sand over the wood and repaint them in a new color or finish. Next, screw in a flat piece of wood to the back of the chair to create the "floating shelf". Mount the DIY shelves on a wall using shelf brackets, screws, and a screwdriver.