Plant Secrets Only Gardening Experts Know
Outfitting your sprawling yard or sunlit windowsill with dainty-petaled flowers and plants with verdant leaves is no small task. Home gardeners — novices and veterans alike — frequently resort to extensive measures to coax opulent blooms or plush fruits from their beloved plants, no matter how unconventional. The breadth of such methods includes burying unexpected items in the soil for a flourishing garden or playing music to houseplants to make them thrive.
Yet, the secret to taking your treasured garden from simply subsisting to booming lies not in employing various hacks. Instead, it necessitates centering your energies on getting the basics right. This means balancing the intricate powerplay between sunlight, fertilizer, and water, and tweaking them for the better. Disappointingly, it might take years of muddy toil and calloused hands to glean the necessary knowledge to understand plant speak without guidance. So, to span the gulf, House Digest spoke exclusively to two gardening experts: Marina Olshansky, the face behind vescabotanicals, an LA-based plant delivery and care account, and Jessica Zander, garden coach and founder of You Can Do It Gardening. Here's the scoop on the plant secrets you should know to make your plants thrive like nobody's business.
Plants don't take kindly to indoor vents
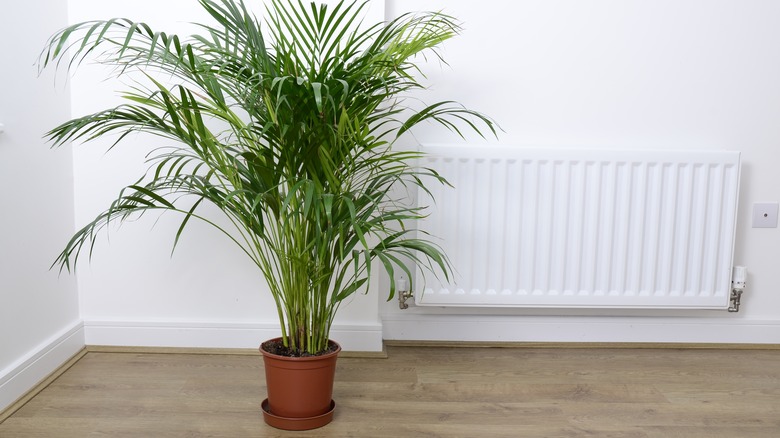
As plant parents, you're probably privy to the fact that the worst spot in your home for indoor plants is in front of exterior doors, where they're exposed to hot or cold drafts, based on Mother Nature's whims. Unsurprisingly, the argument against draft exposure extends to indoor vents, too. Marina Olshansky told House Digest, "Most houseplants prefer humidity — A/C, heaters, and even air purifiers will dry out the air around them and create a desert-like environment for plants whose natural habitat is a jungle."
Unlike many nurseries, our homes offer relatively poor humidity levels, sitting in the ballpark range of 10% to 20%, veering closer to the lower end during the dead of winter. Contrary to our expectations, tropical houseplants — especially calatheas, ferns, and rex begonias — don't appreciate the cranking up of the thermostat; they shrivel up, displaying their distaste in fading colors. Olshansky opines, "If you see brown edges on the leaves, that's a good indication that the air is too dry for your plants."
Clearly, maintaining a respectable distance — as a test, you shouldn't feel the temperature on your hand — between vents (including fireplaces) and your indoor plants is crucial. But if it leaves you without a suitable plant spot, opt for airflow deflectors, such as vent caps, to shield your leafy friends. Alternatively, you can raise the humidity in your home by maintaining the water level in your heating system's humidifier, grouping plants in a terrarium, or propping them on water-filled, shallow pebble trays.
Watering straight from the tap may not be the best call
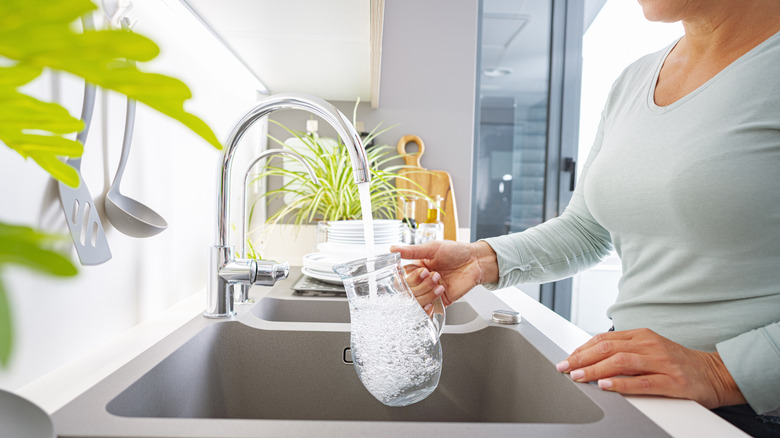
If you were under the impression that under- or overhead watering were the main scourges ailing your plants, Marina Olshansky has news for you. While you might assume that the water that's safe for your consumption, aka tap water, is safe for your plants, that isn't always the case. "Tap water is filled with chlorine and fluoride, which build up in your plants' soil," Olshansky explained to House Digest. Water softeners may exacerbate the problem if plants aren't repotted regularly, due to salt buildup. This eventually materializes up top in the form of browning foliage and white deposits on the potting mix or outside the container's margins. Calathea, dracaena, and maranta plants often fall victim to such a phenomenon, although most slender-leaved shrubs and carnivorous plants also usually exhibit poor tolerance.
Besides, if your tap water is high in alkalinity, your plants might face trouble taking in essential nutrients, especially nitrates, as mildly acidic substrates are key to adequate absorption. So, how can you make the tap water safe for plants? "Leave your water out in an open container for at least 24 hours," divulges Olshansky, "and those chemicals will turn into a gas and dissipate!" And voila — you're ready to water your plants the next day. Another advantage? "It also ensures your water is at room temperature." This is important, as roots can go into shock from a cold soak, as can leaves.
Irrigating plants with collected rainwater does them a world of good
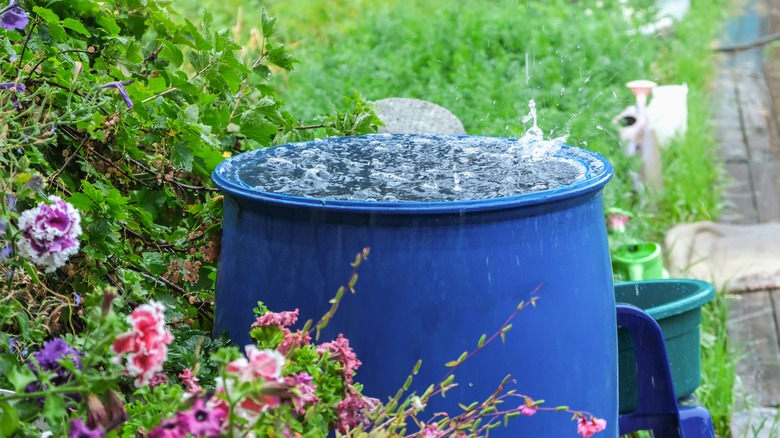
If you view a routine of keeping tap water overnight as an annoying chore, don't worry. There's another, ostentatiously better way to avoid mineral buildup in your soil: soaking your plants in rainwater. You've probably noticed how a heavy downpour leaves the vegetation looking happier vs. a regular watering session. There are reasons for that, as Olshansky enlightens in House Digest's exclusive, saying, "Rainwater is soft, slightly acidic, and helps flush chemicals out of your soil, bringing it to a perfect pH balance!" — a far cry from alkaline tap water. "It also contains nitrogen, which makes your plants greener, and carbon, which will help activate micro-nutrients in the soil that your plants need." Azaleas, in particular, appreciate such effort. Not to mention, rainwater is at an ambient temperature compared to the colder hose output. That's why our gardening expert advocates for collecting and reusing rainwater around your garden and houseplants.
However, there are some caveats to keep in mind. For starters, you must consult your local laws, as some states – including Washington, Texas, and Oregon — regulate rainwater collection and insist on adherence to certain health regulations. Additionally, collecting runoff is a futile exercise if you've got copper or zinc-treated wooden roofs, as the water will be toxic. Finally, as collected rainwater may sometimes contain bacteria like E. coli (courtesy bird droppings), it's best to keep its usage to lawns and non-edible ornamentals to minimize contamination risk.
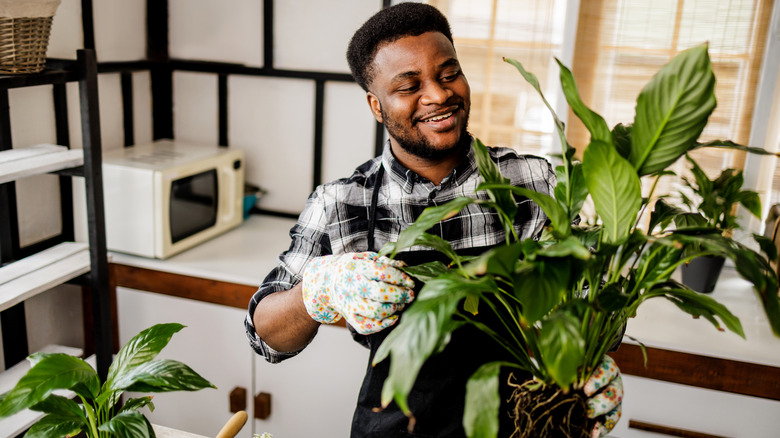
Plant foliage appreciates a regular sponge bath

Although gardeners are repeatedly cautioned against wetting certain plants' foliage, that doesn't imply that leaves shouldn't be cleaned at all — a point that Marina Olshansky makes in House Digest's exclusive interview. As is known, habitual airing out of rooms by opening windows and doors, or running heaters and furnaces on full-blast is an open invitation for dust to come in and settle on our indoor plants. Unfortunately, "When your plants collect dust, it's as if their pores are clogged and they're not able to receive light and humidity as easily," says Olshansky. Gaseous exchanges are hindered, too, when the leafy undersides are dust-coated. And that's on top of the dismal aesthetic a grimy plant creates.
So, what should you do under such circumstances? "Keep your plants happy by wiping them down — using only water on a cloth — once a month!" muses Olshansky. The rag can be switched out for a sponge or even cotton gloves if you're looking for a way to clean your dusty houseplants with a genius hack. Small indoor plants can be dunked and twirled in tepid water and air-dried. However, make sure you carry out the activity first thing in the morning to afford them sufficient dry time. This will ward off pesky insects, too. That being said, make exceptions for hairy succulents, cacti, and African violets — they're best wiped down using a soft-bristled brush. Also, avoid using any commercial leaf-cleaning products, for they may leave your foliage greasy, thereby stunting growth.
Adding compost consistently into the soil does wonders for its health, quality, and texture
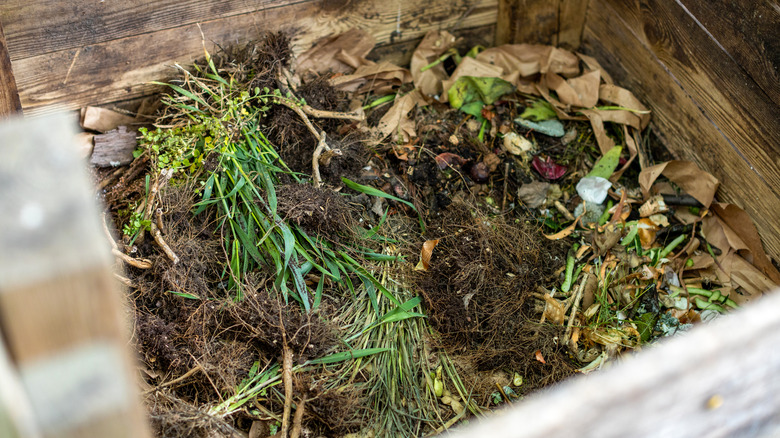
Rome wasn't built in a day, nor is good soil. Addressing the issue of urban soils with their poor porosity and organic matter being tough nuts to crack, Jessica Zander told House Digest, "The best thing I've done for my plants in any of the gardens I've started and maintained is to add compost consistently over the years." Emitting a distinct earthy aroma, compost is often layered around perennials or worked into annual beds. Zander adds, "Lately, I've converted to other organic matter, like grass clippings, leaves, pine needles, and small bits of perennials (the plants that come back each year) around the base of the [desired] plants after I've pruned them back in the spring."
Zander's secret? She draws inspiration from natural areas. "If you think about a forest floor, no one is running around with leaf bags; everything stays right there and goes back into the soil. The color is usually dark brown and it's rich in nutrients." Healthy garden soils are typically characterized by dark hues, with earthworms, ants, and beetles running amok in their top layers (down to 6 inches). Regrettably, "Years of removing everything from our properties and carting it away results in nutrient-poor soil and then we wonder why our plants aren't doing well," Zander adds. She cautions against over-dependence on fertilizers, saying, "[They] can help but don't often lead to a positive long-term effect and ... can have a negative impact on the environment."
You must match your plants' light requirements to their planned location
"The other really important thing to keep in mind when selecting new plants is to understand what kind of light requirements the plant may have," mentions Jessica Zander in a House Digest exclusive. "For example, for best results, don't plant a Hosta in full sun and a rose in the shade." While it isn't news that plants crave sunlight to photosynthesize and mature, matching their requirements is sometimes a tough call. The plant tags can be equally confusing when you must make sense of instructions like "shade to part sun." Quick tip: The first requirement states their preference while the second, their tolerance. Or, even better, take cues from their nursery location and replicate it in your garden. Remember, plants would rather be placed in spots meeting their light requirements vs. fertility, given the latter's scope for improvement. Otherwise, Zanders cautions they "won't thrive and it can be a waste of money."
To start off, track your yard's sunlight throughout the day, noting the sections that progressively receive intense heat vs. the ones that become shaded. This is important, as most shade-loving plants perform better in afternoon shade than morning cover. As you might've guessed, this isn't a "one and done" process that lasts just 15 minutes, although first focusing on the growth season can ease things significantly. Don't forget to account for trees and shrubs maturing to greater heights, which may leave dappled areas underneath that might not be ideal for certain plants' placement.