Here's How To DIY A Vinyl Fence Install For Affordable And Stylish Privacy
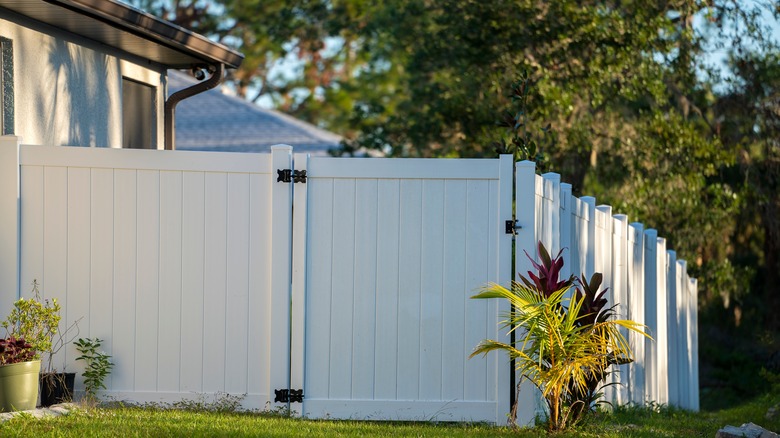
Thinking your garden could do with a bit of a privacy boost but don't want to shell out big bucks on something fancy? Meet the vinyl fence — it's the cool kid on the block for anyone seeking a type of fencing to instantly boost curb appeal without burning through their savings. The real kicker? Setting up a vinyl fence is a clear-cut process. Just map out the area, dig a few holes, secure those posts firmly, and then snap the vinyl panels into place.
It's not just the wallet-friendly price tags and a simple setup that makes the vinyl fence a winner. Insects won't compromise its integrity, for starters, and it will hardly splinter or snap when the weather goes wild. So, you bid farewell to an endless cycle of upkeep, slashing your maintenance costs, and keeping your wallet smiling in the long run.
According to Angi, a professional vinyl fencing job will set you back $2,321 and $5,896. That's a ballpark figure, though — it depends on how grand and fancy you're going. By going DIY, think about the $35 to $50 per hour in professional labor you'll save. And just to give you an idea, something like the Veranda Linden 6 ft. H X 8 ft. W White Vinyl Privacy Pre-Built Fence Panel retails for $99 at The Home Depot. Your choices in height, length, color (little tip: sticking to white might save cash), and additional accessories like gates will play into your total.
Steps to install a vinyl fence yourself
Building the perfect fence out of vinyl kicks off by assembling the required materials and tools — think vinyl panels, posts, gravel, and level. It might also be a smart move to rent an auger. Next, map your desired layout and mark the fence line. A rope strung from end to end will keep everything straight. You could also go fancy with spray paint to dot where each post will stand.
Now for the fun part — breaking ground with that auger. While the depth of the holes depends on what kind of soil you have, aim for about one-third the height of your posts, spacing them 6 to 8 feet apart. Drop in a 6-inch layer of gravel for drainage, then the vinyl posts, and surround them with concrete. If in a rush, quick-setting concrete (which sets solid in just about a day) is your friend here. Make sure each post is standing nice and straight using your level.
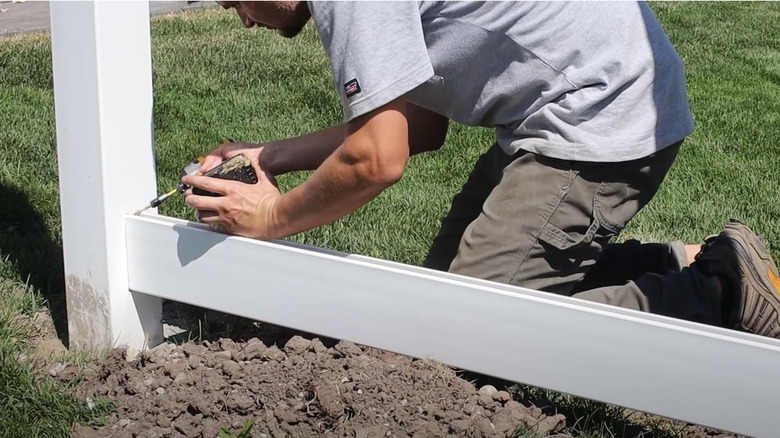
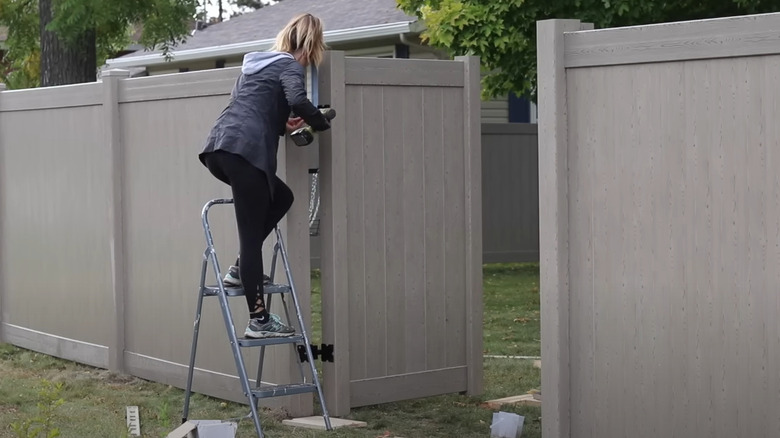
Once the concrete is solid, fasten the bottom rail to the vinyl posts. Here is the kicker, though: Whip out that level again and ensure the rail doesn't have any wild inclinations. Then, slide the vinyl panels into the bottom rail, starting from one end, and double-check that they're all level and upright as you go along. Crown it all with the top rail, a neat cap on each post, a gate, and voila! Your DIY vinyl fence is ready to make its debut.
Things to consider for this DIY vinyl fence
You want to hit up your utility companies before you even think about breaking ground. One wrong move and you could nick a gas or power line, which can be a safety nightmare. Additionally, nobody wants to be that person who throws up a monster of a fence that kills the view or cuts off access to part of their neighbor's yard. So, keep it cool and give them a heads-up. Talk about what your fence will look like and how it might affect their space. Don't forget to loop in your local government offices, too, for there's a maze of zoning laws and permit requirements to navigate. Better to be in the know than get snagged on a technicality later.
Now, let's talk measuring — it's everything when it comes to vinyl fencing. Mess up here, and you could be staring down a major do-over with resizing panels. In addition, account for uneven terrain or slopes and plan for stepping where needed. Vinyl fencing expands and contracts with the weather. If you install those posts too close together, there's hardly any room for the panels to expand, and that's asking for trouble (think buckling). So, keep things snug but not too tight.
On vinyl vs. wood fence, the former is pretty low maintenance. But if you're dealing with algae or mold (thanks to nearby sprinklers), a quick scrub with soapy water and a rinse-off should have your vinyl panels looking fresh again.