The DIY Kitchen Project Joanna Gaines Recommends For Beginners On A Budget

When doing a renovation, you need to know what you can do yourself and what can be contracted out. Home improvement projects that are better left to the professionals are those that involve fragile systems like electrical wiring and plumbing, but you can typically take on other things like furniture building or tiling. One of Joanna Gaines' best kitchen design tips is to do the backsplash yourself because it's a quick and simple change to make. "I always like to start with the backsplash — that's an easy DIY," she says to Country Living.
It's wise to identify where you can cut costs when doing work on your home. For example, you can flex your woodworking skills and DIY an entire butler pantry for extra kitchen storage, or find some simple DIY hacks to upgrade your existing appliances and features. Doing the backsplash is a great introduction and a way to get your hands dirty (literally) when it comes to DIY home projects.
The backsplash
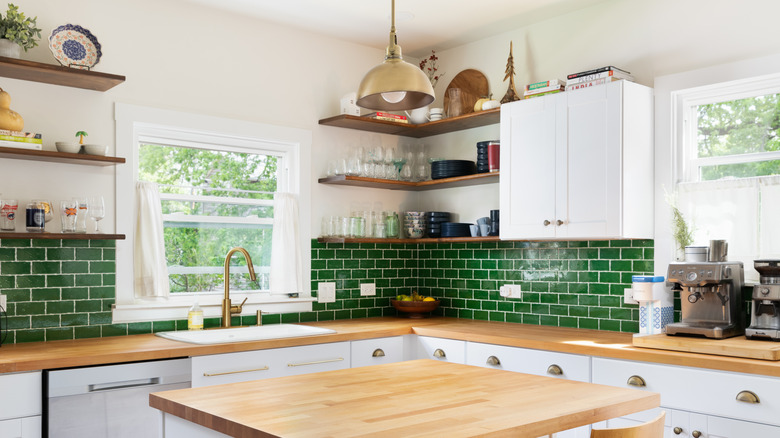
Installing a backsplash in the space behind your stove and/or sink is a project that a lot of people find straightforward for beginners because the space you're working with isn't overwhelming at all. "The good thing about a backsplash in smaller spaces is you don't have a ton of square footage that you have to work with, so you can go find a nice, affordable tile, and have fun with the pattern," says Joanna Gaines (via Country Living). All you need is some materials and you're good to go. It also isn't very risky because you can always take off the tiles and try again if you make a mistake.
Another reason a backsplash DIY is recommended for beginners on a budget is that it is an easy way to make a significant change. If you want to redesign the kitchen but can't do a full remodel, whether due to finances or time, changing the backsplash will give you the immediate refresh you need.
How to DIY the backsplash
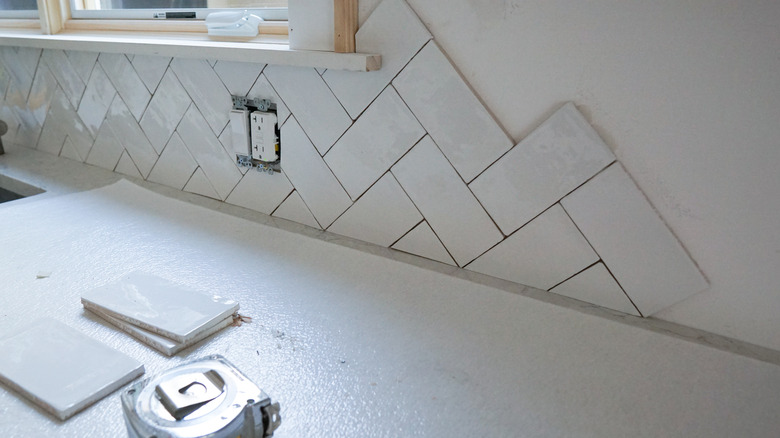
For this project, you'll need tiles, a tape measure, wall tile adhesive, a pencil, a putty knife, a sponge, and grout. Two common tile materials to consider are ceramic and porcelain and it helps to get tiles that are already in the size you need. Otherwise, you'll have to cut them down to size with a tile cutter. If you're going for a vertical or horizontal layout, something else you might want to use is a laser level to make sure your rows are straight.
To start, prep your wall by putting up some drywall or cement backerboard depending on how heavy your tile is. Next, mark the center point of the wall surface you're working on with the pencil, apply the tile adhesive there with the putty knife, and then fix your first tile. This will help you have an even design as you lay the rest of the tiles around that first tile. Now you can create your pattern. Some common ones are chevron, brick, and diamond. When all the tiles are laid, leave them overnight so the adhesive can dry, and then apply your mixed grout between the spaces in the tiles. Let the grout dry overnight and then clean up the tiles with the sponge to get rid of any residue that might have gotten on them.