Don't Waste The Caulking Gun: How To Detach An Old Caulk Tube & Load A New One
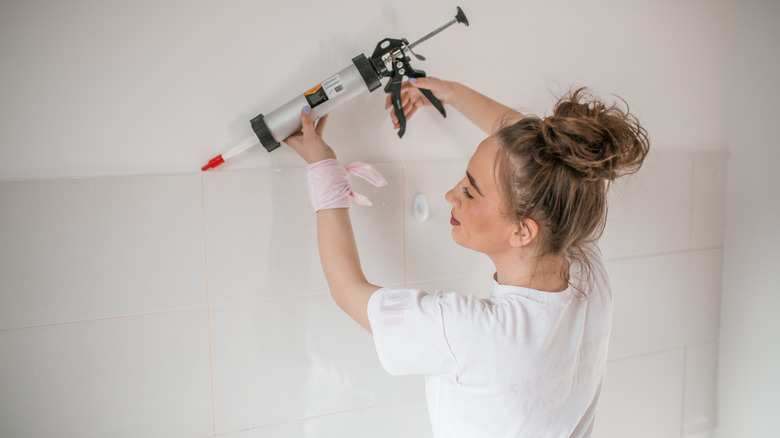
While it's a common job that homeowners are usually willing to tackle themselves, here's what to know before caulking. This process provides weatherproofing and prevents the loss of climate-controlled air from indoors. To do this job as a DIY project, though, you certainly need to know how to choose the perfect caulk for any job. Once you have the right product in hand, you then need to make sure you understand how to load and unload a caulk gun. After all, the caulk gun is meant to be reusable. You don't want to discard the gun when you discard an empty tube of caulk.
Only attempt using a tube of caulk with a caulking gun. The firm plastic used in the construction of the interior of the tube prevents you from using it without the gun because you cannot squeeze it easily and force the material out of the tip like you can with a tube of toothpaste. You certainly could learn how to caulk if you don't have a caulking gun, but this process could result in a significant mess. Fortunately, loading and unloading the gun is not difficult as long as you know the right steps to take. Before loading a new tube into the gun, prepare the tube. Use a knife or scissors to clip the tip. Then, press a screwdriver, long nail, or the puncture wire attached to the gun into the cut tip to puncture the seal.
How to load a new tube of caulk into the gun
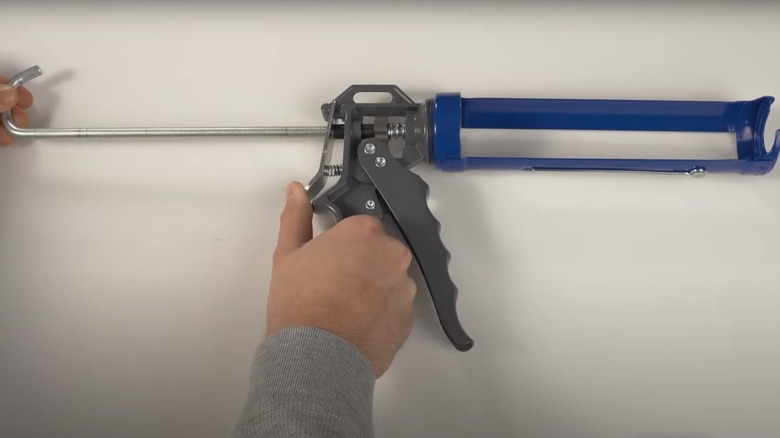
To load the new tube, grip the handle with one hand and depress the release trigger with the thumb. Don't touch the trigger in front of the handle; only the trigger at the back. Hold this trigger down as you use your other hand to pull backward on the rod (or plunger) at the top of the gun. The rod has a 90-degree bend or a hook at the end, making it easier to grip. Pull the rod all the way backward. Inside the hollow cavity at the top of the caulk gun, the rod is attached to a metal circular plate or plunger. When you pull the rod all the way back, this circular plate should slide to the back of the cavity.
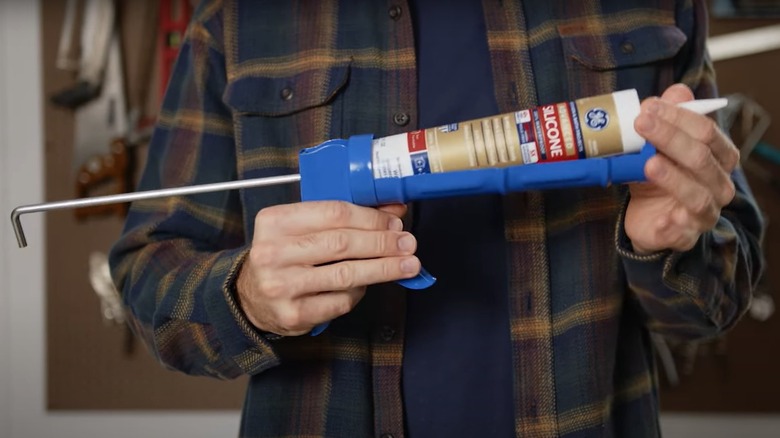
Insert the tube of caulk into the cavity at the top of the gun. The tip of the tube should slide into the groove at the front end of the cavity, while the back of the tube – which has a slight indent — should be close to the back of the cavity. The round plate should align with the indent. Once everything is aligned, pull the trigger in front of the handle of the caulk gun. Each time you pull the trigger, it moves the circular plunger forward, where it will begin pressing on the indented back of the tube, forcing the back plate forward and pushing the caulk through the cut tip.
How to remove an old tube of caulk from the caulking gun
Once you've used all the caulk or when you've finished the job, you should remove the tube from the gun. To remove the tube, start by releasing the pressure that the circular plate is applying. Depress the pressure release trigger at the back of the gun (behind the handle). Now, pull the rod backward until it can't go any farther. When the rod is fully extended, the circular plate should be at the back of the caulking gun and beyond the tube's back edge. The tube should now be loose; you can pull it directly upward and out of the cavity at the top of the gun.
If the tube is empty, you can discard it, as long as it is latex-, silicone-, acrylic-, or water-based caulk (which are the most common types of products a DIYer will use). You should attempt to take a solvent-based caulk to a local hazardous waste facility. If the tube still has some caulk you'd like to save to use again, you can keep it viable. Insert a long nail or screw into the wet caulk at the tip. As it dries, it creates a seal at the end of the tip. To use it again, just pull the screw or nail out, and it should pull out the dried caulk, too, freeing up the still viable material remaining inside.