Why You Should Sand Your Wood Floors Diagonally
Transforming an old, neglected property into a livable home is such a satisfying process, especially if you do the work yourself. However, this doesn't mean you won't meet countless challenges. One problem you'll likely face is that vintage floors are inherently uneven. To fix this issue, we suggest trying something that will probably feel weird at first: sand the floor diagonally. Instead of sanding in the direction the planks run (as most people do), start your machine in one corner of a room and sand across the floor on a diagonal. This will leave you with floorboards that are smoother and more even than you would have achieved using traditional methods. Plus, it's quicker, and who doesn't love cutting back on the time it should take to refinish hardwood floors?
Wonky floors are common in older homes. You might notice a slight gradient lean or minor bumps and dips. Most often, unevenness is caused by age. Navigating an inconsistent surface with a big electric floor sander makes the chore tricky, even for professionals. Moving a machine diagonally across a room means you glide right over the ridges formed where the floorboards meet instead of the sander bouncing over them like speed bumps. The former method levels out the ridges until they sit even with the dips; the latter exacerbates the valleys. However, note that while you can sand out minor problems, get very uneven floors looked at by a professional, as they could indicate foundation issues or other larger problems.
How to sand floors diagonally
Probably the biggest benefit of sanding on the diagonal is that you can avoid hiring a pro to refinish your hardwood floors and instead DIY the chore and still get professional results. Sanding your wood floors yourself will save you money and give you a decent workout, as drum floor sanders aren't light! Technically, the only difference between sanding on the diagonal versus straight along the planks is, well, the direction you move the sander. The sandpaper you use, the type of sander (a drum floor sander is best for floors in rough shape, but a belt sander works, too), room preparation and cleanup ... it's all the same.
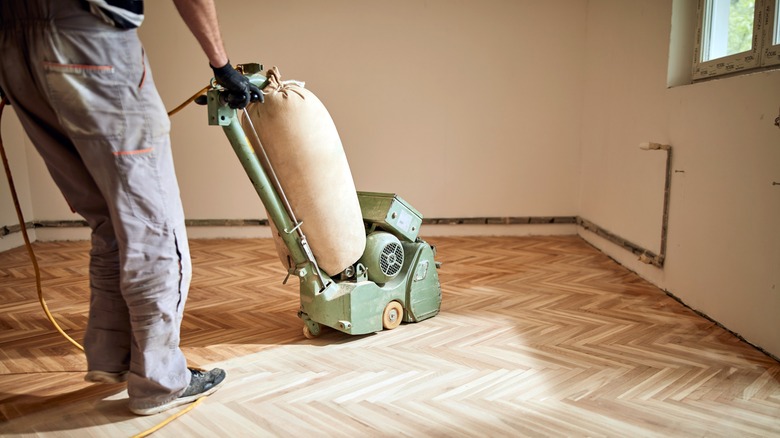
Prepare the room for sanding: remove all the furniture, bang down any tall nails, and cover anything dust could get into. Now, with your floor sander fitted with the 40-grit sandpaper, run the machine over the floor in a fluid, non-stop motion. Start in one corner and move to the other, tilting the sander as you work the walls, and make sure you overlap each pass. Switch directions while still on the diagonal, then repeat the process with 80 and 120-grit sandpaper. If you want, sand the floor again straight along the boards to remove any cross-plank marks. Use the same grit sandpaper. Follow these easy tips for refinishing hardwood floors, and you'll soon have brand-new, completely flat and smooth surfaces.