The Best Way To Avoid False Positives With Your Stud Finder
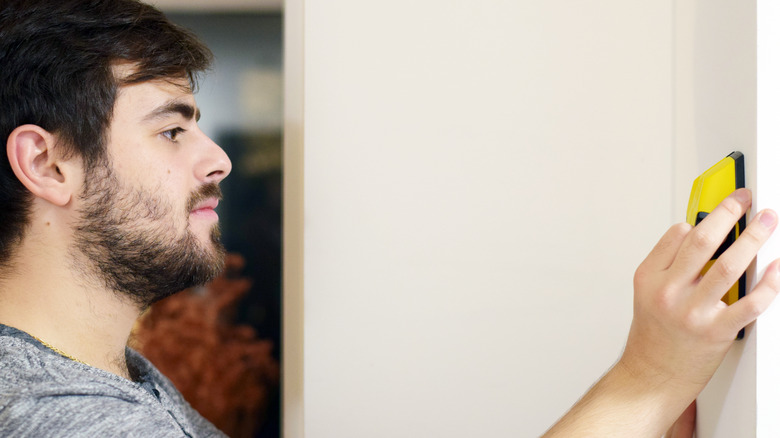
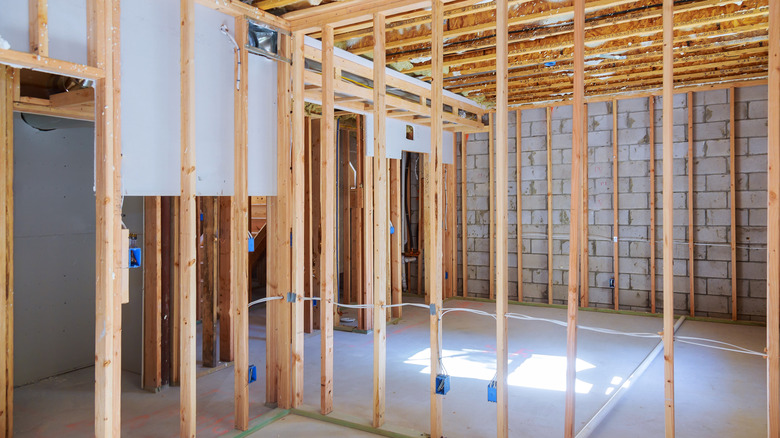
When you are preparing to hang shelves, mirrors, photographs, or other items on your walls, learning how to use a stud finder is a must. If you are hanging objects that need to support significant weight, placing the anchors or screws into the wood framing 2x4s behind the drywall ensures that they have the support they need. Try screwing that shelf into drywall alone before placing heavy items on it, and it will almost certainly fall down at some point.
The stud finder measures the space on and behind your drywall, typically looking for metal or electrostatic fields that indicate the presence of 2x4 framing wood. The metal comes from the screws that hold the drywall to the wood, while the electrostatic field comes from wiring attached to the 2x4s inside the wall. Others look for a change in density in the space behind the drywall.
You may have heard about issues and mistakes that occur with a stud finder tool. Some of the biggest problems with this tool are false readings, interference, and challenges with thick walls. Such issues can lead to frustration for people, causing some of them to look for tips they can use to find studs without a stud finder. Before going that route, though, we'll provide some steps you can follow to reduce the number of false positives you receive with this tool.
What is a false positive with a stud finder?
When you use a stud finder and it registers a reading that ends up being incorrect, this is a false reading. In other words, the tool tells you a 2x4 stud is at a certain location, but when you begin drilling to hang your shelf or picture, you find nothing behind the drywall.
The false positive may occur because the tool found an electrical conduit, electrical wires, or plumbing pipes instead of a 2x4. When a false positive occurs, the tool may also find other, less common items behind the wall, such as stray screws or protector plates. It's also possible that the stud finder will begin returning false positives when it encounters nearby items, such as if you suddenly begin holding a pencil too close to it or if you change the position of your fingers around the tool. (Some tools are more sensitive to these nearby items than others.)
If you are unsure whether the spot that the stud finder tool marked on your wall is a 2x4, you can reduce the chances of registering a false positive by following the steps listed below.
Never assume the first hit is a stud
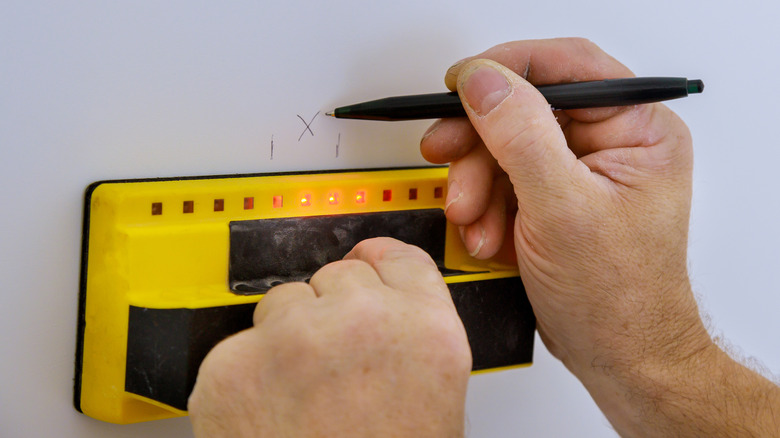
One of the first rules of thumb when trying to reduce the chance of a false positive with your stud finder tool is not to assume the first hit you receive is a 2x4 stud. Never drill the hole on the first hit. Instead, make multiple scanning passes before settling on a spot to install a screw. Work over the same area a few times with varying patterns of movement, scanning overlapping sections to be sure the tool is returning a hit each time you go over the spot you believe is a stud.
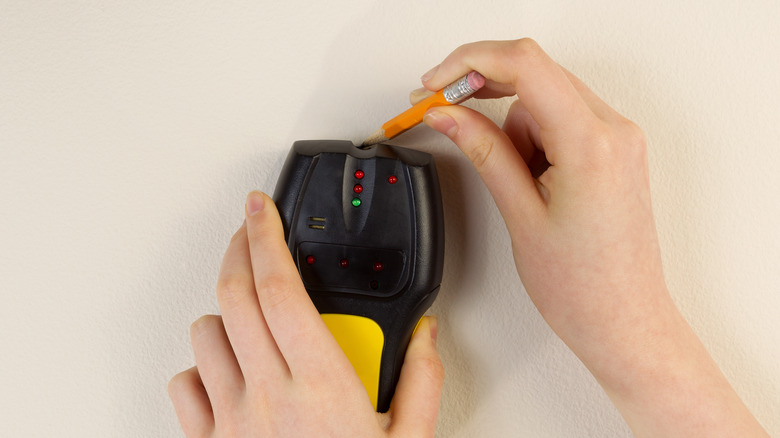
Whenever the tool returns a hit on a potential 2x4, mark it with a pencil. You can then find each mark as you are working in overlapping sections, allowing you to feel confident that the tool is finding the same stud multiple times. If the tool doesn't find the same stud the next time you go over the space, you may have had a false positive the first time.
Use calculations to figure out where the studs should be

When construction professionals build the framing that will support the drywall, they typically place the 2x4s exactly 16 inches apart from the center of the edge of one board to the center of the edges of the subsequent boards. Most local building codes require 16 inches on center for framing inside walls to provide the proper level of structural integrity.
Once you are certain that the stud finder has discovered one of the vertical studs, you can measure 16 inches outward on either side to hopefully give you clues on the location of the others. When you use the stud finder in these areas, you can be more confident that the readings are not false positives. Bear in mind that if you find items in between your expected 16-inch segment, these could be pipes or other items, resulting in a false positive.
Understand that, as long as the local building codes allow it, some builders use other measurements, such as 24 inches on center instead of 16, which helps to save materials and money. If the builders used something other than 16 inches on center for your walls, it could explain why you are receiving what you think are false positives.
Use clues in each room to help avoid false positives
If you are working in a typical living room or bedroom with the stud finder, you will probably end up with fewer false positives. Such rooms are less likely to have plumbing pipes inside the wall than if you're working in a bathroom or kitchen. Be prepared for more false positives in the latter areas.
Along those same lines, you can use clues in the design of the room to help you figure out the most likely location for the wall studs. When you have electrical outlets in the room, the outlet boxes must be attached to a 2x4 wall stud to match building codes. However, you may not want to drill into these 2x4s because they are also likely to have electrical wires attached to them or nearby. Instead, use the stud finder to locate these 2x4s, and then use the 16 on center method to find nearby studs with fewer false positives.
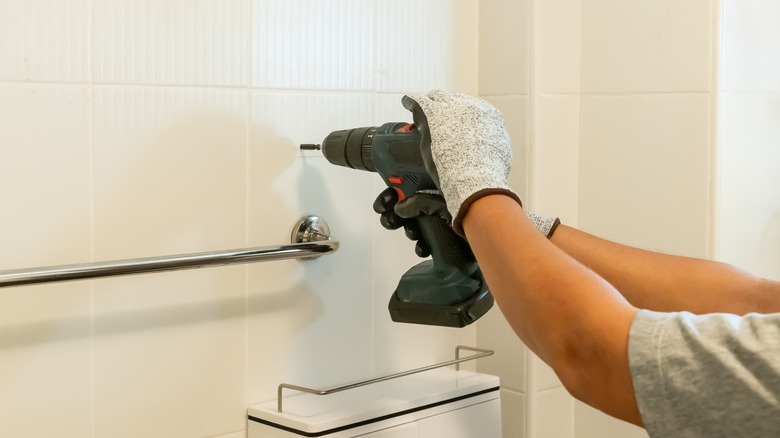
You also can look for other clues. If someone in the past hung shelves or a towel bar in the room, they likely screwed it into a stud. If so, you can use the stud finder to verify it. You can then use the 16 inches on center method, along with the stud finder, to find nearby studs.
Studs in the wall typically run vertically, not horizontally
Remember that the primary 2x4s in your wall frame will run vertically behind the drywall. Outside of normal circumstances, if you are detecting what appear to be studs that are running horizontally inside the wall, you probably have a false positive. Additionally, your 2x4s will be perfectly straight. They will not curve or change directions. If this is what your stud finder is indicating, you're probably receiving a false positive from electrical wires or plumbing. Make marks near the top and bottom of the vertical stud that the finder is reading, so you can eyeball it and be confident it is straight.
That said, there are areas where some studs may run horizontally, such as near windows and doors, as they provide the support and structural requirements for these openings. If your stud finder is generating readings near doors and windows that indicate horizontal studs, these may be accurate, not false readings. Some builders may randomly use horizontal 2x4s as braces between the vertical studs for things like fire blocking as well, which would not be a false positive. Most people will want to focus on finding the vertical 2x4s, however, because they are not random and are easier to find.
The edge of a stud is about 1.5 inches in width
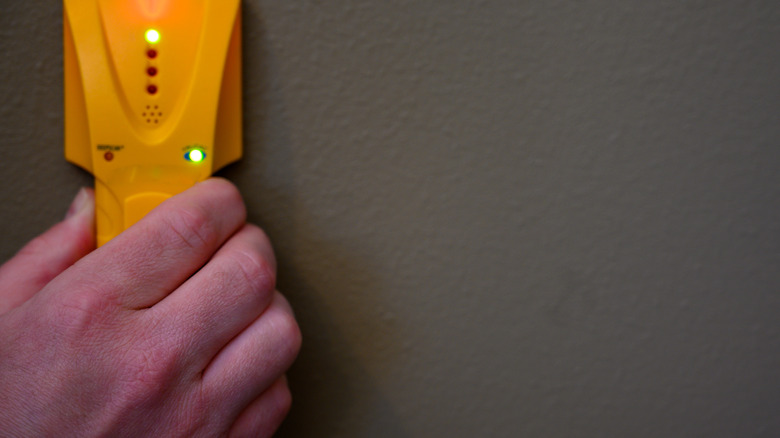
Many stud finders will provide a reading across the entire width of the 2x4 wood board that's behind the drywall. If the stud finder has indicator lights, they typically light up when you reach the first edge of the board and turn off when you reach the other edge. You may be able to measure the entire width of the board through the tool's indicator lights. Others may use an LCD screen to indicate the width of the board.
Understand that the 2x4s in framing are turned to the side inside the wall. If you look at the wall frame without the drywall in the way, you would see the narrow edge of the 2x4 rather than the wider side of the board. Even though this board is called a 2x4, the milling process means that its actual measurements are 1.5 inches on the narrow edge and 3.5 inches on the wider side.
Knowing these measurements can help you avoid false positives when using your stud finder. If you are receiving hits on an item that seems significantly wider or narrower than the 1.5 inches you expect from the board, it may be a false positive from plumbing or an electrical wire. If you are working near a door or window, though, keep in mind that a builder may have stacked two 2x4s together for additional support. Your finder tool may then return a reading far wider than 1.5 inches.
Pay attention to the battery power
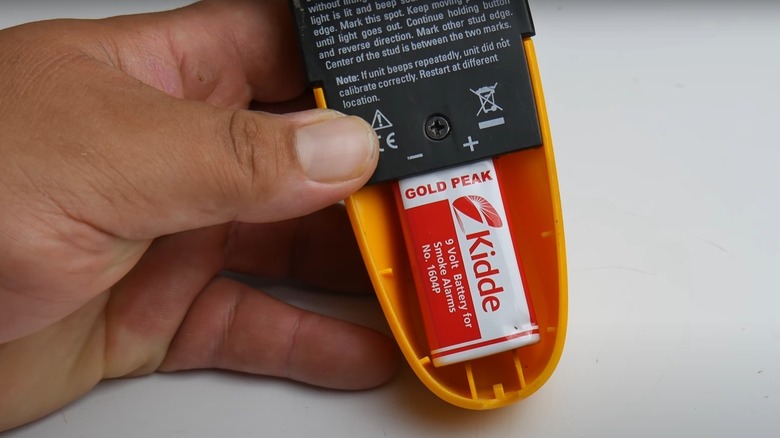
One common problem with stud finders that are generating inconsistent readings and false positives is that the battery power is too low. If you have a rechargeable battery, give the tool time to fully recharge before using it again.
If you have an alkaline battery, try replacing it with a new one. Understand that some units will use AA batteries, while others require 9-volt batteries. You'll want to have the right kind of additional fresh batteries on hand if you are planning to use the stud finder over a long period of time for a project.
Some units will have a low battery indicator. Do not ignore this indicator, as the stud finder will not be able to deliver optimum performance when the battery is low.
Read the stud finder's instructions

No one likes reading product instructions. Unfortunately, it's often a necessary evil for many tools, including stud finders. If you are receiving false positives, you may need to go back through the instructions to see whether you missed a key step in the setup process.
Many stud finder tools require calibration before they will work properly, for example, and some units are touchier than others when it comes to this step. For example, most will not work if you calibrate them over the top of a stud, so be sure you've found a cavity behind the drywall when using the tool.
It's also possible that you are simply not reading the indicator lights correctly, meaning that what you believe is a false positive is not, because the indicator lights are showing something else. The instructions should tell you exactly how to interpret the indicator lights in order to properly locate the stud.