Ditch The Clunky Over-The-Shower-Head Caddy For This Sleek Alternative
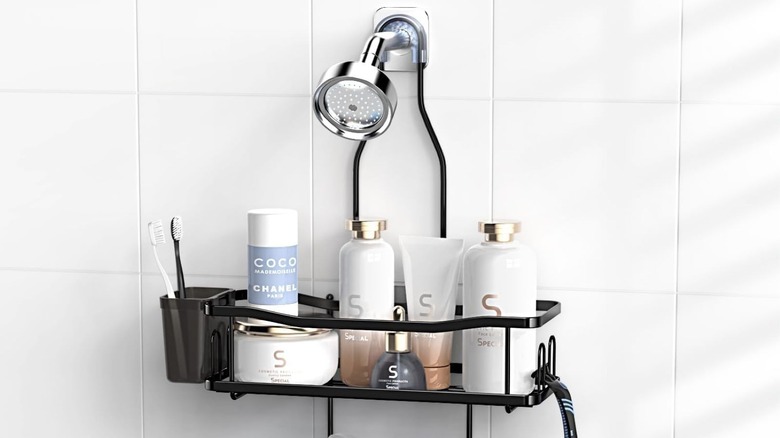
Everyone needs shower storage to keep their favorite products within reach. With all the body washes, shampoos, conditioners, and shaving accessories we use daily, there should be an organized way to corral them. Most of us have used over-the-shower-head caddies to contain all those staples, but they come with drawbacks. Not only can they look clunky but their weight puts tension on the shower head, eventually damaging it by creating leaks or breaks. But if you don't have a shower niche in your home, you might feel like you don't have a choice. Luckily, there is a new, sleek alternative: a shower shelf.
Rather than suspending a set of shelves from the shower head, you can hang them on your shower wall with waterproof adhesive strips. This removes any tension or weight from the shower head and creates a less juvenile design. For some, the showerhead caddy brings back memories of college dorms or teenage bathrooms. The shelves make a cleaner, more minimal aesthetic. Here is a closer look into how to incorporate shower shelves into your design.
Swap it for adhesive shower shelves
Adhesive shower shelves are an upgrade from the showerhead caddy because they feel more custom. Rather than having a clunky organizer hanging from the showerhead, these shelves look like they're drilled into the shower wall, creating a more seamless design. Rather than resembling a dorm shower, you now have a more elevated, spa-like look. Not only do these adhesive shower shelves feel more luxurious, but they also allow for more customization. Large bottles usually can't fit into a showerhead caddy, but you can space the shelves however you want, customizing their heights to match your particular products. This allows for a cleaner setup since you won't be forced to store some bottles horizontally or on the shower floor.
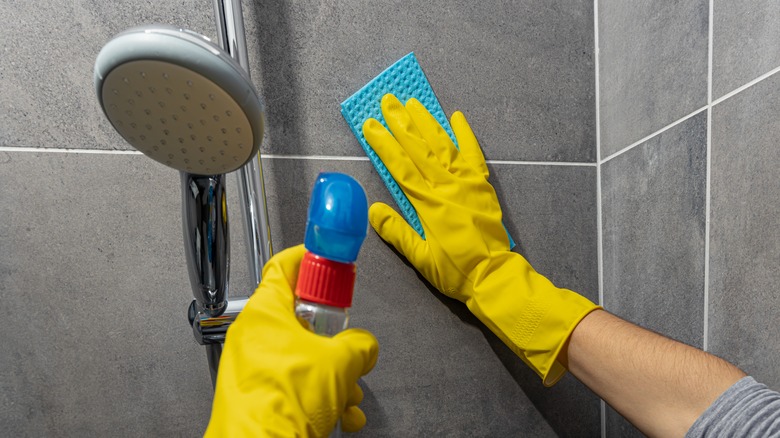
To ensure these shelving units don't come crashing down in the middle of the night, you must adhere them to the wall well. To make them stick, first make sure to clean the area before applying the adhesive tape. You don't want any soap scum or dirt acting as a barrier between the tape and the wall. Wipe the area dry so there is no leftover moisture, and then apply the tape to the tile. Press it down firmly, pushing out any air trapped inside. Give the tape a few hours to cure before adding the shelf with products.
How to remove the shelves
Whether you're moving out of your apartment or have grown bored with the shelves and want to swap them out, you will want to remove them at one point or another. While it might seem as easy as removing the tape from the tiled wall, it might not always be as simple as that. If the glue cured very well, it might be difficult to peel off. If your tape doesn't have much give, grab a blow dryer and warm the corners of the adhesive strip, loosening the glue. This will make it easier to peel back.
If you don't think you can get it off without leaving residue behind, grab a piece of string, such as dental floss or sewing thread, and move it underneath the adhesive strip. This will cut through the glue, creating less of a mess when you try to pull it off. If there is still residue when you remove it, make sure you clean it up right away. Allowing it to dry on your tiled wall could leave a permanent mark. To do so, use rubbing alcohol on a microfiber cloth to cut through the gunk.