Elevate Your DIY Container Garden With This Handy Project
Any gardener will tell you that working in the dirt with growing things is therapeutic. Fresh air, sunshine, and watching photosynthesis can do wonders for your head space. Plus, in return you're rewarded with vibrant blossoms or an edible harvest. If you want to dig in but don't have access to a patch of earth, container gardening is a way into this satisfying hobby. There are plenty of benefits of growing a container garden, and what you can grow is only limited by your space!
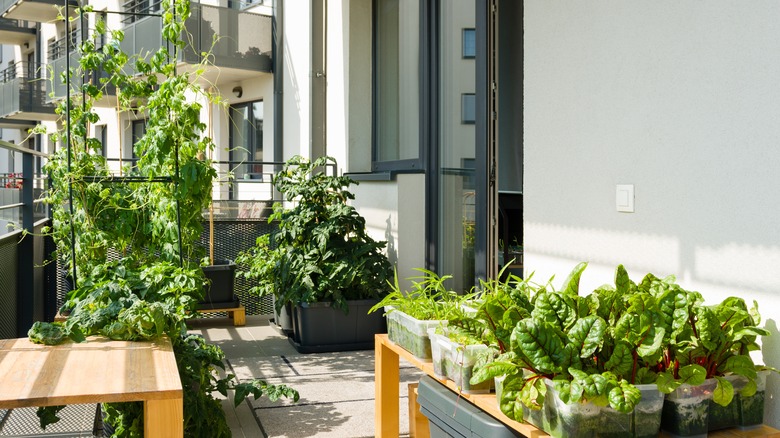
Going vertical is essential for small areas. A great way to maximize a patio or balcony garden or even an indoor area is by assembling an elevated planting solution with a tiny footprint. To pull off a build similar to TikToker im.ambreon's two-tiered creation, you'll need several lengths of 2x4s, wood screws, a drill, and a collection of containers for planting. You can purchase 5-gallon buckets to mimic im.ambreon's construction, or get creative with eco-friendly repurposed containers. For the finishing touches, grab an electric sander or sandpaper, weather protective sealant, and a paintbrush.
Preparing your materials
First, gather the containers you'll be using as planters; the dimensions of the planters will dictate the size and shape of your structure. TikToker Im.ambreon opted for eight 5-gallon buckets to serve as planters. Other options are rectangular plastic bins, or repurposed vessels like sturdy laundry detergent containers or other common household items.
Set your planting containers in a row, and measure the width of the combined containers. That will be the width of your build. Cut seven sections of 2x4s to this length for the horizontal framing and for the shelves to hold the planters. Next, measure and cut five pieces of 2x4s to the height you'd like your shelving to be. Four pieces standing vertically will serve as the highest shelf. Cut the remaining 2x4 in half as legs for the lower shelf. You will also need four pieces of 2x4s that are double the width of your planting containers. These will not only brace the structure, they will also attach the shorter shelf to the tallest shelf. Lastly, cut two pieces of 2x4 that will connect the tops of each end of the highest shelf.
Building and finishing your planter

Screw two of the longest 2x4 pieces horizontally to the tops of the four tallest legs. Connect another same-sized piece to the tops of the shorter legs. Mark the height of the shorter legs on the taller part of the shelf, and fasten the other long piece here horizontally. Using the four pieces cut to the width of the two combined shelves, attach them to the very bottoms of all six legs, to the tops of the shorter legs, and to a spot on the taller shelf that's the same height as the shorter legs. The highest of these four braces will also support the shelves that will hold the plant containers. Place the last two of the longest 2x4s on the highest braces for the tallest shelf and the lowest brace for the shortest shelf, and secure with wood screws.
Once you've sunk your last screw, it's time for the final steps. Using either sandpaper or an electric sander, make several passes over the wooden surfaces to smooth down rough spots. If you plan on using your shelving unit outdoors, paint it with several coats of weather protectant stain. For indoor gardening, a coat of cheerful interior paint to complement your décor will do the trick. Before establishing your plants, drill holes in the bottom of your containers for drainage. Place your planting containers on the shelves in the structure, and fill them with soil. Now they are ready to welcome plant life!