Helpful Tips To Paint Veneer Cabinets Like A Pro
If your kitchen boasts some old wood veneer cabinets, you may be tempted to replace them with more modern cabinetry in solid wood during any kitchen remodel. Once popular in the late 20th century, veneer cabinets were an inexpensive alternative to solid wood cabinets, and at the time, provided a way to get a wood-look with a surface that was durable and easy to clean. While today's veneers have come a long way from their vintage brethren, you may be looking for a way to transform them with paint. There are a few key tricks to keep in mind to get a flawless finish every time, even when covering veneer. Having the proper tools and supplies in place before painting your kitchen cabinets can also help immensely.
Are your cabinets ideal for painting? The best way to determine whether you should paint your cabinets or just replace them depends on personal style, budget restrictions, and the overall condition of the cabinets. The plywood or wood-pressed particleboard often found underneath veneered cabinetry does not endure over time as well as solid wood, so you may find that cabinets have buckled and bowed due to heat or moisture. If your cabinets are still in great shape structurally, they are an excellent candidate for painting.
Prepping the surface
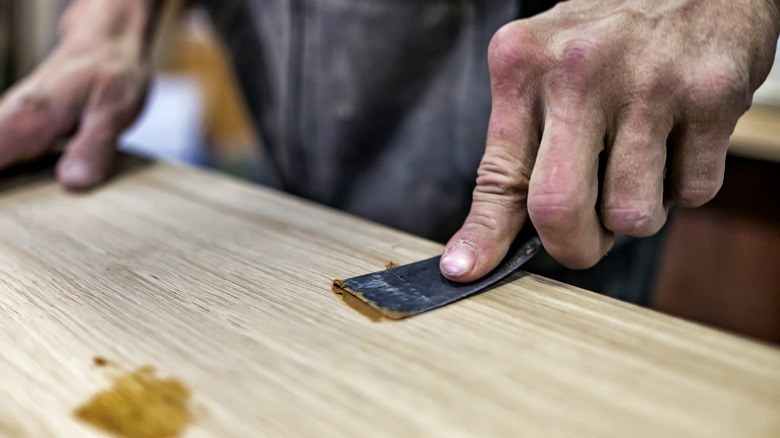
Begin by removing the doors from the cabinet frame. While ideally most of this project should be done in a garage or open-air space, the cabinet boxes will probably have to be done in the kitchen. You can, however, remove the doors first and paint them in a spot where there is plenty of airflow and space to spread out. Begin by examining the cabinets, drawers, and doors for any cracks, hardware holes, or other imperfections. You can use a putty knife and wood filler to smooth over any rough spots. This is also an excellent opportunity to examine your hinges and hardware and determine if you'd like to replace them or set aside the originals to re-install.
A clean surface for sanding and priming is important, so make sure to use a degreasing or ammonia-based cleaner to thoroughly wipe down the surface. Greasy fingerprints and buildup can make it hard for your paint to truly adhere to the surface. You can also mix a solution of 1/2 cup of trisodium phosphate with 1/2 cup water to clean the cabinets thoroughly. Allow them to dry completely before beginning the sanding step.
Sanding the cabinets
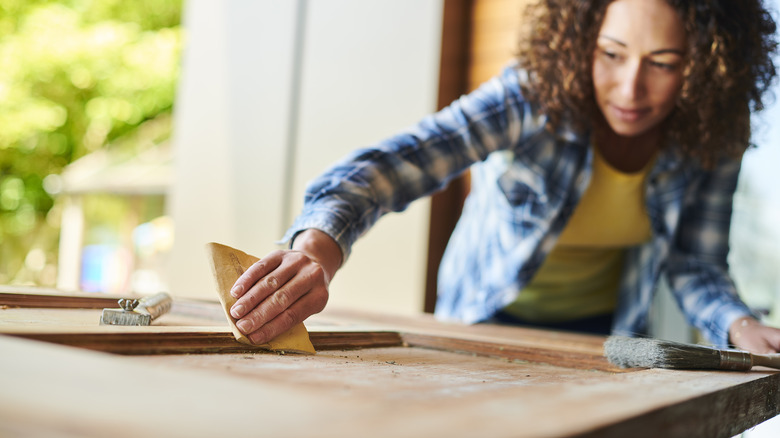
For best results, use a finer sandpaper under 220 grit, either with an orbital sander or by hand. Make sure to wear a mask while sanding any wood or veneer surface. The key is to sand away enough of the shiny surface to allow the paint to adhere without removing any of the veneer completely. Pay particular attention to corners and edges, as well as any carvings, protrusions, or indentations that may have more difficulty taking paint. This includes the sides and interior of cabinet doors, even though they may not be seen as much.
After you have completed your sanding, you will want to remove all debris and sawdust from the surface of the cabinets with a vacuum or dust rag so that it does not mar your priming and paint job. You can also wipe down what you will be painting with soap and water again to ensure a clean surface. Allow the surface to dry and any moisture to evaporate before starting to prime the veneer.
Priming the surface
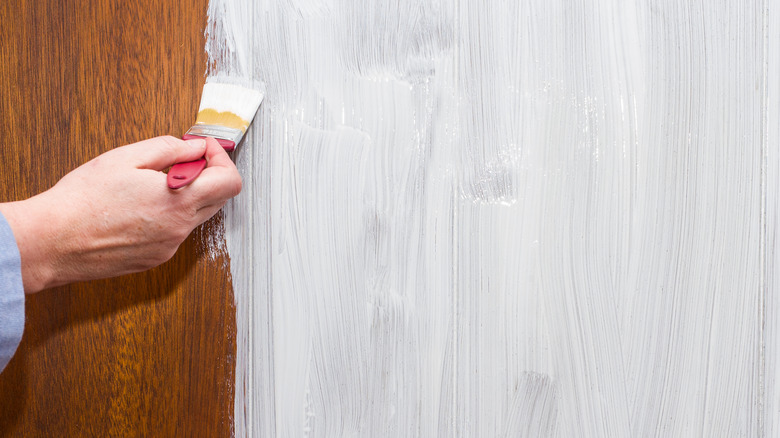
Most paint experts recommend a bonding primer for best results. A good primer is essential and will create a perfect surface for your final paint finish to stick to. You can use a primer closer to the shade you will be painting, or a tinted primer that you can have mixed at the store for darker and bolder colors. One coat of primer can often be enough, but many experts recommend two coats, each allowed to dry thoroughly between applications.
The goal is to create a surface that is evenly coated perfect for your final paint, particularly if you are going for a paint color that is drastically different from your original finish hue. Use a brush or a 4-inch wide roller to apply the primer. The roller is good for large surfaces, while some of the smaller corners and edges will be best approached with a bristle or sponge brush where you can work with a little more control.
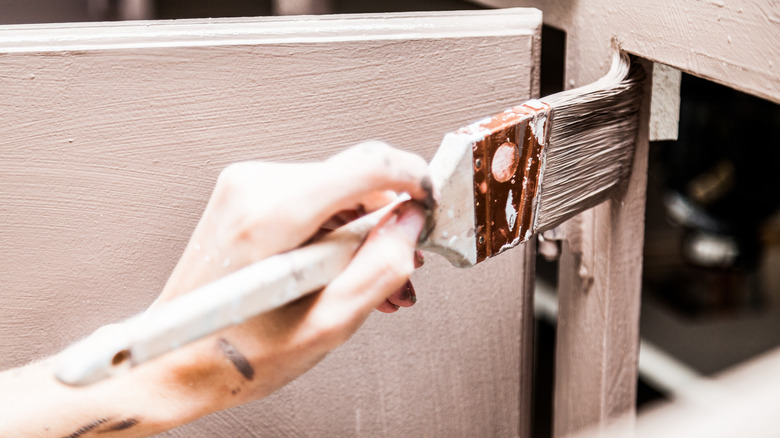
Painting the cabinets

There are a multitude of paint options that can work well on veneer surfaces if properly sanded and primed beforehand. Oil and water-based enamels will work beautifully, as will chalk paints, milk paint, or high-gloss enamel, all of which will provide a durable surface that should resist chipping and scratching, as well as be easy to clean of fingerprints and grease that may incur. Another popular option is 100% acrylic semi-gloss latex, which will give a much more matte finish than some of the alternatives while still being scratch-resistant and easy to clean. Then use a couple of final coats of clear varnish to protect the paint job.
While painting, you can achieve a flawless, polished look by working with multiple thinner and lighter coats rather than one thick coat, which can lead to drips and imperfections. Work with a wet edge across the cabinet doors with a roller to ensure a clean finish. Many recommend at least two coats of your selected shade, with each allowed to dry thoroughly overnight before the next application.