How To DIY An Outdoor Sauna To Create A Gorgeous Space Of Relaxation
Saunas — you either love them or hate them, but most people understand the physical and mental benefits that come with a good, steamy sweat. Humans have used saunas and sweat lodges for thousands of years. Sometimes they were necessary for survival in harsh cold winter conditions, but they were also used for sacred ceremonies and overall relaxation. Saunas have always been viewed as a special experience, and while they may not bestow magical powers as ancient Europeans once thought, they can make your body feel pretty magical by reducing stress, cleansing your pores, increasing blood flow, and relieving aches and pains. Further, while they haven't changed much in the last few millennia, access to them today is mostly restricted to luxury resorts, day spas, and private gyms. What if you could enjoy all the perks of a professional sauna from the comfort of your own backyard?
A sauna is an outdoor feature many homeowners want to add to their backyard, and building one yourself is easier than you might think. As long as the proper steps are taken, you can ensure the feature functions correctly and lasts for years even under such humid conditions. Here's what you need to know about building your own sauna, from the cost and supplies needed to step-by-step instructions and tips on making yours as relaxing as possible.
How much does it cost to build a sauna?

The final cost to install a sauna is entirely up to you, but it's estimated that the total price will be between $3,000 and $6,000. The size of your sauna is a good place to start, as this will affect its overall cost. Will you be using this sauna alone, or do you want family and friends to be able to join? A tiny 3 by 3-foot type may be large enough for one person, but a comfortable size is somewhere around 8 by 12 feet. A larger type is more expensive and may also require a larger heating element, which will generally cost between $130 to $800 or more. Once you've determined the ideal size, you'll need to weigh the cost of materials. Some common sauna materials are more luxurious and durable than others — and also more expensive. For example, cedar costs about $3 to $7 per square foot, while redwood costs $30 to $35 per square foot.
How difficult is it to build a sauna?

Building a sauna can take some careful planning and construction, but it's a relatively easy project for anyone new to DIY builds. You don't need to be a professional to build an outdoor sauna, although having some construction experience can help. You will need to have some basic knowledge of tools and safe building practices, or at the very least ask for help from someone with these skills. When you're ready to add electrical wiring, it's also important to hire a professional electrician to avoid injury and ensure the structure is safe.
There are also some factors that can make your project either more or less difficult. For example, building a sauna on a raised deck or patio space can present some unique challenges, as you'll need to ensure the deck can support its weight and prevent moisture from collecting underneath the sauna. If you're looking for the easiest way to build a sauna, a concrete slab and wooden structure is the best way to go. Pre-made kits or instruction guides can also simplify your project, but building the sauna from scratch will give you more freedom to play with the design and features.
Products and tools you'll need
The materials you'll need will vary depending on the design of your sauna. If you're using a pre-made kit or a shed conversion, the majority of your materials will already be included or described in the instruction packet. If you're going to completely DIY your sauna from scratch, you'll need these materials:
- A concrete slab foundation
- 2x4 or 2x6 lumber for framing
- Wood materials for benches and shelves
- Tongue and groove paneling for interior and exterior walls
- Asphalt shingles or other roofing materials
- Fiberglass batt insulation
- Sauna foil vapor barrier
- Electrical wiring
- GFCI outlet(s)
- A light switch
- Light fixtures
- A sauna door
- Window(s)
- Exterior paint
- A sauna heat source
The type of wood you use is very important to consider, as it's crucial to choose a soft wood variety that can tolerate the sauna's high heat and humidity without warping, molding, or rotting. Cedar, basswood, hemlock, poplar, pine, and redwood are all suitable options because of their natural antimicrobial properties.
Of course, you'll also need some tools to build your sauna as well. These will likely include:
- A measuring tape
- A level
- Power saws (circular and table saw)
- A drill, drill bits, and screws
- A hammer and nails or an air compressor nail gun
Prepare the area
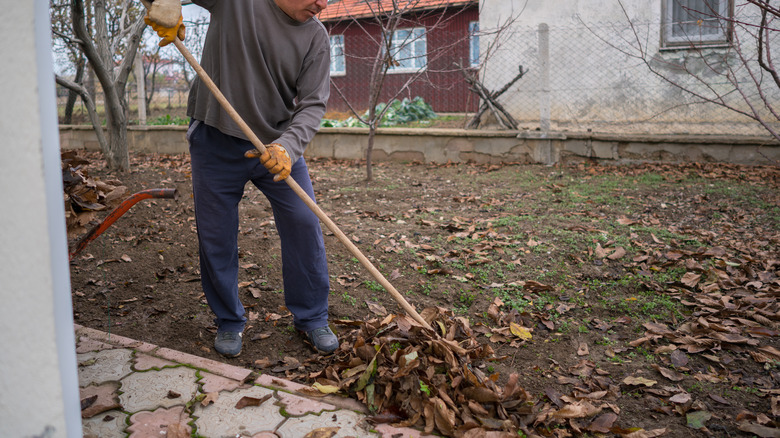
The first step to building your sauna is choosing a place to put it. Keep in mind that your sauna will need to have electrical access to run the heater, lighting, and any other devices, so building it at the farthest edge of your property may not be practical. Find a level, flat patch of ground and clear out any shrubs, leaves, sticks, or stones that may be in the way. If the ground is uneven or slopes dramatically, you may need to order and spread dirt to level it out before building. If you already have a shed, garage, or outbuilding that you rarely use, you may want to weigh the possibility of converting this pre-existing space into a sauna instead.
Pour the foundation

While a sauna can be built on piers or gravel, it'll have better durability, a longer lifespan, and be more clean if you install it on top of a concrete slab. Concrete slabs will help to keep moisture from affecting the underside of the structure and prevent unwelcome visitors like spiders, snakes, and rodents from crawling inside. After preparing your ground, frame and pour the concrete slab to the appropriate size of your sauna. If you want to have a small patio or seating area just outside the sauna, pour the slab slightly larger than you'll need. Allow the slab to settle and dry for at least 48 hours before walking on it or removing the frame.
Build the structure
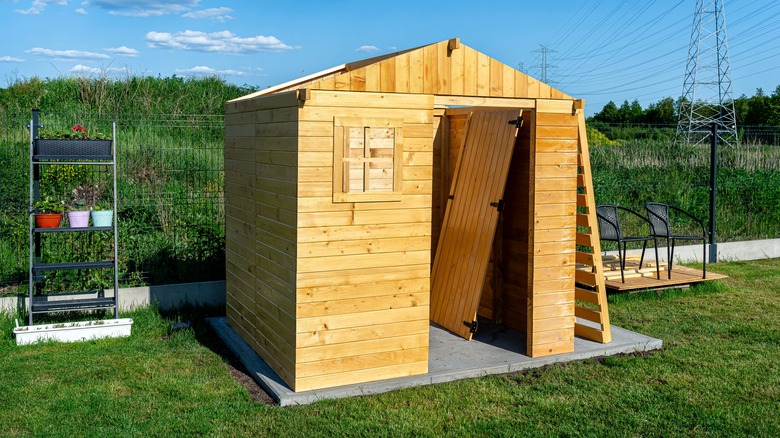
Building the sauna structure is akin to building a shed — which is to say, quite simple. Of course, there are more unique and unexpected building shapes you can use, but for a basic, functional sauna, you only need four walls and a roof. Start by framing the walls with your wood of choice, then connect them together and add your roof. Be sure to plan ahead for any windows and doors you want to add to the frame. While multiple windows could make it harder to maintain heat inside the sauna, a natural light source will make your space feel more bright and relaxing. Opt for tempered glass windows to help your sauna retain heat and prevent the glass from fogging up. Sliding or hinging windows can be even better, allowing you to release the heat and steam when needed.
Before moving on to the interior features, be sure to install a sturdy roof material to protect your sauna from rain and the elements, much like you would for a garden shed or cabin. Asphalt shingles or a metal roof are good go-tos. Unless you're using specially treated wood, you may also need to paint the exterior. Consider using neutral earth tones or dreamy beach-inspired paint colors for a relaxing vibe.
Finish the interior
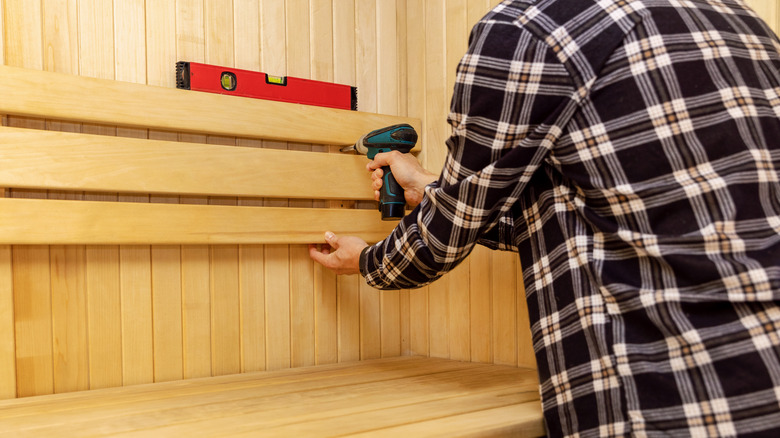
Once the shell of your sauna is complete and weather-protected, it's time to move on to the interior. The features and aesthetics inside your structure are what really make the difference between a luxurious outdoor sauna and a humid backyard shed, starting with the insulation. Add fiberglass insulation between the wall studs — and don't forget the ceiling, where heat tends to escape the most. After installing the insulation, follow up with vapor barriers. Aluminum foil-backed vapor shields are essential for saunas, retaining even more heat while protecting your fiberglass insulation and wall studs from excess moisture.
After insulating, finish your walls with the humidity-safe wood material of your choice, such as cedar, and install your benches. Having benches at two different heights will allow guests to adjust some of their own body temperature. Because heat rises, sitting on the taller bench will feel warmer than sitting on the lower bench. Finally, with the electricity still off, have a professional run your power source to lighting, your heat source, and any other electrical components.
Choose a heat source
To have an effective sauna, you'll need to add a heating element that can help your sauna reach an ideal temperature. The "rule of 200" is helpful to know for gauging what kind of heat source you'll need and if you'll need more than one. It's not an exact science, but the rule of 200 suggests that people feel most comfortable when the combined heat and humidity adds up to 200. For example, a sauna at 150 degrees should have 50% humidity (150 + 50 = 200), while a sauna at 180 degrees only needs 20% humidity (180 + 20 = 200).
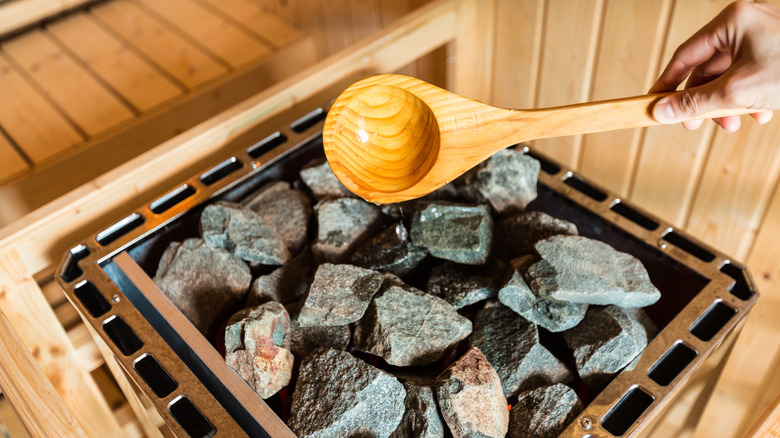
There are a few different ways you can choose to heat your sauna. A "wet" heater sauna typically uses electricity to heat large stones and warm the room. Water can also be dripped onto these hot stones to create steam. With a wet sauna, you'll likely prefer temperatures between 150 and 175 degrees Fahrenheit. These heaters are generally affordable and DIY-friendly; A VEVOR 220V electric heater costs just under $150 on Amazon. Infrared or "dry" saunas use infrared light waves to heat the room without adding humidity. For these types, most people prefer the temperature around 120 to 130 degrees Fahrenheit. Creating an infrared sauna can be challenging unless you buy a prefabricated kit. A three-piece infrared lighting tube set from Amazon is just under $280 but requires an electrician to properly install it.
Add decorative details and creature comforts
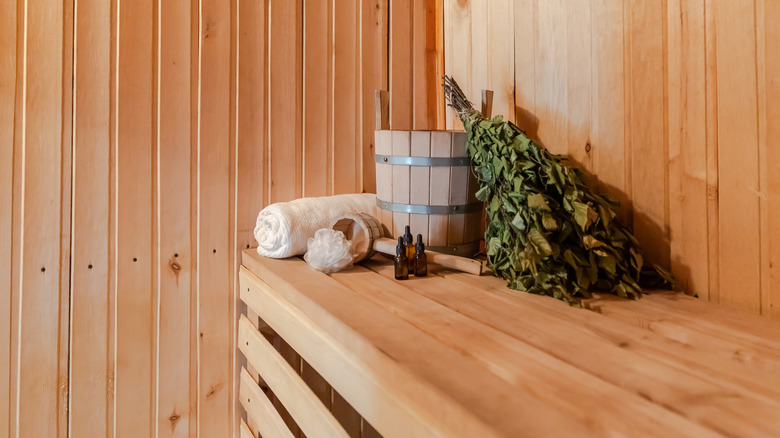
Now that the essential structure and heating components are in, you have a functional sauna! However, there are some details you can add to make your sweat experience even more relaxing. For more functionality, consider adding hooks to hold your towels, a water bucket, and a wooden ladle for spooning water onto the stones. A thermometer on the wall can help you keep an eye on the temperature, while a table or shelves are great for holding a cold beverage or a book. Place a couple outdoor pillows on the bench so you have a place to rest your head if you decide to lay down.
You can also make the sauna more entertaining by adding Bluetooth speakers, color-changing LED lights, or a place to prop up a smartphone or tablet and watch a movie while you sweat. Decorating with faux plants, hanging dried herbs, or gently diffusing essential oils can also enhance your relaxation. Some awesome traditional herbs and oils to use include birch, juniper, heather, hazel, and rosemary. If your sauna has a patio area, decorate with a small table and chairs or even set up an ice bath.
Clean and maintain your sauna
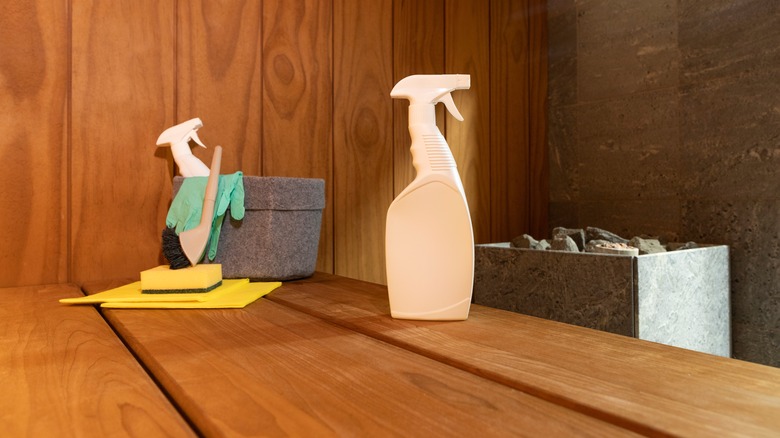
Building a sauna is relatively simple, but that doesn't mean you should just set it and forget it. Saunas do require some cleaning and maintenance to ensure that they stay in good condition. Showering before entering is recommended to avoid bringing germs into the space, but you should at least wash your feet to avoid tracking dirt. Before sitting down, lay a towel over the bench to keep sanitary, especially if you'll be using the sauna nude. When you're done, wipe the bench with a dry towel and bring any used towels out with you. It's also a good idea to prop open a door or window to allow moisture to escape, preventing mildew and mold growth before it starts.
Depending on how often you use the sauna, you should plan to clean the surfaces at least a few times per year. While it's completely dry and cool, sweep or vacuum up any dirt or debris that may have found their way inside, then use gentle, chemical-free cleaners to spray and wipe down the benches and other surfaces. Baking soda or simple soap and water are usually effective solutions, but diluted bleach can be used if you notice a spot of mildew. To avoid diffusing and inhaling chemicals, allow any cleaners to air-dry completely before using the sauna again.