TikTok's DIY Shows Us A Smart Way To Dupe A Stunning $600 Bookshelf For Way Less
Okay, your heart is set on a stylish bookshelf with a funky twist, such as the Huron from Urban Outfitters. Although it may look great, the price? Not so much. However, rather than having to fork out a large sum of cash or opt for a completely different style, you could instead DIY your own version and save yourself hundreds of dollars, as shown by @tinalemac on TikTok. As a result, you could end up with a gorgeous bookcase for a fraction of the cost, especially if you choose to use upcycled wood for this project. If so, then your costs should be near to none!
This is an excellent option if you're looking for a unique look for your space, and it could even serve as a great opportunity to refresh your bookshelf decor, as it comes with four shelves (or more if you wish). All you'll need is a jigsaw with a scroll blade, a miter saw, wood stain, polyethylene sealant, a sander, four glued edge panels with a length of at least 70 inches, and some wooden board with a length of 55 inches or more (depending on the height of your bookcase). You can grab some wooden boards from Lowe's for $31.98, while you can get some glued edge panels for $21.48.
Construct the pieces together
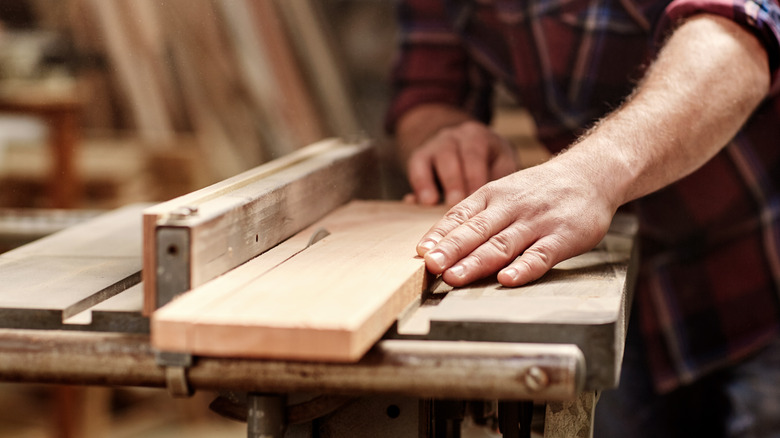
The first part of this process will be measuring the space where you want to place your bookshelf and noting the dimensions down. However, if you don't feel confident enough to undertake this project using your own measurements, for the sake of this DIY, we'll reference the measurements from TikTok. With this in mind, take your jigsaw and slice your glued edge panels in a wave pattern (with the back straight), and add a small cross-halve joint to the back of each end of the shelf with each one being about 6 inches in from the end. You'll want to repeat this process four times, with each shelf spanning a length of 60 inches. Trim the two side pieces so they're a height of 55 inches. While doing this, you should ensure you're utilizing the correct protection, including gloves, eye protection, earmuffs, and an appropriate mask.
Now, it's time to prep each piece. Take both your shelves and side pieces and use your sander on each piece before going in with your wood stain. Allow this time for it to dry, and then go in with your polyethylene sealant. When that's done, you can slot each shelf onto the side pieces using the cross-halve joints, with the bottom shelf being 8 inches off the floor and leaving roughly a 15-inch space between the remaining three. Now, you'll need to attach it to your wall so it doesn't fall, which you can do by anchoring it in place and using braces.
How to customize your bookshelf
Now, you only need to decide how to decorate your bookshelf, such as adding plants or using them to stack books. You could even use it to display any collectibles you have, making it the perfect addition to an office or game room. Likewise, if you're not a fan of the wooden look, then there are ways to modernize it. One way to do so is by painting it in the color you choose, such as white for a modern look or purple for a pop of color — perfect for a kid's playroom. However, it's not just the color you can play with — you can also switch up the shape of the shelves too. Rather than implementing wave shapes, you could leave them rectangular or opt for something subtle, such as an overarching curve like a rainbow. You even have the option to create a "frilly" look with many mini semi-circles, but this requires patience and concentration when working with your saw.
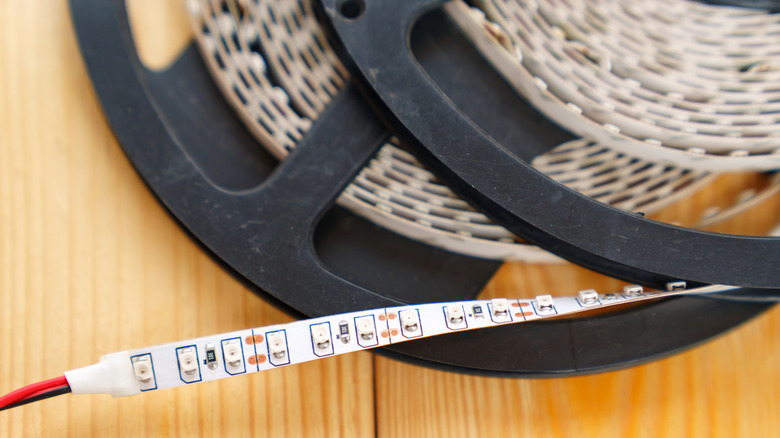
Of course, clean behind your bookshelf and ensure it's firmly in place to achieve the best results. To kick things up a notch, add some LED strips or puck lights for an ambient lighting effect. If you pre-plan this into your design and make shallow grooves in the underside of each shelf for the lights to sit (pre-measuring beforehand), then you shouldn't be able to see them, making the lighting look higher-end and less of a DIY job.