Genius Aluminum Foil Hacks You Should Be Using In The Kitchen
Aluminum foil is a kitchen staple. It's lightweight and pliable, making it perfect for covering leftovers in containers of various shapes and sizes. It does an excellent job of preserving food and has virtually no chance of burning or catching fire in the oven — it can withstand temperatures of up to 1,220 degrees Fahrenheit! Since foil is also extremely affordable, you can start thinking outside the box. There are many creative ways to start using aluminum foil around the kitchen.
Finding new ways to use aluminum foil not only saves money but also time. From removing the grease and grime on your oven door to creating a sun box for your herbs to reattaching a curled vinyl floor tile, aluminum foil will quickly become a kitchen tool you won't want to live without. You'll find these genius hacks are simple to implement and provide a unique solution to common kitchen problems.
Clean stainless steel cookware
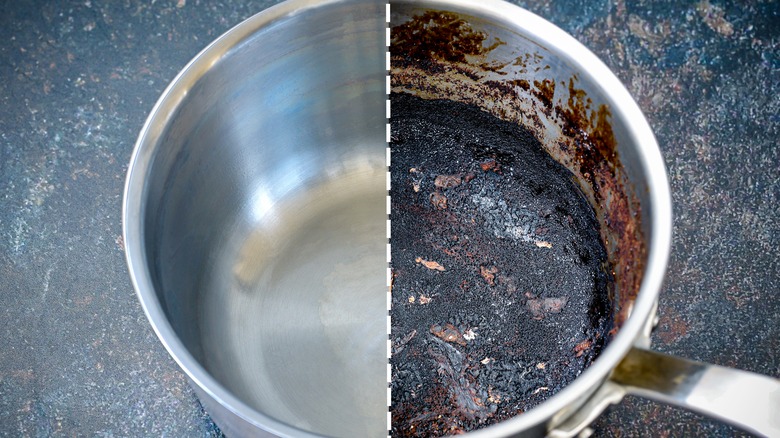
Using stainless steel cookware to prepare scrambled eggs, fish, or dishes with a sugary sauce may leave the pan with stuck-on bits of food that are hard to remove. While you may be able to remove the burnt pieces of food with dish soap and water, you'll likely need to use a great deal of elbow grease to do so. Instead, grab a sheet of aluminum foil and a bottle of white distilled vinegar. These two ingredients make quick work of cleaning stainless steel cookware. This is possible because the vinegar first works to dissolve iron oxide molecules. Then, the aluminum reduces the iron oxide to just iron. With minimal effort, the two ingredients get your cookware clean and back to its original shine.
After using it, wait for your stainless steel pot or pan to cool, and then scrape away as much of the stuck-on food as you can with a spatula. Pour enough white distilled vinegar in the pan to coat the burnt food, and then place a sheet of aluminum foil over it. Wait a few minutes before using the foil to gently rub away the grime. Once the food has been removed, you can wash and dry your cookware as you normally would.
Polish silverware
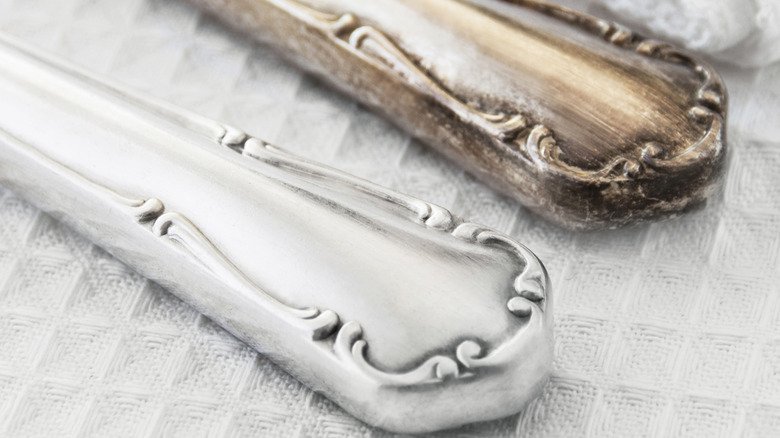
Over time, things like harsh dishwashing detergents, sulfur-heavy foods, and even air can cause silverware to tarnish. This grayish film leaves the utensils looking dull and lifeless. Fortunately, you can quickly restore the silverware using aluminum foil, baking soda, and salt. When you use aluminum to clean tarnished silverware, any present sulfur will naturally jump from the silver to the aluminum. The salt helps with this transfer. Since there's still a layer of aluminum hydroxide present, you also need baking soda to abolish it and polish the silver. Baking soda works as a gentle abrasive, so you can lift away the layer of aluminum hydroxide without leaving behind any scratches.
To polish your silverware, cover the bottom of your sink with a sheet of aluminum foil. Set your silverware directly on the aluminum foil and then cover the pieces with boiling water. Add 1 teaspoon of salt and 1 teaspoon of baking soda to the water and give it a swirl. Wait 5 minutes before removing the silverware and buffing each piece dry with a clean microfiber towel.
Hone kitchen blades
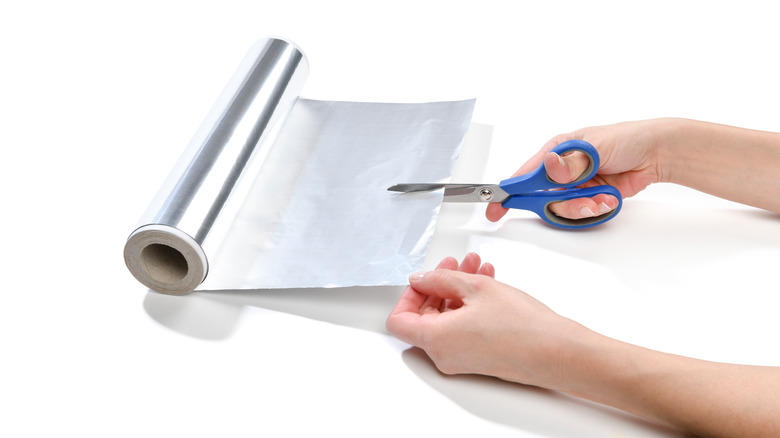
If you prepare most of your meals at home, you'll find that it doesn't take long for the blades of your kitchen shears and cutting knives to begin to dull. When this happens, grab a sheet of aluminum foil to quickly re-establish a sharp edge, as this will allow you to continue prepping food with ease. The abrasiveness of the foil sharpens without harming the blade. It's important to note that this hack won't work on blades that are extremely dull. The hack is simply meant to temporarily extend the life of the kitchen tool.
To sharpen your dull knives with aluminum foil, you'll need to take a sheet of foil and fold it in half. Take that half and fold it over itself again. You should now have a sheet of foil that is four layers thick. Cut through the aluminum foil with the slightly dull blade several times. Repeat as soon as you notice your blades begin to lose a bit of sharpness. For extremely dull blades, you'll need to resort to the use of a professional knife sharpener.
Clean grease from your oven door
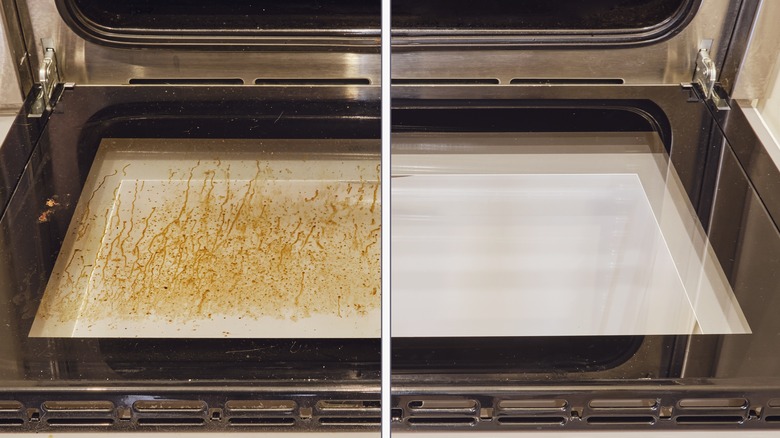
There are many ways grease may end up on your oven door. Spills, splatters, and even steam can carry this hard-to-remove substance and leave it caked on the inside of your oven door. Since most oven doors feature a glass window for viewing, you want to avoid using steel wool pads to lift away the grease. Aluminum foil is a much better option, as it is abrasive, while still being soft enough not to leave behind any annoying scratches. Combine the aluminum foil with the cleaning power or baking soda and you'll have your oven looking like new in no time at all.
Begin by pouring a small amount of hot water over the inside of the oven door. Sprinkle a thin layer of baking soda over the grease. Grab a large sheet of aluminum foil and crumble it up into the shape of a ball. Place the ball over the baking soda and begin scrubbing the oven door by moving the ball around in a circular motion. Wipe away the baking soda and grime using a clean microfiber towel. Go back over the area a second time with a damp paper towel to completely rinse off the door.
Keep celery crisp
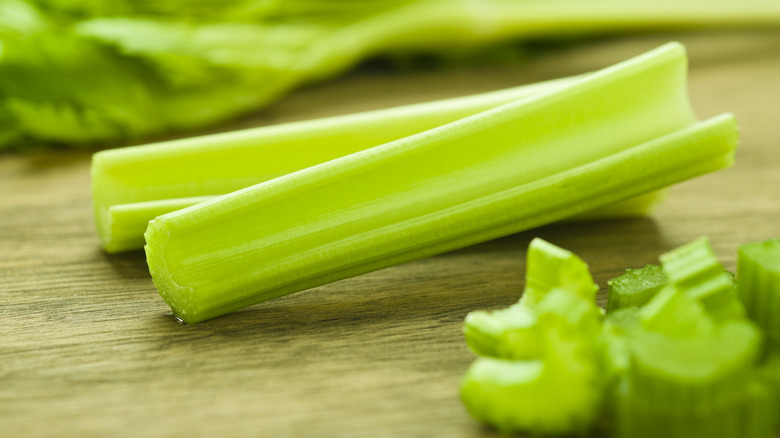
Celery is typically sold inside a plastic bag. Simply placing this bag in the refrigerator when returning home from the grocery store is not the best way to store the healthy vegetable. This is because celery releases ethylene gas. Plastic traps that gas, allowing the celery to go bad at a much quicker rate. Removing the celery from the bag and wrapping it in aluminum foil before placing it in the vegetable drawer in your fridge is a better option, as aluminum foil allows the ethylene gas to be released. Thus, your celery stalks will remain crisp until you're ready to eat them.
As soon as you get your celery home from the store, take it out of the plastic bag. Roll out a sheet of aluminum foil that is large enough to cover the bunch of celery completely. Set the bunch on the center of the sheet and fold the foil around the vegetable. Place the celery in your vegetable drawer until you're ready to eat it.
Make a panini

A panini is an excellent way to step up your lunch game. They are satisfyingly crunchy on the outside while being soft and gooey on the inside. You can fill them with just about any meat or vegetable, which allows for an unlimited number of delicious combinations. There's even the option to use rolls or a variety of breads. Don't have a panini press at home? That's okay; you can actually use aluminum foil, baking sheets, and a brick to make a panini.
After you've created your desired sandwich, wrap it up in a sheet of aluminum foil. Preheat the oven to 350 degrees Fahrenheit. While the oven is heating up, set the panini on a baking sheet. Place a second baking sheet on top of the sandwich and press down. Cover a brick in aluminum foil and then set the brick over the top baking sheet. This will create a similar effect to that of a panini press. Transfer the homemade panini press to the oven and cook for 20 to 30 minutes.
Reattach a vinyl floor tile
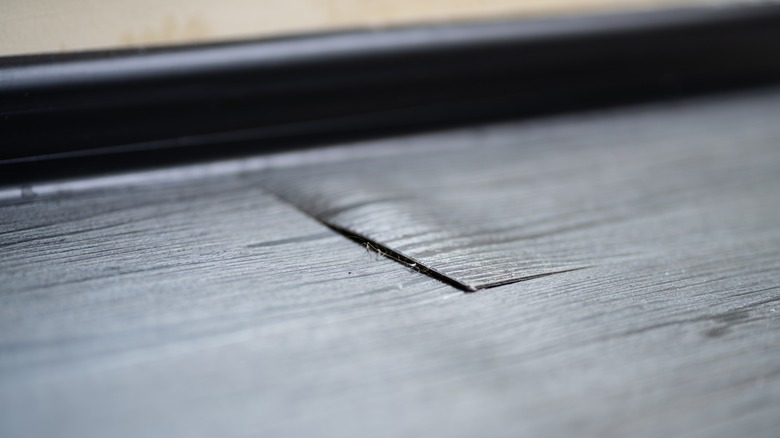
Vinyl flooring is often a top choice for kitchens, as it's known for being extremely durable and easy to clean. It's also an affordable option that comes in a wide range of colors and styles, making it easy for homeowners to find a pattern that fits their overall kitchen theme. Homes that experience a lot of foot traffic may find that a tile or two has begun to curl around the edge. If this happens, there's no need to fret. You can use heat and aluminum foil to reattach the tile and extend the life of your flooring.
Start off by cleaning the area. You don't want any dust or dirt to get under the tile, as this will keep the glue from reattaching. Tear off a sheet of aluminum foil large enough to fit over the tile. Set it on the tile and begin ironing over the curled edge using the medium-high heat setting. Check to see if the edge is sticking after about 30 seconds. If not, repeat a few more times. Once the edge sticks, you'll need to place a heavy object on top, such as a brick or stack of books. Keep the aluminum foil in between the tile and the heavy object, as this will prevent any scratches. Wait a total of 6-8 hours for the glue to set before removing the heavy object and resuming use of the floor.
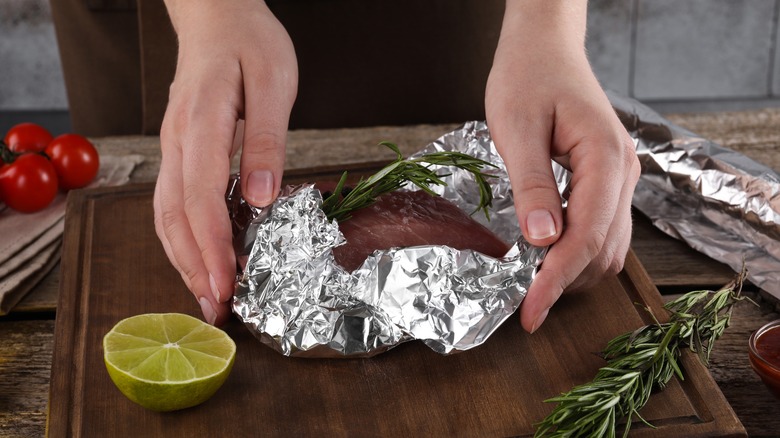
Keep food warm
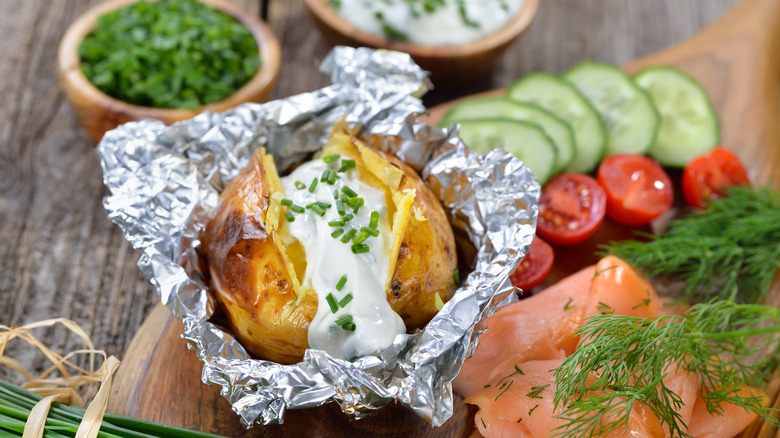
Another aluminum foil hack that you should be using in the kitchen is to keep cooked foods nice and warm. This is helpful when serving freshly prepared rolls to dinner party guests or when one part of a dish finishes cooking before another. Having a picnic in the backyard? Use aluminum foil to keep the meal warm when going from the kitchen to the picnic table. So, how exactly does the aluminum foil work to keep foods warm? Aluminum not only conducts heat, but it also takes the heat coming from the food and reflects it back toward the food.
Keeping your food warm with aluminum foil is easy. Simply wrap the food item tightly with a sheet of aluminum foil. Use a thicker foil if you need the dish to stay hot longer (or double up the foil if you don't have thicker foil on hand). Just remember that aluminum foil works to keep food warm for a short period of time. Use a food warmer if you need a dish to stay hot for a longer period of time.
Create a temporary kitchen tool
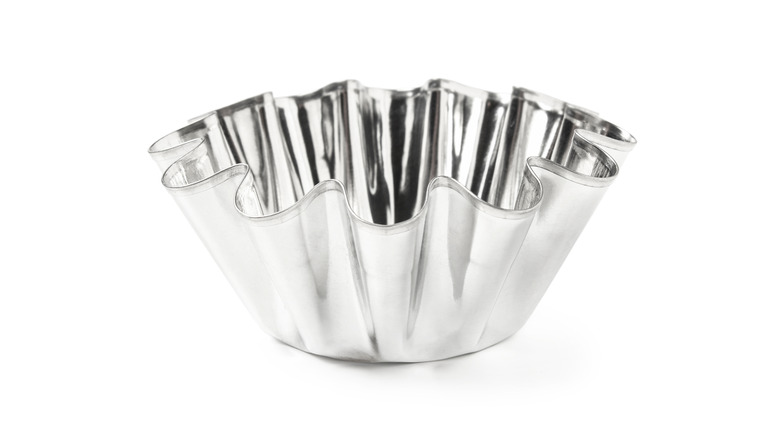
Since aluminum foil is pliable, it can be used to create a variety of temporary kitchen tools. This is extremely helpful if you find yourself needing to mix food dye and icing, as you won't have to worry about staining your wooden spoon. It's also perfect for creating a quick funnel to fill bottles with homemade ice tea, or to make an ice cream cone holder to protect your hands and clothing from melting custard.
Roll out the amount of aluminum foil you need to form your desired kitchen tool. Begin molding it to create the tool. You can do this with your hands or by placing the foil over the item you wish to duplicate, such as a cupcake holder. Need a disposable platter to take to a family barbecue? Wrap a piece of cardboard with the aluminum foil, and you're good to go! If you'd like to bake a specially shaped-cake, double up the aluminum foil before molding it. For example, you could create a heart-shaped cake for Valentine's Day or a four-leaf clover for St. Patrick's Day.
Construct a sun box
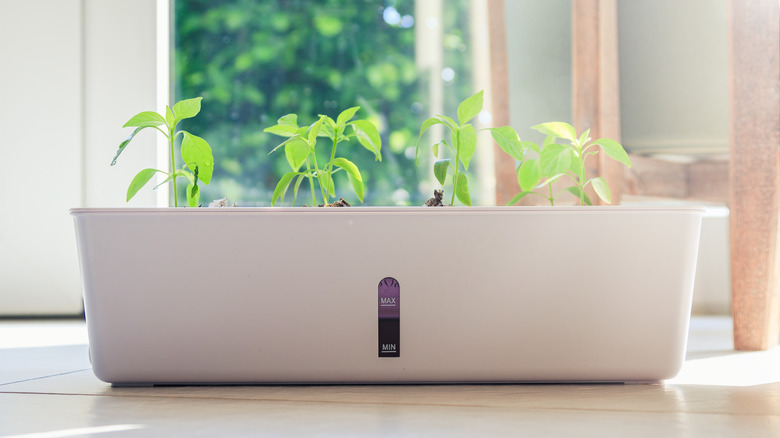
Aluminum foil reflects light, making it an excellent option for creating a sun box for your kitchen windowsill, where you can grow fresh herbs to add robust flavor to your favorite dishes. In fact, one study found that aluminum foil is able to reflect an astounding 86% of visible light, and this is true for both the dull and the shiny side of the foil.
To construct your sun box, you'll need to first assemble the box using cardboard. You simply need the box to be larger than your planter, as you'll be placing the planter inside the box. If you have a box that fits your desired dimensions, such as a shoebox, you can simply turn the box on its side and cut away the top. Pieces of cardboard can also be taped together to form a larger or smaller box as needed. Once you have the box made, cover it with aluminum foil. Since both sides equally reflect the light, it doesn't matter which side faces out. You may, however, prefer the look of the shiny side over the dull side. Set the sun box on your kitchen windowsill so that the open side is facing the sun. Place the planters inside the box, and you're all done!
Tip: You can also use aluminum foil to brighten your outdoor lights by placing the foil around the lights.
Create a pie crust shield
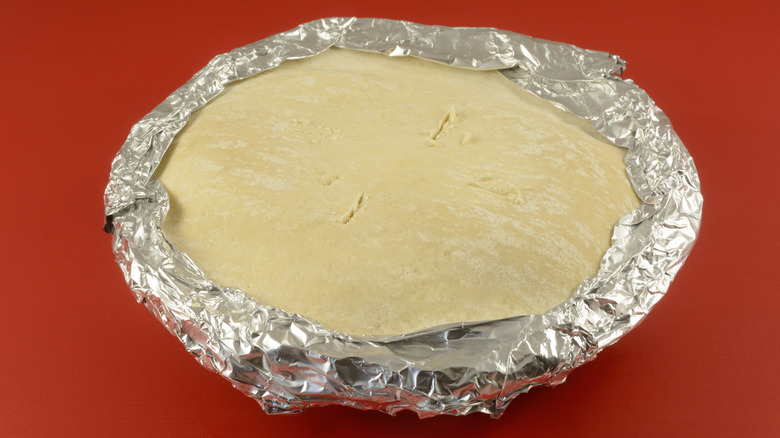
When it comes to satisfying desserts, a slice of pie topped with a scoop of ice cream is hard to beat. To achieve a perfectly baked pie, one must pay attention to the crust. Pie crust edges are susceptible to burning before the center of the dessert is fully finished, as they are thinner and cook faster. While you can use a silicone pie crust shield to protect the edges of your pie, most home bakers don't have one on hand. Instead, a crust protector can quickly be made out of strips of aluminum foil.
Place the pie on a baking sheet and preheat the oven to the required temperature. While the oven is heating up, cut enough aluminum foil strips to cover the crust edges all the way around the pie. Place the foil strips over the edges, being sure not to crimp the foil too tight; it's best to leave it loose. Bake the pie following the instructions on your recipe card. Remove the aluminum foil when you have just 20 minutes of cooking time remaining. This will give the edges time to get a nice golden brown.
Dispose of grease
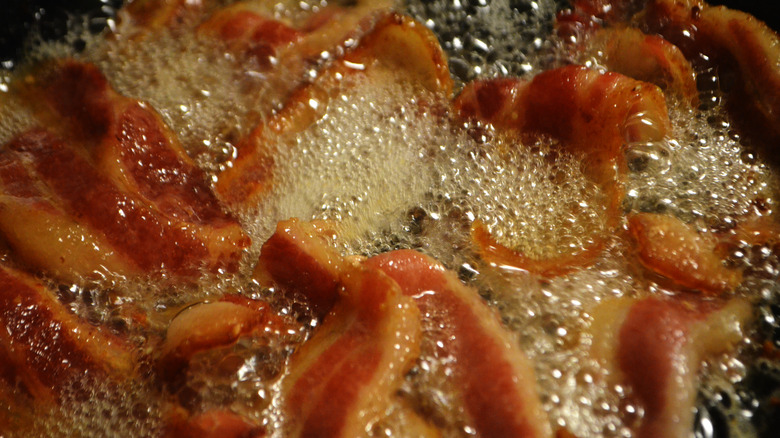
After cooking up a pan of bacon or frying potato wedges to go with your burgers, you'll be left with a significant amount of grease. Pouring grease down the drain in your kitchen sink is a no-no, as this can lead to clogs down the road. You also can't pour the grease directly into the trash can, as the grease will burn through the trash bag, leaving behind a huge mess. Surprisingly, all you need is some aluminum foil to safely dispose of the grease.
Grab a bowl with a large enough capacity to hold the amount of grease in your frying pan. Cover the bowl with a sheet of aluminum foil. Pour the grease over the foil and let it sit out until the grease solidifies. To solidify the grease faster, set the bowl in the refrigerator or freezer. You can then lift the aluminum foil out of the bowl, wrap up the solid grease, and toss it in the trash. You can also place the aluminum foil directly over your sink drain to keep grease from going down the pipe. With this method, however, you'll need to remove the foil with the hot oil inside if you need to use the sink before the grease solidifies.
Keep your bananas from ripening
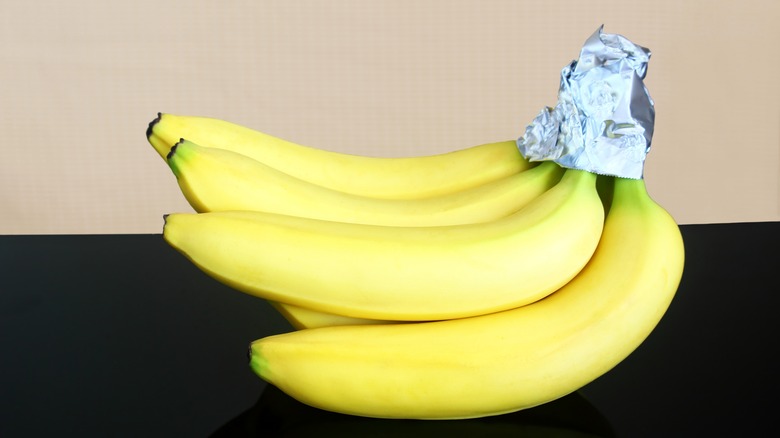
Just like celery, bananas can ripen quickly, as they release a lot of ethylene gas. In 2015, Amstat News reported on a study that set out to determine whether cling wrap or aluminum foil did a better job of preserving bananas. The results revealed that aluminum foil significantly reduced spoilage over cling wrap. This makes sense, as we learned that aluminum is capable of releasing the gas, while plastic tends to trap it.
As soon as you bring your bunch of bananas home from the grocery store, grab a piece of aluminum foil and use it to completely wrap the stem. You can do this while the bananas are still attached together as a bunch, or you can separate them and wrap each individual stem. The latter is a better option if you plan on quickly grabbing a banana to throw in your lunch sack on the way to work. Both methods will extend the life of your fruit, giving you more time to eat them up.
Divide recipes in your slow cooker
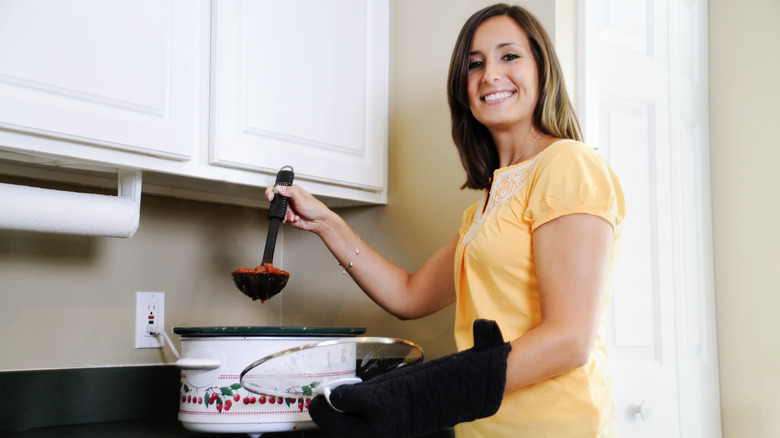
Slow cookers are perfect for keeping a variety of foods hot and at the ready, including dips for football parties and chilis for family get-togethers. If you find yourself wanting to offer your guests a choice between two food items, but only have one slow cooker, you can use this aluminum foil hack to create a divider to separate the dishes.
Place three to four sheets of aluminum foil on top of each other and fold the edges over to create a thick divider. Place the divider in the center of the slow cooker. Add a slow cooker liner on either side of the divider. Fill each liner with your desired food item, and then turn the knob to the recommended heat setting. Switch to the "Keep warm" setting once the food has been thoroughly cooked.
Note: This method works best when you have two food items with similar cooking times and preferred heat settings.