Easily Uninstall The Broken Dishwasher In Your Kitchen With These Helpful Tips
We may receive a commission on purchases made from links.
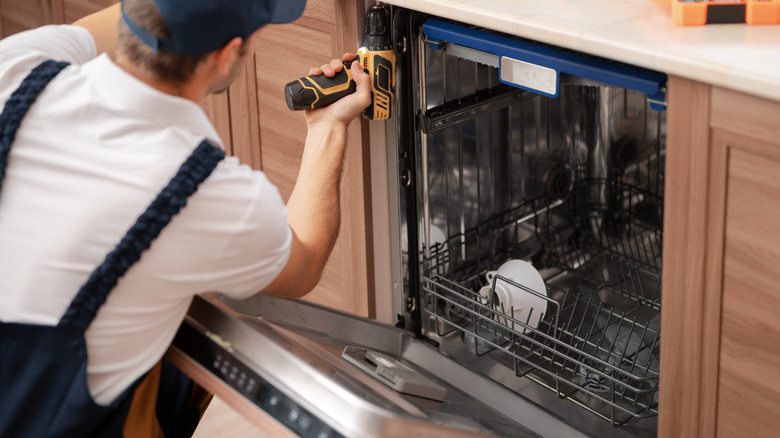
You've reached that inevitable crossroads where your dishwasher has sounded its final retreat. It's a disheartening realization; after years of dutiful service, the machine that saved you countless hours and made possible the last-minute dinner party or the quick cleanup after a family feast now stands silent. When fixing your broken dishwasher isn't feasible, you have no choice but to uninstall it (which could easily feel like the end of an era). Don't reach for your wallet and phone to seek professional dishwasher removal services yet. Consider the DIY lifeline. With a smattering of elbow grease, some basic tools you've already got lying around at home, and an hour or two carved out from your weekend, the DIY removal of a dishwasher could become an engaging and cost-saving project.
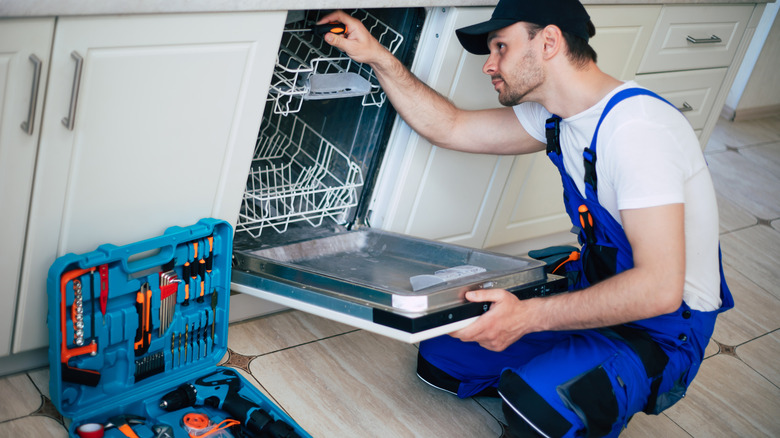
The cost of having a professional remove your dishwasher generally falls within the $120 to $150 range, which, let's face it, is a neat chunk of change you could very well spend elsewhere. A screwdriver, crescent wrench or pliers, a bucket, and an old rag or a towel are essentially all that you will need for this DIY. Plus, your handyman/handywoman spirit will enjoy the satisfaction derived from undertaking such a project, unaided and successful. And once the old dishwasher is out, the residual space is yours to reimagine, whether you're going to replace the old with a new, more efficient model, or reinvent the nook into a new, clever storage space.
Safety first
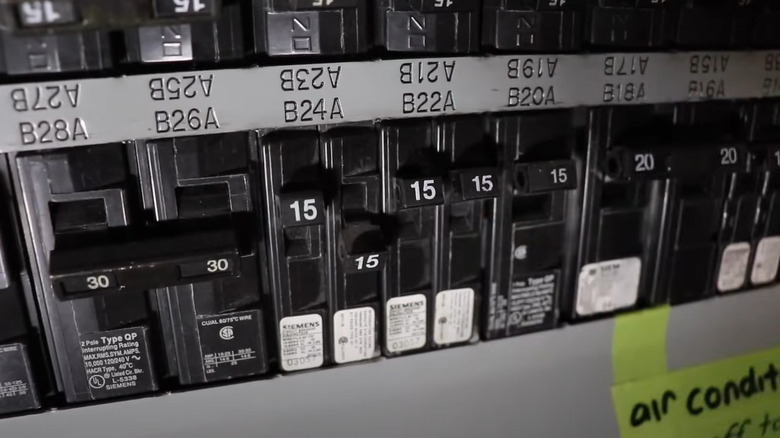
For any DIY project, prioritizing safety is paramount, and removing a dishwasher is no exception. Ensuring the dishwasher is disconnected from its power source prevents any risk of electric shock. For those with dishwashers that plug directly into a wall outlet, this means simply unplugging the unit. However, go further to locate your home's circuit breaker panel and flip the switch that corresponds to the dishwasher to the "off" position. For hardwired connections, you must remove the cover panel at the bottom front of the dishwasher to access the wiring. This requires carefully unscrewing and detaching the wire nuts and separating the wires.
Shut off the water supply
The next vital step in uninstalling a broken dishwasher entails stopping the water flow to the unit, a process that begins by identifying the water supply valve. Typically located under the kitchen sink, this valve is your gateway to controlling the water line connected to the dishwasher. Turning it to the "off" position might seem like a simple twist of the wrist, but it's an act loaded with precautionary wisdom, effectively preventing water mishaps once you begin detaching the water line. In scenarios where the valve under the sink is not accessible, doesn't exist, or if another solution is called for, you may need to shut off the water at the main line or water heater.
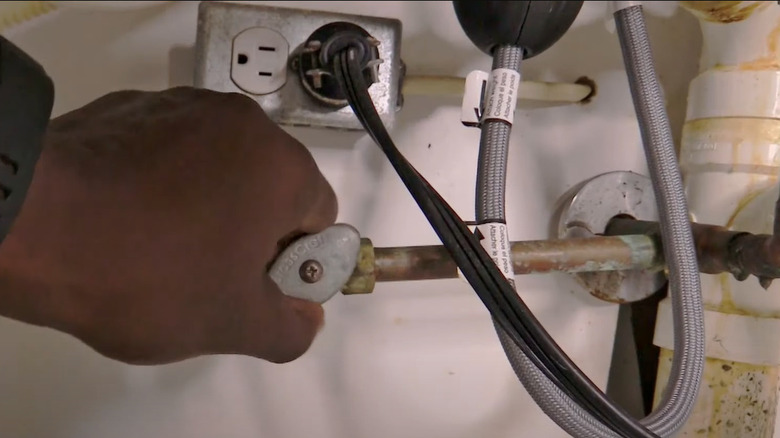
Detach the dishwasher's water line
Once the water supply is securely off, proceed to disconnect the water line. For this, navigate under the kitchen sink to locate the line feeding into your dishwasher. The anticipation of water remnants lingering within the line calls for proactive measures — placing a bucket or towel beneath the connection site to catch any drips underscores the blend of foresight and practicality essential to DIY endeavors. The task involves a delicate balance of applying sufficient force to your crescent wrench (or water pump pliers like the KNIPEX Tools Cobra Water Pump Pliers available on Amazon for around $38.00) to loosen and detach the water supply line without compromising the integrity of the plumbing.
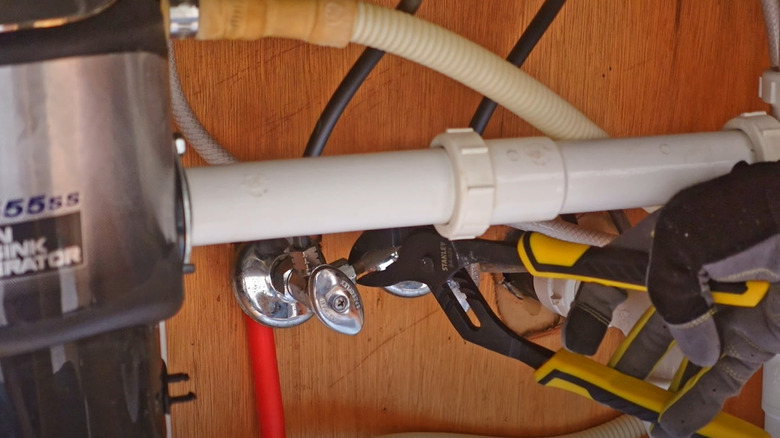
Disconnect the drain hose
The drain hose — typically a white, sturdy, flexible tube — connects the dishwasher to the home's drainage system, either directly to the sink drain or indirectly through a garbage disposal unit. Its purpose is simple yet vital: to carry used water away from the appliance. Loosening the clamp that secures the hose demands a choice of tools — either a screwdriver or water pump pliers — selected based on the clamp type in use.
The gentle yet firm pulling needed to detach the hose from its connection speaks to the nuanced skill of balancing force with care, avoiding unnecessary strain on the plumbing. Making sure to push the hose back toward the hole in the cabinet aims to minimize resistance and prevent damage when the dishwasher is eventually pulled out.
Remove the kickplate
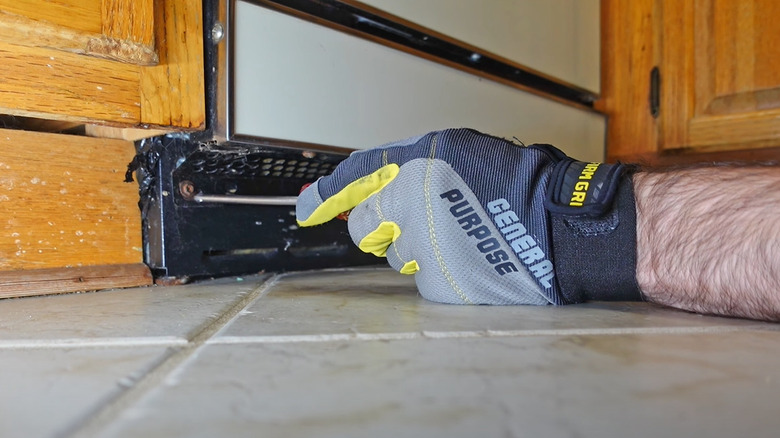
A kickplate is a rectangular black or white piece at the bottom front of the dishwasher and conceals the wiring and plumbing connections beneath the appliance. To access these, the kickplate has to be removed. Depending on the make and model of your dishwasher, it could be secured using screws or spring clips. If the screws are present, use a screwdriver to remove them easily. The screws are usually two but some models have four. However, if spring clips secure the kickplate, summon your gentle yet firm approach again while prying them open. This combination will ensure that neither the clips nor the kickplate suffer any damage.
Disconnect the electrical connections under the dishwasher
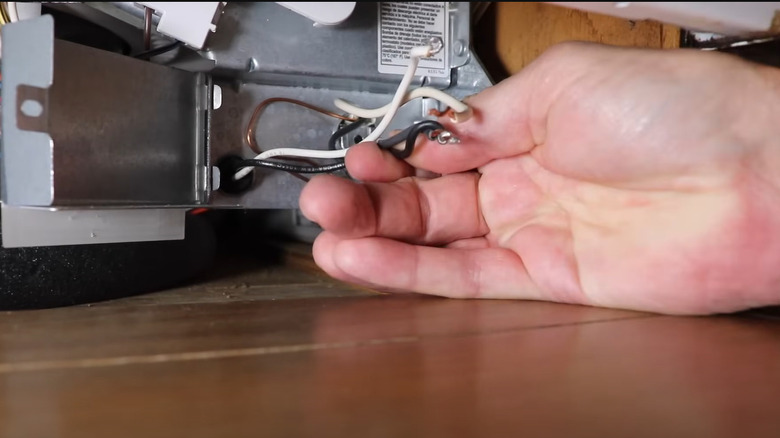
For dishwashers hardwired into the home's electrical system, the step of disconnecting electrical connections is one laden with significance. Begin by conducting a preliminary inspection to ensure no debris obstructs your path (a broom is perfect for this task). Then, carefully unscrew the electrical box's covering to reveal the wire connections within.
Even if you flipped off the dishwasher switch at the circuit breaker panel, double-checking for live wires is a good idea. After all, missteps happen, and the chances of mistakenly deactivating the wrong breaker are not zero. That's where a tester like the Fluke 1AC II VoltAlert Non-Contact Voltage Tester, available for $34.95 at Walmart, suffices. Its job is to alert you about voltage presence when its tip touches the black and white wires.
Once you get the green light, disconnect the wires — black from the black, white from white — and the ground wire from its anchor. Ensuring that these wires are straightened and the holding nuts loosened facilitates their smooth exit from the backside of the box. You may even contemplate disconnecting the water line under the dishwasher, but first, place a rag to catch any stray water droplets.
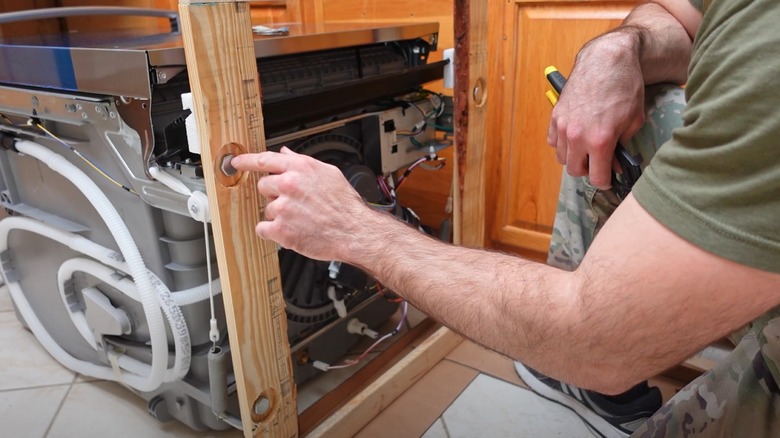
Unmount the appliance from the cabinetry
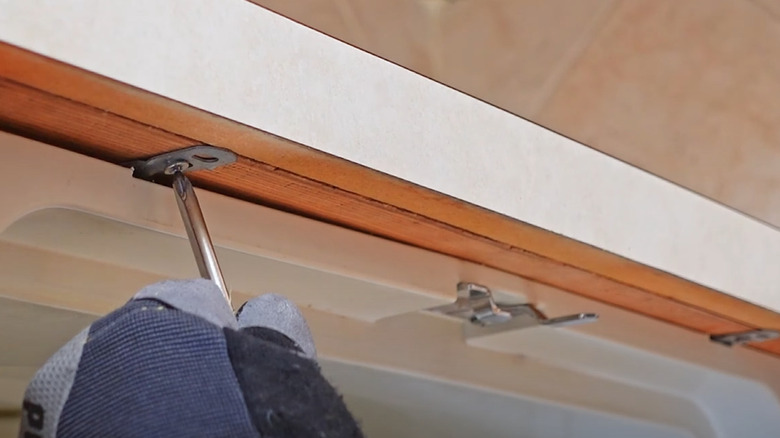
Most dishwashers are secured at the top by mounting screws that attach to the underside of the countertop or cabinetry. Begin by opening the dishwasher door; this simple action is often the gateway to these screws in many models. Removing them shouldn't be a big task, but extra caution needs to be exercised to avoid damaging the inside of the door or the seal.
Not all dishwashers follow the same design language, however. Some use side-mounting brackets, requiring the sides to be inspected for fasteners. That's typically your option if your kitchen has granite or marble countertops which can be tricky to drill during DIY dishwasher installation. Still, others hide mounting points behind an access panel on the dishwasher's frame. The variety is large and diverse, so the user manual is worthy of a revisit before embarking on this journey.
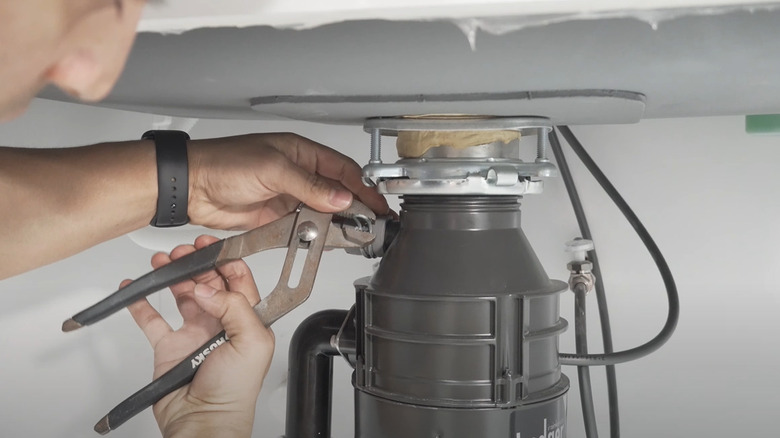
Adust the front leveling feet
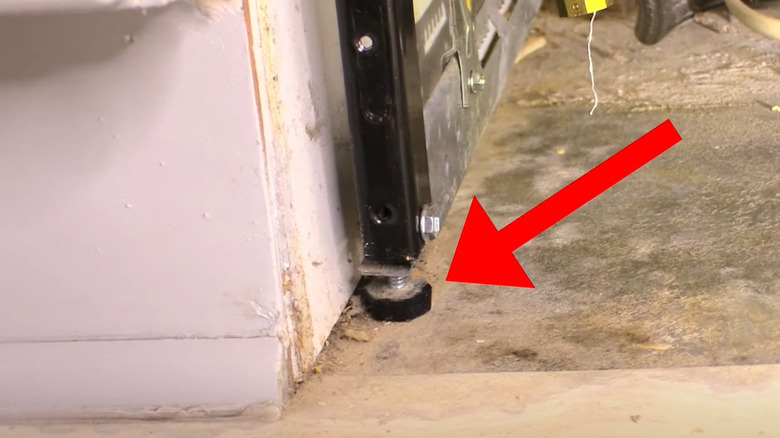
The leveling feet, engineered to stabilize the appliance and allow for height adjustment for a seamless under-the-countertop fit, become your next focal point of action. With pliers or a crescent wrench, you embark on a gradual and deliberate quest to raise the feet with clockwise movements. The dishwasher lowering with each twist is not merely a physical adjustment but a preparatory step that facilitates the smooth extraction of the unit from its nook.
Another route to the same destination is lowering the feet with counterclockwise rotations — that should coax the dishwasher to its lowest stance. Picture those moments in DIY sagas where the smallest tweaks yield significant impacts. Here, every turn brings you closer to the triumphant disengagement of your appliance from its former home. Venturing deeper, you may want to tackle the leveling feet at the back; however, adjusting the front ones does the job in most cases.
Slide the dishwasher out
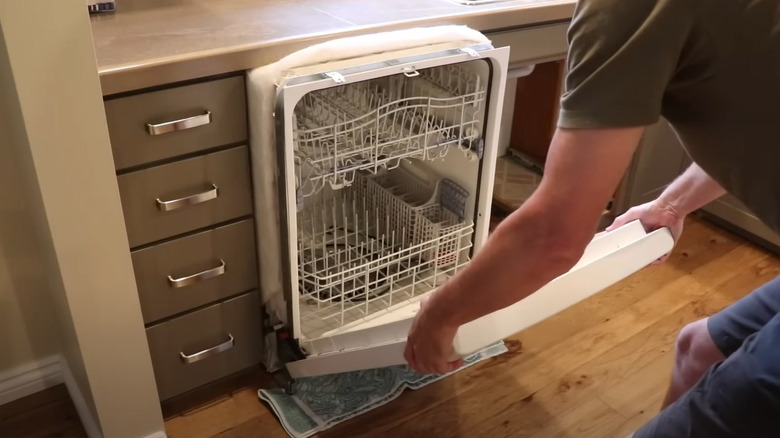
With all preparatory steps crossed and ticked off, the uninstaller extraordinaire that you are is now ready to slide the dishwasher out. Before doing so, lay down a mat, towel, or rug on the path of the dishwasher. The intention here is to safeguard your flooring from any possible scratches or scuffs. Then, summoning a blend of strength and sensitivity, pull the dishwasher out of its enclave, ensuring it maintains a straight trajectory.
If possible, getting an assistant adds an extra pair of eyes and hands to this task, particularly when navigating the disconnected wires and hoses through the cabinetry hole. Amidst the excitement of completing this DIY, don't forget to look out for the insulation blanket — ensure it doesn't get stuck or tangled around the back as you move your dishwasher.
With the dishwasher detached and moved from its cavity, the final checks serve as a moment of reflection and anticipation. Ensure all wires and hoses are free from the now vacant dishwasher spot, and don't forget to unplug the power cord from the back if your model has a plug. You can now repurpose the dishwasher space, reassured by the attention to detail and precautions you've taken during the uninstallation process.
When to consider professional dishwasher removal
Understanding when to transition from a do-it-yourself to seeking professional assistance with your dishwasher is a hallmark of wisdom and humility. Venturing into the intricacies of electrical connections or the labyrinth of home plumbing without the requisite expertise risks personal injury and threatens the essence of your home's safety and functionality. The encounter with unfamiliar plumbing configurations or the challenge posed by a non-functional water shut-off valve could transition the task from a mere DIY project to a potential safety hazard or plumbing damage. In this case, consider professional intervention.
Similarly, realizing that your dishwasher is hardwired directly to your home's electrical system underscores the gravity of handling such components with knowledge and care. The stakes escalate when removing your broken dishwasher might compromise the structural integrity of seemingly rigid parts of your home, including the cabinetry or countertops. This is particularly true if unconventional modifications are made during installation.
What to do with empty dishwasher space
After waving goodbye to your faithful but now defunct dishwasher, that void left behind is a canvas awaiting your imagination's brush. Before anything, clear out the mess. Now, suppose you're steering towards introducing a new dishwasher into this gap, one sporting different specs from its predecessor. Tread wisely here; this transition isn't a mere plug-and-play situation. Begin by measuring the void precisely — height, width, and depth —to avoid any heartache of a mismatch.
When confronted with a shortfall in height, improvisation with a wood panel secured via the leveling screws can save the day. Don't forget to compare the hook-up locations for water and electricity; a differing model may mean rejigging these essential services. Ideally, seek a model that fits your space like a glove and harmonizes with your energy efficiency goals and your kitchen's vibe.
On the flip side, if the spirit of reinvention takes hold and a new dishwasher no longer features in your kitchen dreams, the vacant space brims with possibility. The obvious option is to reimagine the space as a discreet nook for your trash can (possibly a sizable one now). Alternatively, envision a bespoke storage solution: roll-out shelves tailored for your culinary gadgets, a secret stash for valuables, or a snug hideaway for your pets. If you have a carpentry flair, installing additional base cabinets that blend seamlessly with the existing design could augment your kitchen's storage capacity.